Localisation is an important feature when building apps that cater to users from different countries, allowing them to interact with our app in their native language. In this article, we will walk you through how to set up and configure Portable Object (PO) Localisation in an ASP.NET Core Web API project.
Localisation is about adapting the app for a specific culture or language by translating text and customising resources. It involves translating user-facing text and content into the target language.
While .NET localisation normally uses resource files (.resx) to store localised texts for different cultures, Portable Object files (.po) are another popular choice, especially in apps that use open-source tools or frameworks.
About Portable Object (PO)
PO files are a standard format used for storing localised text. They are part of the gettext localisation framework, which is widely used across different programming ecosystems.
A PO file contains translations in the form of key-value pairs, where:
- Key: The original text in the source language.
- Value: The translated text in the target language.
Because PO files are simple, human-readable text files, they are easily accessible and editable by translators. This flexibility makes PO files a popular choice for many open-source projects and apps across various platforms.
You might wonder why should we use PO files instead of the traditional .resx files for localisation? Here are some advantages of using PO files instead of .resx files:
- Unlike
.resxfiles, PO files have built-in support for plural forms. This makes it much easier to handle situations where the translation changes based on the quantity, like “1 item” vs. “2 items.” - While
.resxfiles require compilation, PO files are plain text files. Hence, we do not need any special tooling or complex build steps to use PO files. - PO files work great with collaborative translation tools. For those who are working with crowdsourcing translations, they will find that PO files are much easier to manage in these settings.
SHOW ME THE CODE!
The complete source code of this project can be found at https://github.com/goh-chunlin/Experiment.PO.
Project Setup
Let’s begin by creating a simple ASP.NET Web API project. We can start by generating a basic template with the following command.
dotnet new webapi
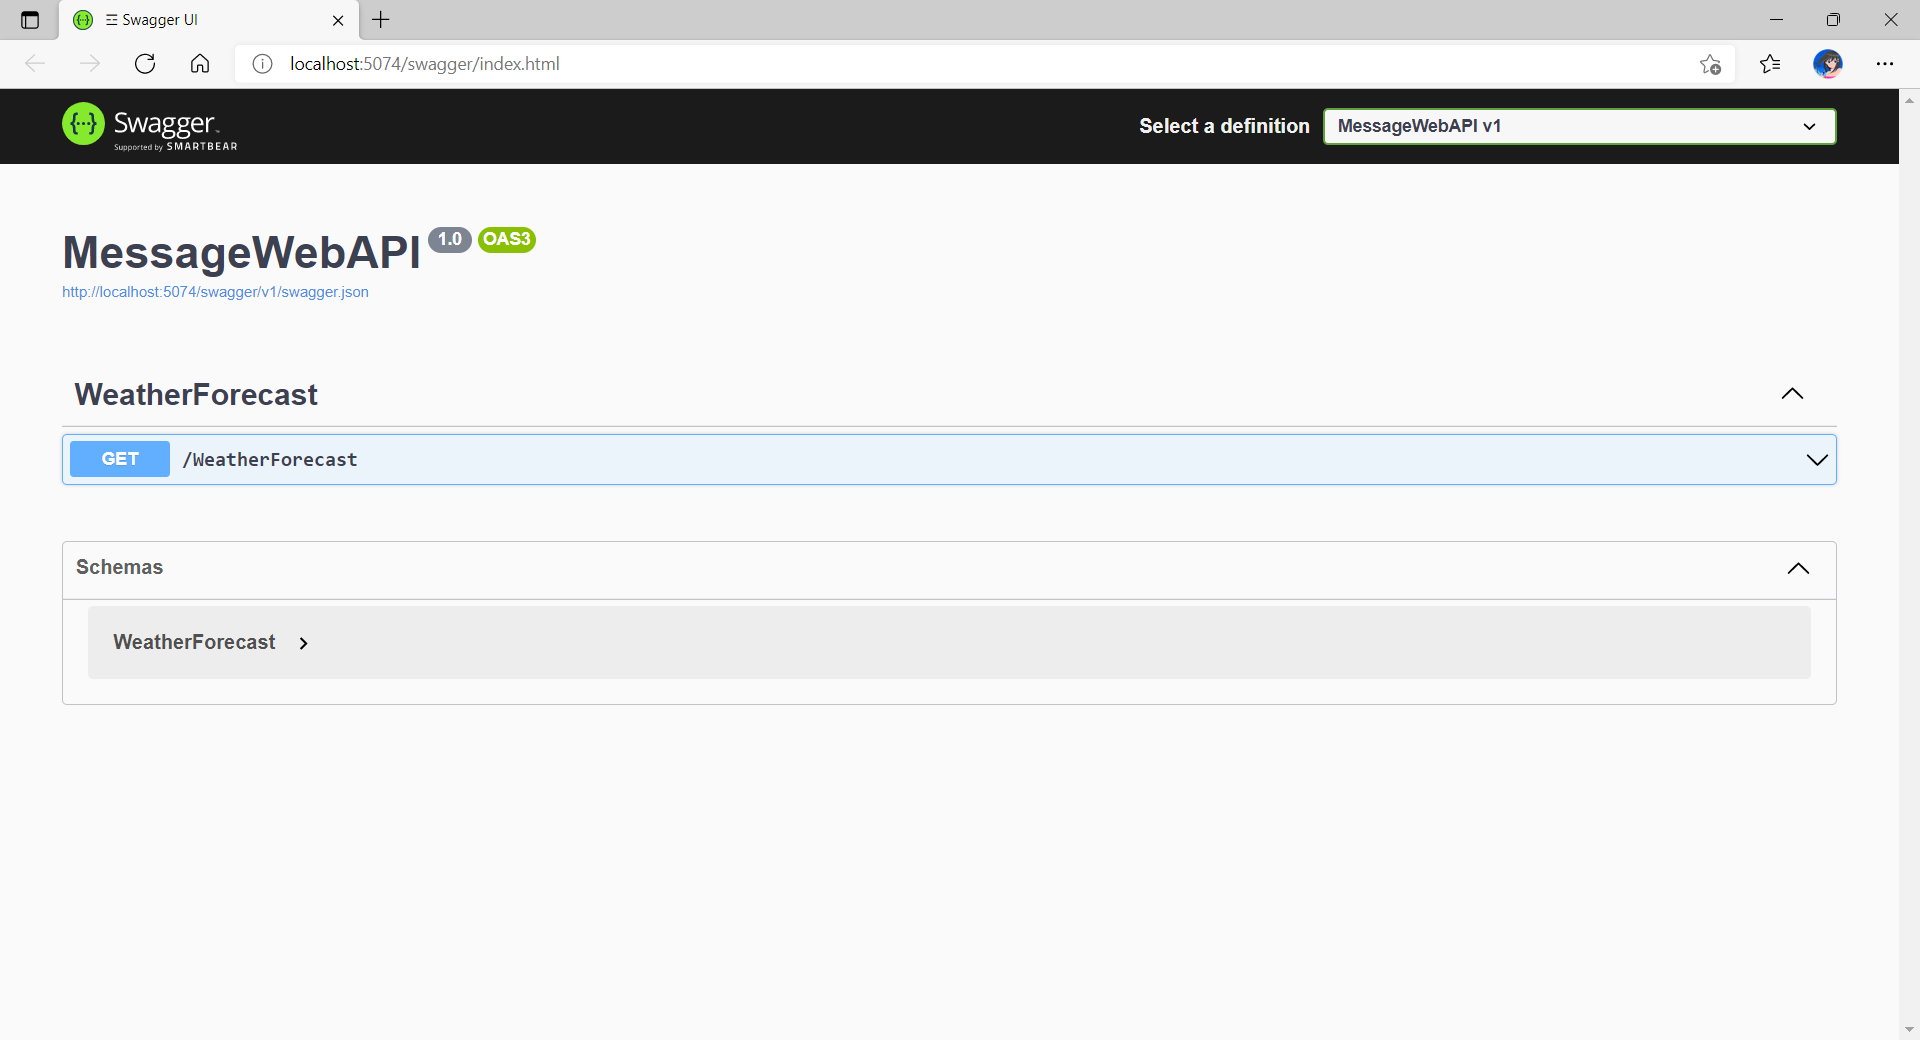
This will set up a minimal API with a weather forecast endpoint.

The default endpoint in the boilerplate returns a JSON object that includes a summary field. This field describes the weather using terms like freezing, bracing, warm, or hot. Here’s the array of possible summary values:
var summaries = new[]
{
    "Freezing", "Bracing", "Chilly", "Cool",
    "Mild", "Warm", "Balmy", "Hot", "Sweltering", "Scorching"
};
As you can see, currently, it only supports English. To extend support for multiple languages, we will introduce localisation.
Prepare PO Files
Let’s start by adding a translation for the weather summary in Chinese. Below is a sample PO file that contains the Chinese translation for the weather summaries.
#: Weather summary (Chinese)
msgid "weather_Freezing"
msgstr "寒冷"

msgid "weather_Bracing"
msgstr "冷冽"

msgid "weather_Chilly"
msgstr "凉爽"

msgid "weather_Cool"
msgstr "清爽"

msgid "weather_Mild"
msgstr "温和"

msgid "weather_Warm"
msgstr "暖和"

msgid "weather_Balmy"
msgstr "温暖"

msgid "weather_Hot"
msgstr "炎热"

msgid "weather_Sweltering"
msgstr "闷热"

msgid "weather_Scorching"
msgstr "灼热"
In most cases, PO file names are tied to locales, as they represent translations for specific languages and regions. The naming convention typically includes both the language and the region, so the system can easily identify and use the correct file. For example, the PO file above should be named zh-CN.po, which represents the Chinese translation for the China region.
In some cases, if our app supports a language without being region-specific, we could have a PO file named only with the language, such as ms.po for Malay. This serves as a fallback for all Malay speakers, regardless of their region.

ms-MY.po), one for Singapore (ms-SG.po), and one fallback file (ms.po) for all Malay speakers, regardless of region.After that, since our PO files are placed in the Localisation folder, please do not forget to include them in the .csproj file, as shown below.
<Project Sdk="Microsoft.NET.Sdk.Web">

  ...

  <ItemGroup>
    <Folder Include="Localisation\" />
    <Content Include="Localisation\**">
      <CopyToOutputDirectory>PreserveNewest</CopyToOutputDirectory>
    </Content>
  </ItemGroup>

</Project>
Adding this <ItemGroup> ensures that the localisation files from the Localisation folder are included in our app output. This helps the application find and use the proper localisation resources when running.
Configure Localisation Option in .NET
In an ASP .NET Web API project, we have to install a NuGet library from Orchard Core called OrchardCore.Localization.Core (Version 2.1.3).
Once the package is installed, we need to tell the application where to find the PO files. This is done by configuring the localisation options in the Program.cs file.
builder.Services.AddMemoryCache();
builder.Services.AddPortableObjectLocalization(options =>
    options.ResourcesPath = "Localisation");
The AddMemoryCache method is necessary here because LocalizationManager of Orchard Core uses the IMemoryCache service. This caching mechanism helps avoid repeatedly parsing and loading the PO files, improving performance by keeping the localised resources in memory.
Supported Cultures and Default Culture
Now, we need to configure how the application will select the appropriate culture for incoming requests.
In .NET, we need to specify which cultures our app supports. While .NET is capable of supporting multiple cultures out of the box, it still needs to know which specific cultures we are willing to support. By defining only the cultures we actually support, we can avoid unnecessary overhead and ensure that our app is optimised.
We have two separate things to manage when making an app available in different languages and regions in .NET:
- SupportedCultures: This is about how the app displays numbers, dates, and currencies. For example, how a date is shown (like MM/dd/yyyy in the US);
- SupportedUICultures: This is where we specify the languages our app supports for displaying text (the content inside the PO files).
To keep things consistent and handle both text translations and regional formatting properly, it is a good practice to configure both SupportedCultures and SupportedUICultures.
We also need to setup the DefaultRequestCulture. It is the fallback culture that our app uses when it does not have any explicit culture information from the request.
The following code shows how we configure all these. To make our demo simple, we assume the locale that user wants is passed via query string.
builder.Services.Configure<RequestLocalizationOptions>(options =>
{
    var supportedCultures = LocaleConstants.SupportedAppLocale
        .Select(cul => new CultureInfo(cul))
        .ToArray();

    options.DefaultRequestCulture = new RequestCulture(
        culture: "en", uiCulture: "en");
    options.SupportedCultures = supportedCultures;
    options.SupportedUICultures = supportedCultures;
    options.AddInitialRequestCultureProvider(
        new CustomRequestCultureProvider(async httpContext =>
        {
            var currentCulture =
                CultureInfo.InvariantCulture.Name;
            var requestUrlPath =
                httpContext.Request.Path.Value;

            if (httpContext.Request.Query.ContainsKey("locale"))
            {
                currentCulture =
httpContext.Request.Query["locale"].ToString();
            }

            return await Task.FromResult(
                new ProviderCultureResult(currentCulture));
        })
    );
});
Next, we need to add the RequestLocalizationMiddleware in Program.cs to automatically set culture information for requests based on information provided by the client.
app.UseRequestLocalization();
After setting up the RequestLocalizationMiddleware, we can now move on to localising the API endpoint by using IStringLocalizer to retrieve translated text based on the culture information set for the current request.
About IStringLocalizer
IStringLocalizer is a service in ASP.NET Core used for retrieving localised resources, such as strings, based on the current culture of our app. In essence, IStringLocalizer acts as a bridge between our code and the language resources (like PO files) that contain translations. If the localised value of a key is not found, then the indexer key is returned.
We first need to inject IStringLocalizer into our API controllers or any services where we want to retrieve localised text.
app.MapGet("/weatherforecast", (IStringLocalizer<WeatherForecast> stringLocalizer) =>
{
    var forecast =  Enumerable.Range(1, 5).Select(index =>
        new WeatherForecast
        (
            DateOnly.FromDateTime(DateTime.Now.AddDays(index)),
            Random.Shared.Next(-20, 55),
            stringLocalizer["weather_" + summaries[Random.Shared.Next(summaries.Length)]]
        ))
        .ToArray();
    return forecast;
})
.WithName("GetWeatherForecast")
.WithOpenApi();
The reason we use IStringLocalizer<WeatherForecast> instead of just IStringLocalizer is because we are relying on Orchard Core package to handle the PO files. According to Sebastian Ros, the Orchard Core maintainer, we cannot resolve IStringLocalizer, we need IStringLocalizer<T>. When we use IStringLocalizer<T> instead of just IStringLocalizer is also related to how localisation is typically scoped in .NET applications.
Running on Localhost
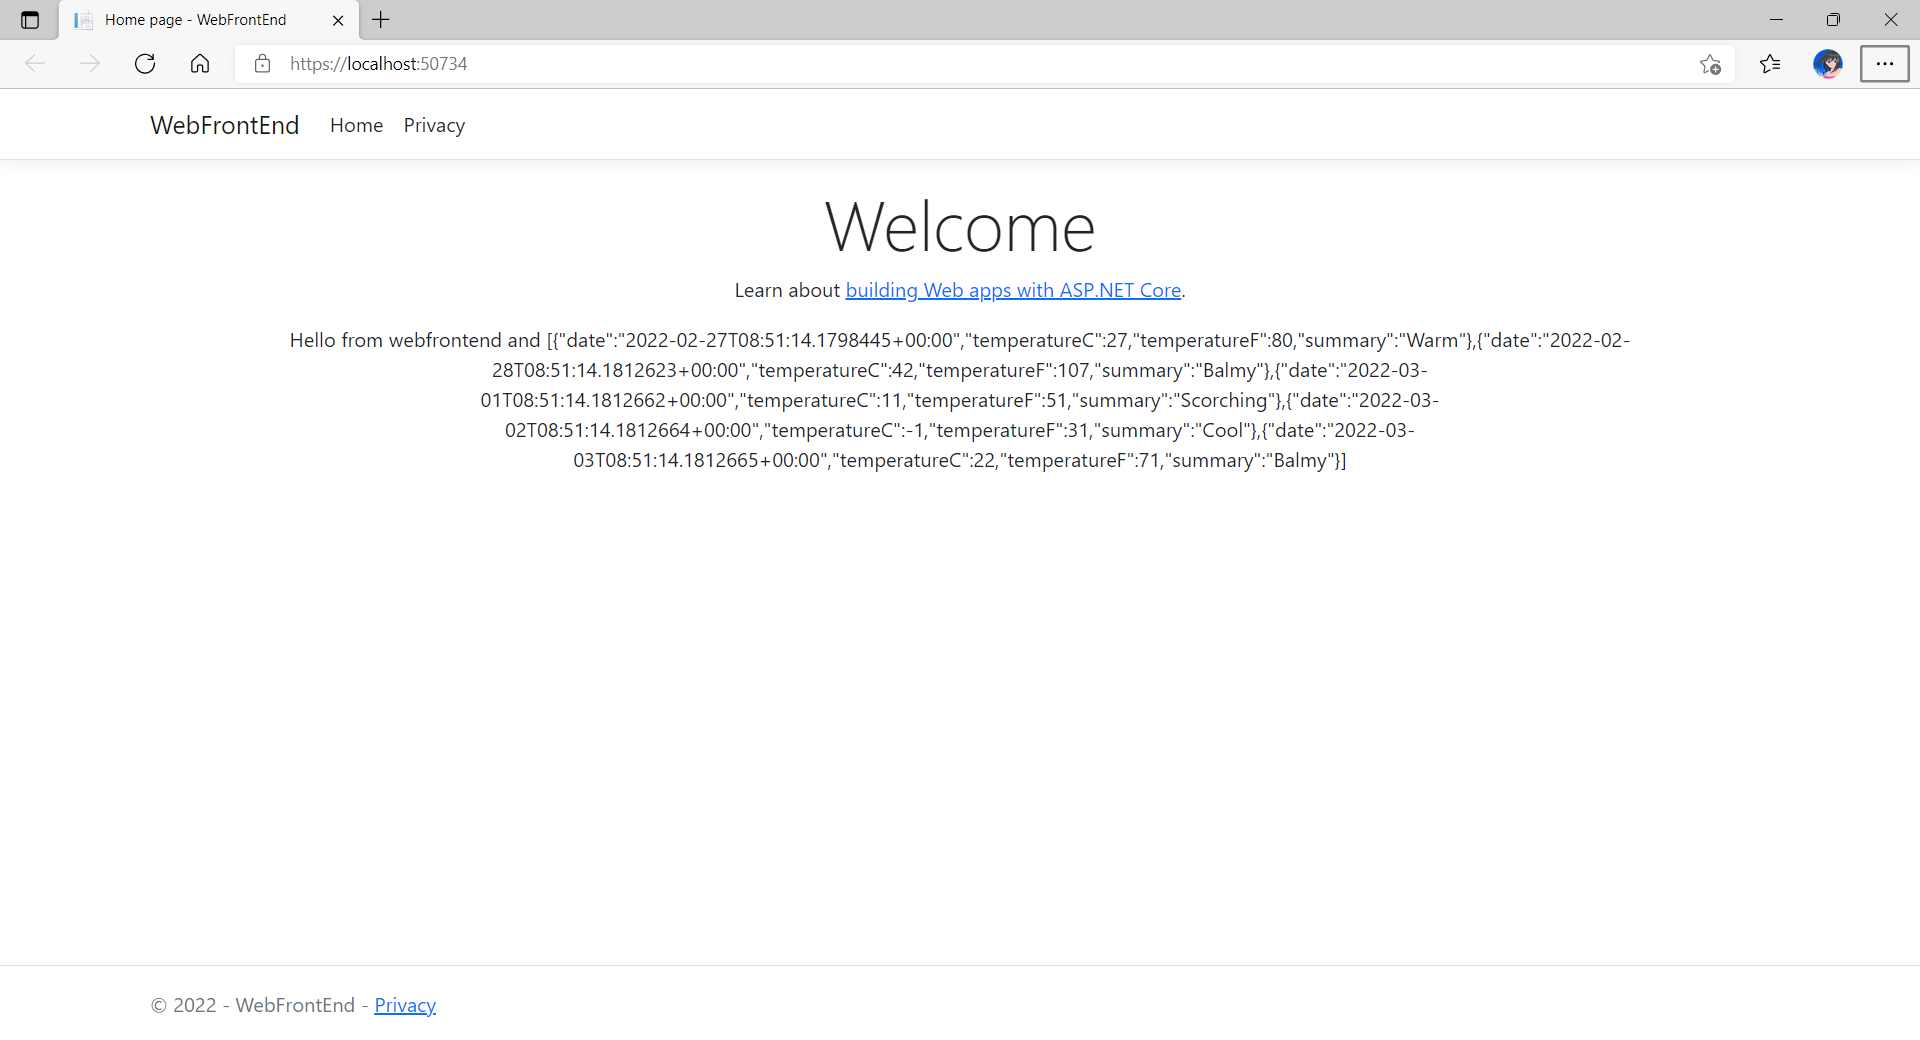
Now, if we run the project using dotnet run, the Web API should compile successfully. Once the API is running on localhost, visiting the endpoint with zh-CN as the locale should return the weather summary in Chinese, as shown in the screenshot below.

Dockerisation
Since the Web API is tested to be working, we can proceed to dockerise it.
We will first create a Dockerfile as shown below to define the environment our Web API will run in. Then we will build the Docker image, using the Dockerfile. After building the image, we will run it in a container, making our Web API available for use.
## Build Container
FROM mcr.microsoft.com/dotnet/sdk:8.0-alpine AS builder
WORKDIR /app

# Copy the project file and restore any dependencies (use .csproj for the project name)
COPY *.csproj ./
RUN dotnet restore

# Copy the rest of the application code
COPY . .

# Publish the application
RUN dotnet publish -c Release -o out

## Runtime Container
FROM mcr.microsoft.com/dotnet/aspnet:8.0-alpine AS runtime

ENV ASPNETCORE_URLS=http://*:80

WORKDIR /app
COPY --from=builder /app/out ./

# Expose the port your application will run on
EXPOSE 80

ENTRYPOINT ["dotnet", "Experiment.PO.dll"]
As shown in the Dockerfile, we are using .NET Alpine images. Alpine is a lightweight Linux distribution often used in Docker images because it is much smaller than other base images. It is a best practice when we want a minimal image with fewer security vulnerabilities and faster performance.
Globalisation Invariant Mode in .NET
When we run our Web API as a Docker container on our local machine, we will soon realise that our container has stopped because our Web API inside it crashed. It turns out that there is an exception called System.Globalization.CultureNotFoundException.

docker logs.As pointed out in the error message, only the invariant culture is supported in globalization-invariant mode.
The globalization-invariant mode was introduced in .NET 2.0 in 2017. It allows our apps to run without using the full globalization data, which can significantly reduce the runtime size and improve the performance of our application, especially in environments like Docker or microservices.
In globalization-invariant mode, only the invariant culture is used. This culture is based on English (United States) but it is not specifically tied to en-US. It is just a neutral culture used to ensure consistent behaviour across environments.
Before .NET 6, globalization-invariant mode allowed us to create any custom culture, as long as its name conformed to the BCP-47 standard. BCP-47 stands for Best Current Practice 47, and it defines a way to represent language tags that include the language, region, and other relevant cultural data. A BCP-47 language tag typically follows this pattern: language-region, for example zh-CN and zh-Hans.
Thus, before .NET 6, if an app creates a culture that is not the invariant culture, the operation succeeds.
However, starting from .NET 6, an exception is thrown if we create any culture other than the invariant culture in globalization-invariant mode. This explains why our app throws System.Globalization.CultureNotFoundException.
We thus need to disable the globalization-invariant mode in the .csproj file, as shown below, so that we can use the full globalization data, which will allow .NET to properly handle localisation.
<Project Sdk="Microsoft.NET.Sdk.Web">

  <PropertyGroup>
    ...
    <InvariantGlobalization>false</InvariantGlobalization>
  </PropertyGroup>

  ...

</Project>
Missing of ICU in Alpine
Since Alpine is a very minimal Linux distribution, it does not include many libraries, tools, or system components that are present in more standard distributions like Ubuntu.
In terms of globalisation, Alpine does not come pre-installed with ICU (International Components for Unicode), which .NET uses for localisation in our case.
Hence, after we turned off the globalization-invariant mode, we will encounter another issue, which is our Web API not being able to locate a valid ICU package.

docker logs.As suggested in the error message, we need to install the ICU libraries (icu-libs).
In .NET, icu-libs provides the necessary ICU libraries that allow our Web API to handle globalisation. However, the ICU libraries rely on culture-specific data to function correctly. This culture-specific data is provided by icu-data-full, which includes the full set of localisation and globalisation data for different languages and regions. Therefore, we need to install both icu-libs and icu-data-full, as shown below.
...

## Runtime Container
FROM mcr.microsoft.com/dotnet/aspnet:8.0-alpine AS runtime

# Install cultures
RUN apk add --no-cache \
   icu-data-full \
   icu-libs

...
After installing the ICU libraries, our weather forecast Web API container should be running successfully now. Now, when we visit the endpoint, we will realise that it is able to retrieve the correct value from the PO files, as shown in the following screenshot.

One last thing I would like to share is that, as shown in the screenshot above, since we do not have a PO file for ms-BN (Malay for Brunei), the fallback mechanism automatically uses the ms.po file instead.
Additional Configuration
If you still could not get the translation with PO files to work, perhaps you can try out some of the suggestions from my teammates below.
Firstly, you may need to setup the AppLocalIcu in .csproj file. This setting is used to specify whether the app should use a local copy of ICU or rely on the system-installed ICU libraries. This is particularly useful in containerised environments like Docker.
<Project Sdk="Microsoft.NET.Sdk.Web">

  <PropertyGroup>
    ...
    <AppLocalIcu>true</AppLocalIcu>
  </PropertyGroup>

</Project>
Secondly, even though we have installed icu-libs and icu-data-full in our Alpine container, some .NET apps rely on data beyond just having the libraries available. In such case, we need to turn on the IncludeNativeLibrariesForSelfExtract setting as well in .csproj.
<Project Sdk="Microsoft.NET.Sdk.Web">

  <PropertyGroup>
    ...
    <IncludeNativeLibrariesForSelfExtract>true</IncludeNativeLibrariesForSelfExtract>
  </PropertyGroup>

</Project>
Thirdly, please check if you need to configure DOTNET_SYSTEM_GLOBALIZATION_PREDEFINED_CULTURES_ONLY as well. However, please take note that this setting only makes sense when when globalization-invariant mode is enabled.
Finally, you may also need to include the runtime ICU libraries with the Microsoft.ICU.ICU4C.Runtime NuGet package (Version 72.1.0.3), enabling your app to use culture-specific data for globalisation features.
References
- Configure portable object localization in ASP.NET Core;
- Make an ASP.NET Core app’s content localizable;
- ApplicationBuilderExtensions.UseRequestLocalization Method;
- Implement a strategy to select the language/culture for each request in a localized ASP.NET Core app;
- Containerization of the .NET Core 7 Web API using Docker;
- Microsoft Artifact Registry – .NET SDK;
- Microsoft Artifact Registry – ASP .NET Runtime;
- Announcing .NET Core 2.0 – Globalization Invariant Mode;
- Culture creation and case mapping in globalization-invariant mode;
- [StackOverflow] Running .NET 6 project in Docker throws Globalization.CultureNotFoundException.