It’s always a good idea to not only make our libraries open-source, but also publish them as a package for public to use if our libraries can make the life of other developers better.
In this article, I’d like to share how we can use the pipeline in Azure DevOps to auto build and publish a C# library that has its source code on GitHub to the NuGet Gallery, the .NET package repository.
PROJECT GITHUB REPOSITORY
The complete source code of this project can be found at https://github.com/goh-chunlin/WordpressRssFeed.
As you can see in the csproj file of the library project, we have the following properties are required to create a package.
<Project Sdk="Microsoft.NET.Sdk">

    <PropertyGroup>
	<TargetFramework>netstandard2.0</TargetFramework>
        ...
	<PackageId>WordpressRssFeed</PackageId>
	<GeneratePackageOnBuild>true</GeneratePackageOnBuild>
	<Description>A reusable codes library for reading WordPress RSS feeds.</Description>
	<Authors>Goh Chun Lin</Authors>
	<Copyright>Copyright 2022, Goh Chun Lin</Copyright>
	<PackageTags>Wordpress</PackageTags>
	<Company>Goh Chun Lin</Company>
	<RepositoryType>git</RepositoryType>
        <RepositoryUrl>https://github.com/goh-chunlin/WordpressRssFeed</RepositoryUrl>
	<PackageReleaseNotes>Please refer to README.</PackageReleaseNotes>
    </PropertyGroup>

    ...

</Project>
Azure DevOps Project
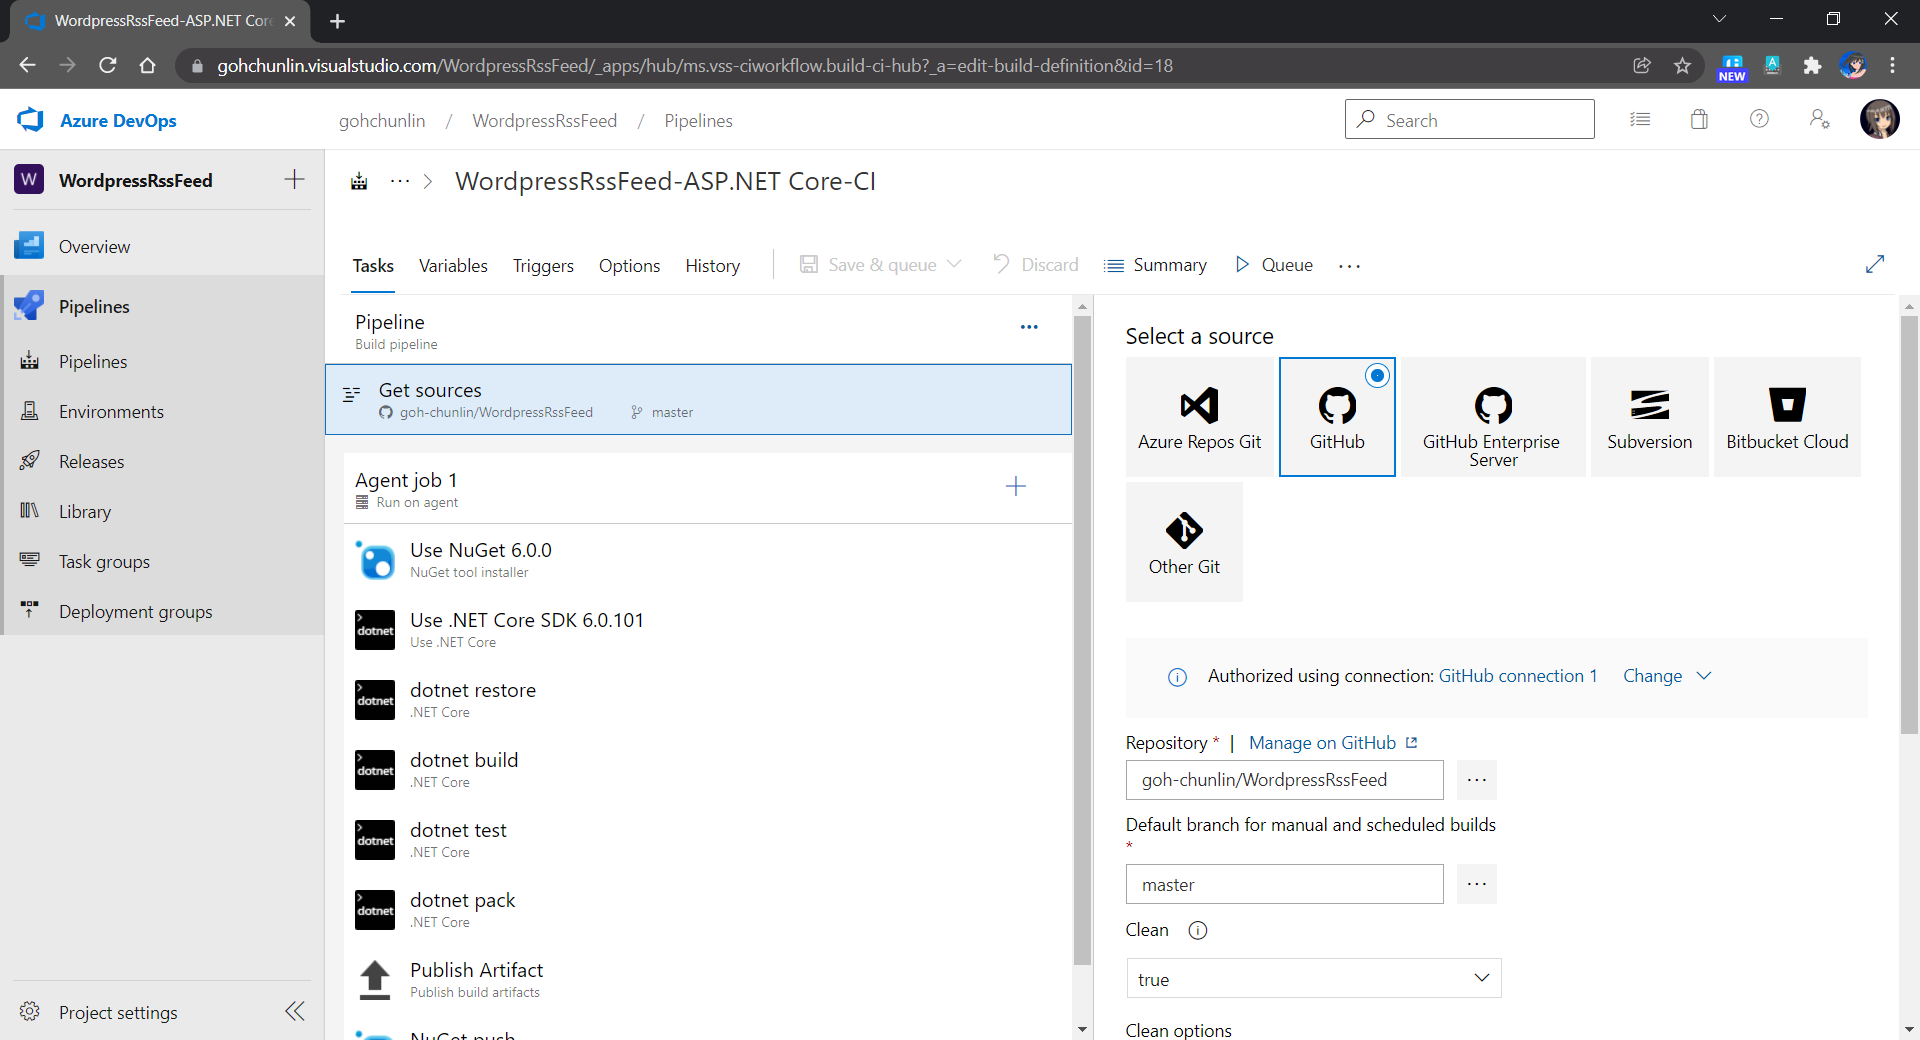
On Azure DevOps, we can create a pipeline which has source code sitting in a GitHub repository. We simply select “GitHub” as the source and then choose the correct repository and branch which contains the code that the pipeline should build.
The DevOps project is made open to public. So, you can view its build history at https://dev.azure.com/gohchunlin/WordpressRssFeed/_build.
Build Number
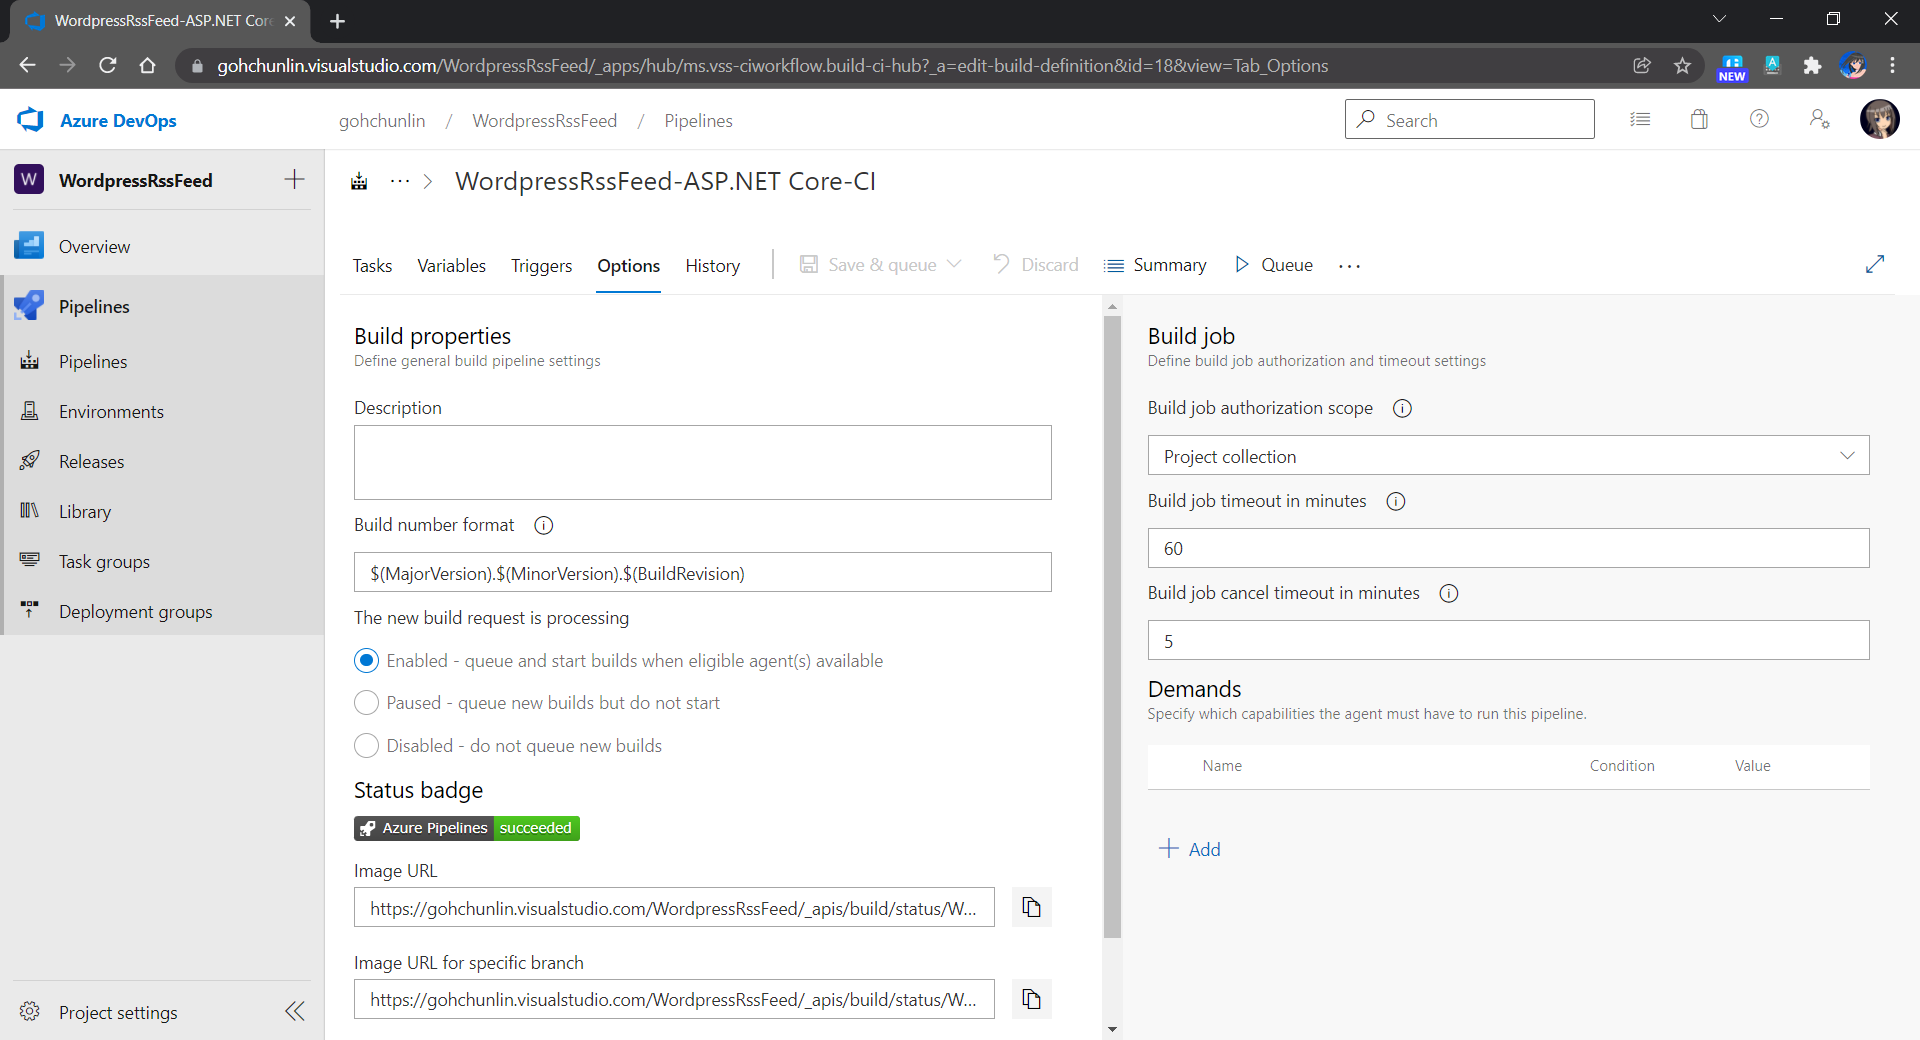
Before we begin to look at the pipeline tasks, we need to setup the build number properly because we will later use it to version our package.
Firstly, we will setup BuildConfiguration, MajorVersion, MinorVersion, and BuildRevision as shown in the following screenshot.

Next, we need to format the build number with MajorVersion, MinorVersion, and BuildRevision as shown below.
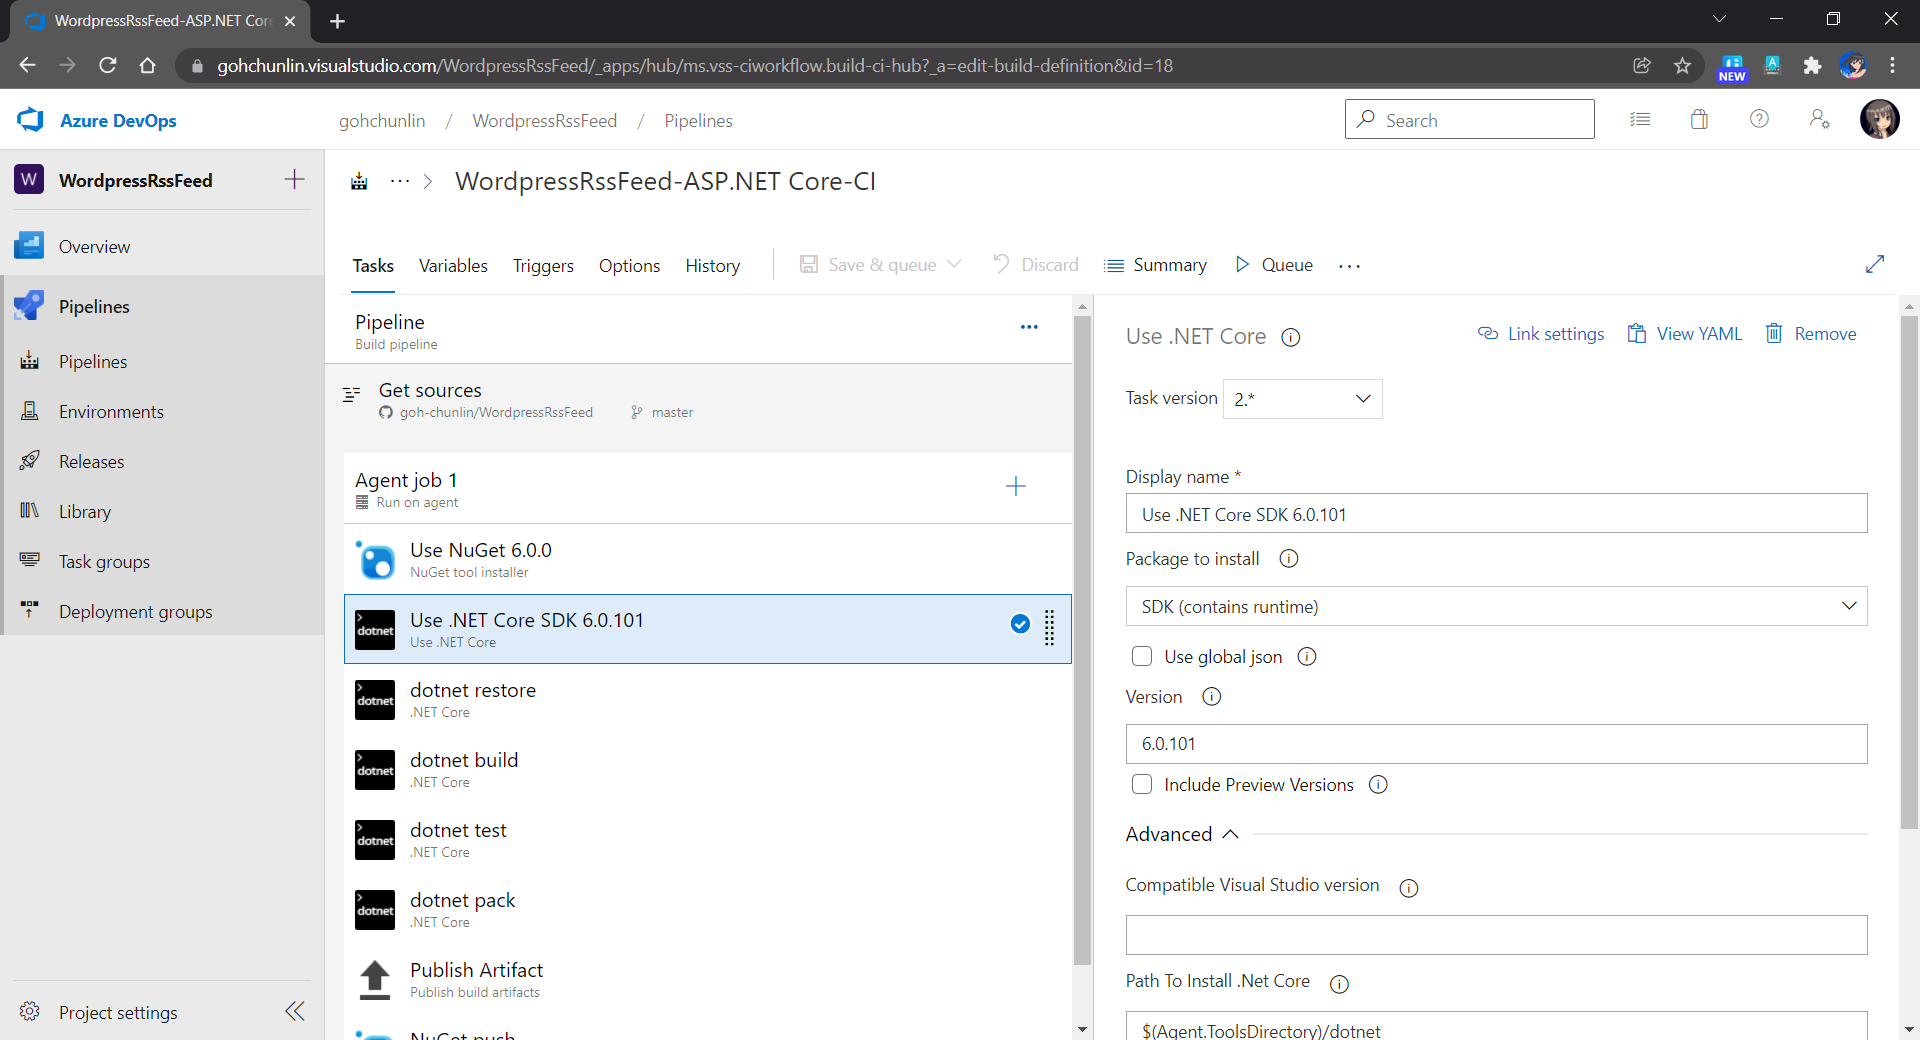
NuGet 6 and .NET 6
Currently (Jan 2022), the latest version of NuGet.exe is 6.0.0 and the latest .NET SDK is 6.0.1. The main reason why we choose to use the latest versions is because we’d like to use the latest feature where we can pack a README.md file in our NuGet package and have it fully rendered on NuGet.org! This feature was newly introduced in May 2021 and was still in preview back then with NuGet 5.10 Preview 2 and .NET SDK 5.0.300 Preview.
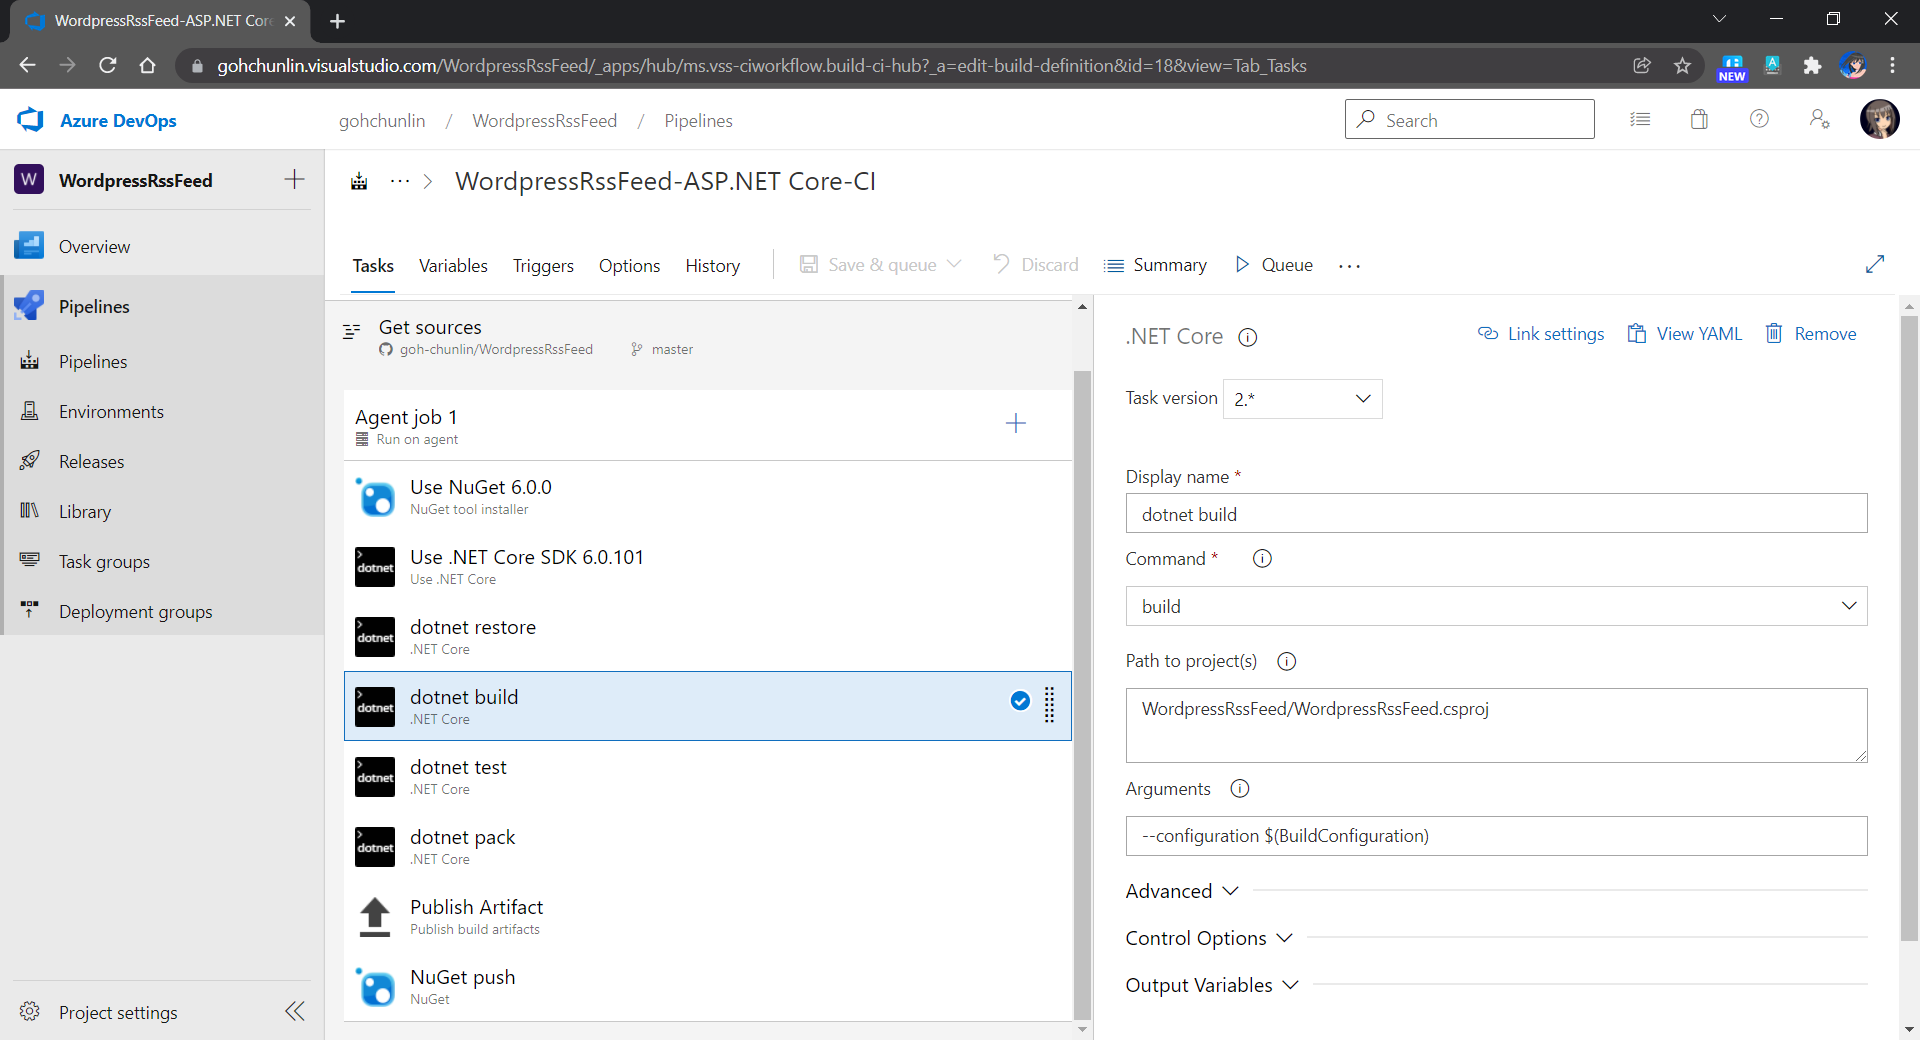
Restore, Build, Test, Pack
We then need to point the restore and build tasks to our library csproj, as shown below.
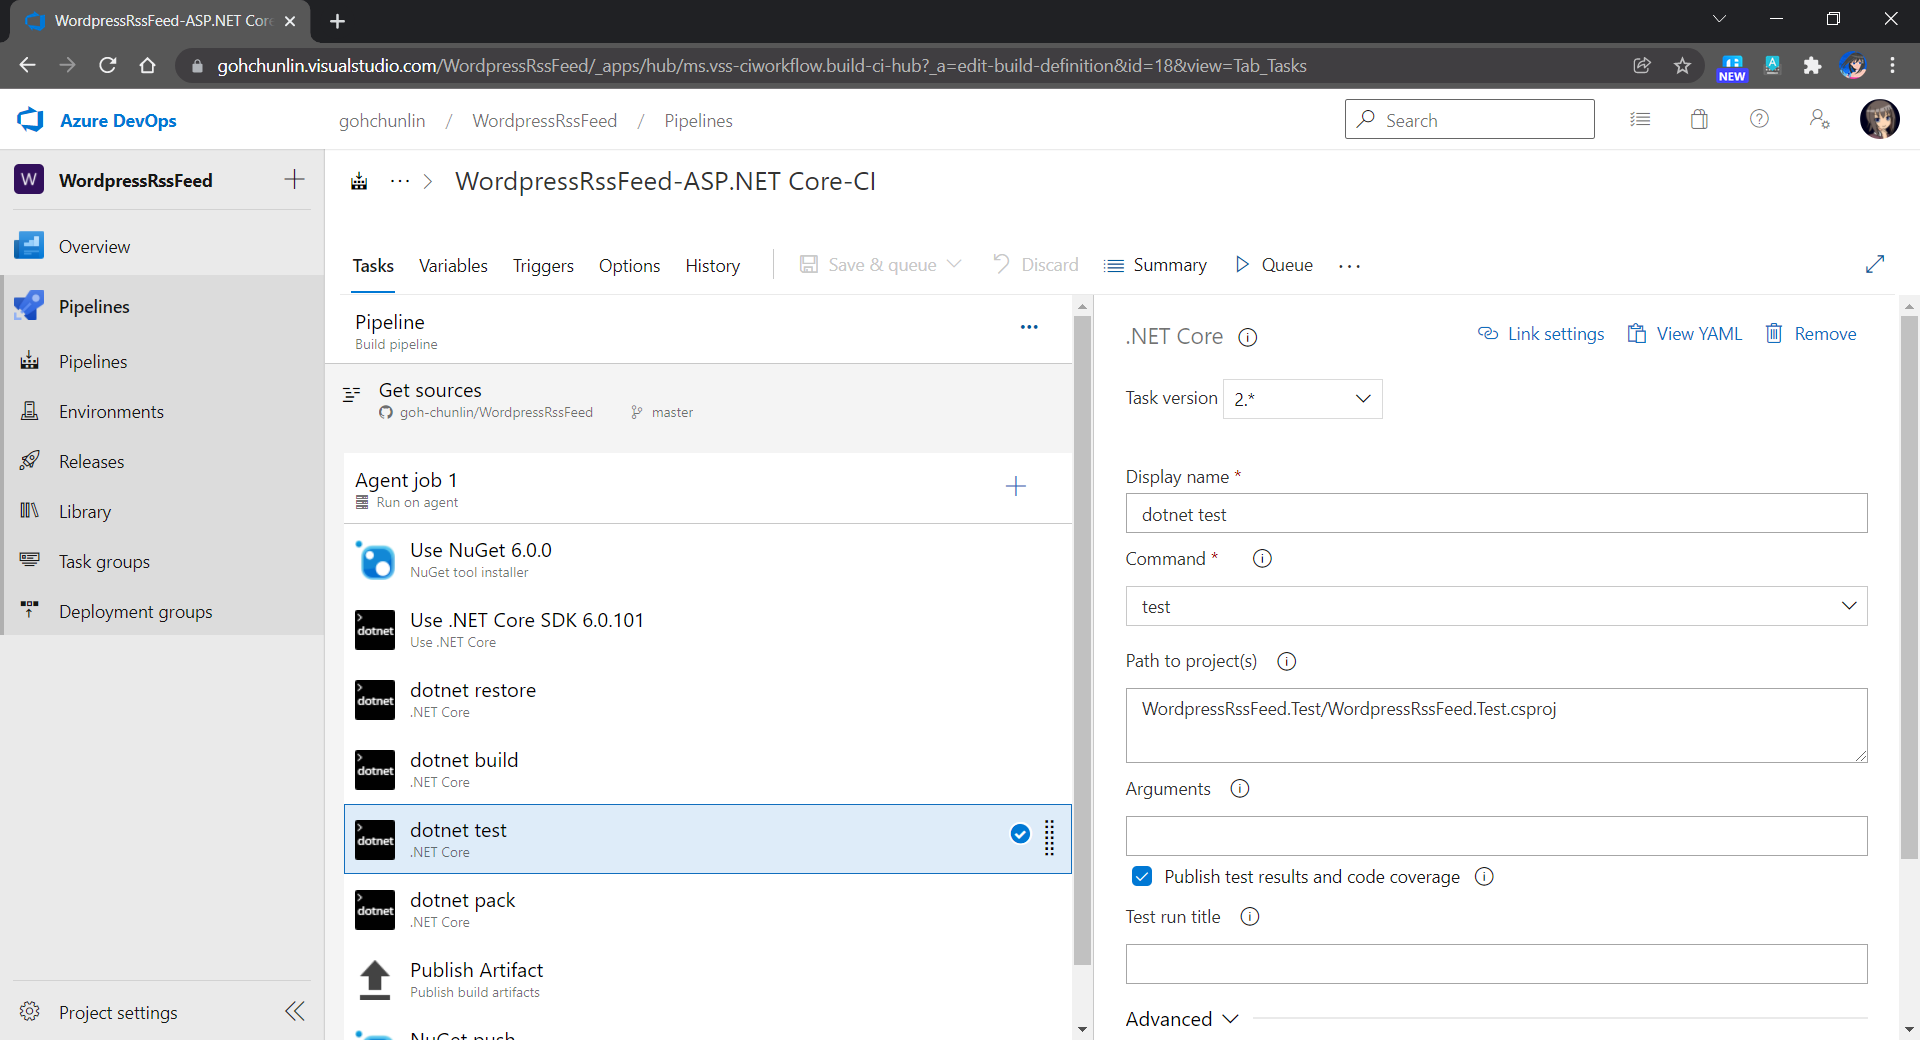
After the build succeeds, we can proceed to run our test cases in the test project, as shown in the following screenshot.
We can pack our library once the test cases are all green. The package will be created in the $(Build.ArtifactStagingDirectory) directory, as shown below. Here, we need to make sure that we setup the package versioning properly. In order to make things easier, we will simply use the build number as our package version.

If you are interested about the output of the pack task, you can also publish it to the drop as shown in the “Publish Artifact” as shown in the screenshot below. Otherwise, you can skip this task.

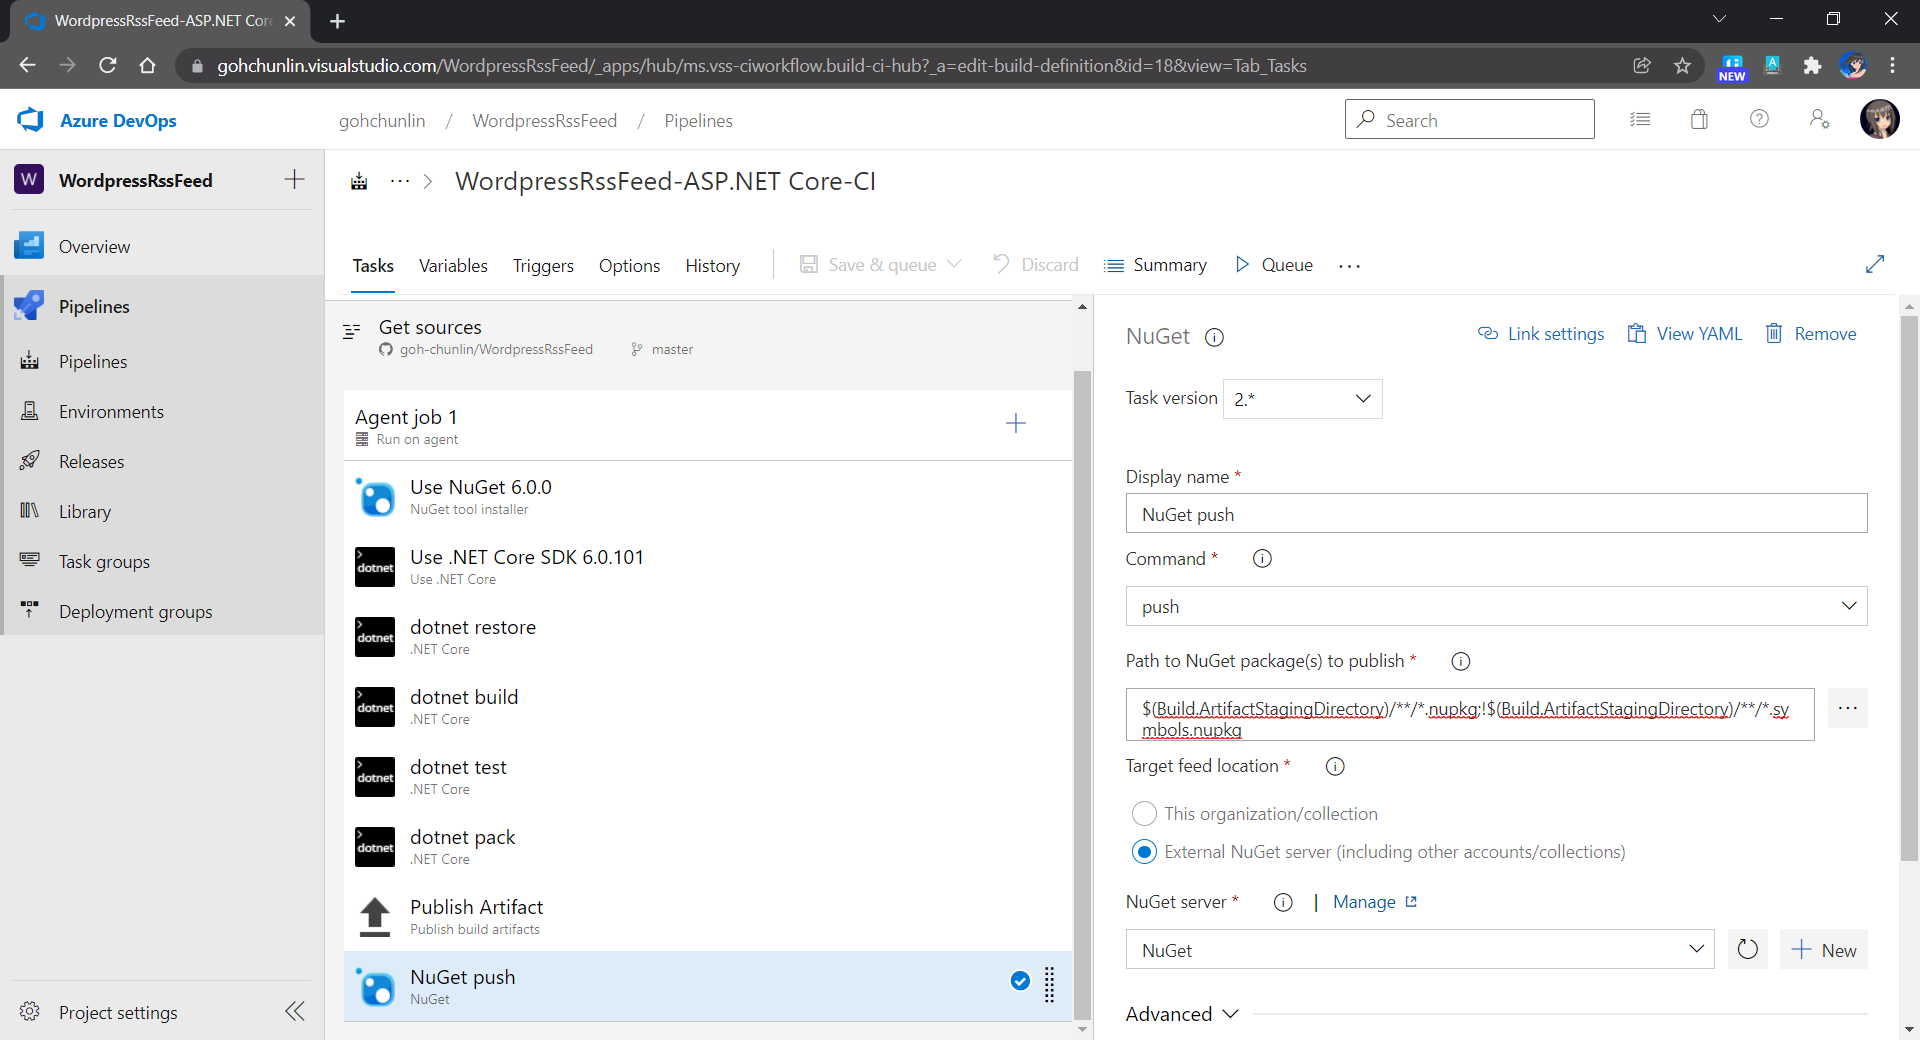
Publish Package to NuGet.org
Since our package is created in $(Build.ArtifactStagingDirectory), so we can specify the path to publish as shown in the screenshot below.
Add Readme File
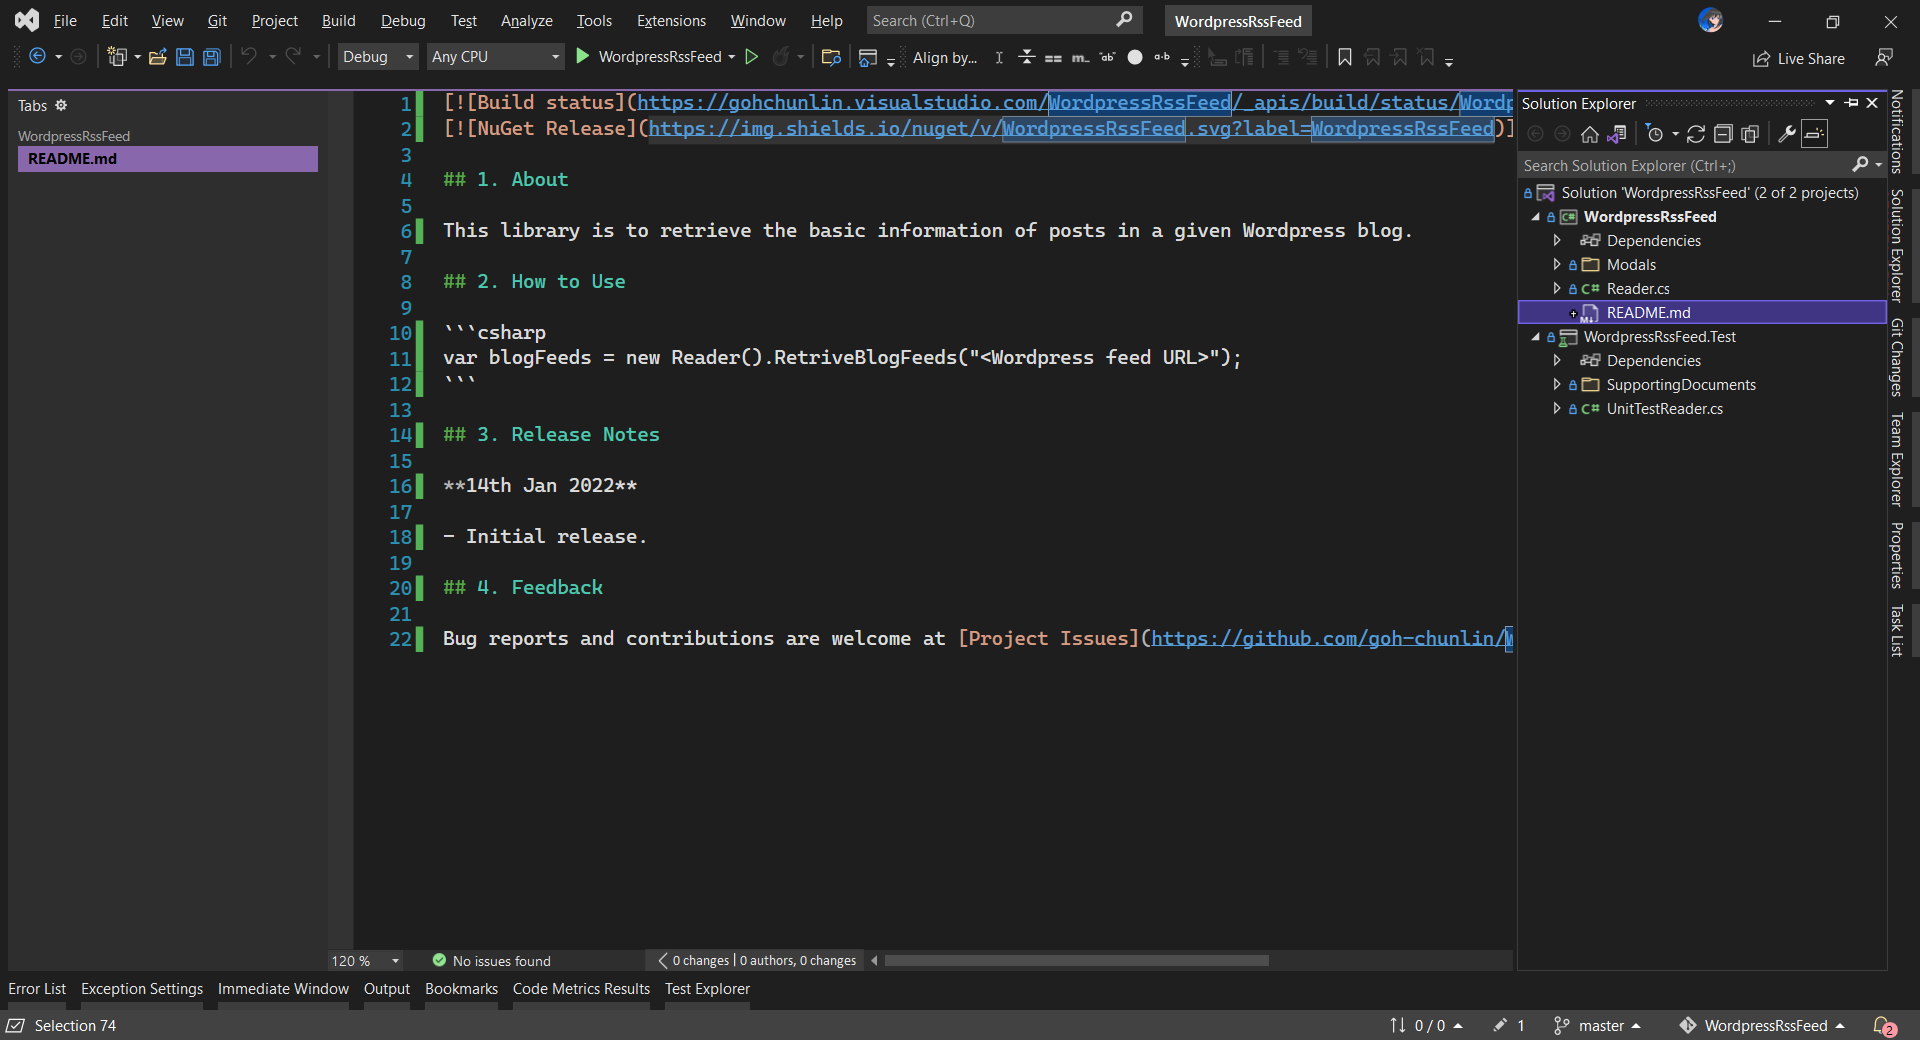
Firstly, we will have a README.md file in the root of our library project, as demonstrated below.
Then we need to reference the README.md in the project file as follows.
<Project Sdk="Microsoft.NET.Sdk">
    <PropertyGroup>
        ...
	<PackageReadmeFile>README.md</PackageReadmeFile>
    </PropertyGroup>

    ...

    <ItemGroup>
	<None Include="README.md" Pack="true" PackagePath="" />
    </ItemGroup>
</Project>
Specify Icon
We can specify the icon for our NuGet package with an image resolution of 128×128 (size is limited to 1MB).
Previously, we could simply host the image online and then specify its URL in the <PackageIconUrl> property. However, starting with NuGet 5.3 and Visual Studio 2019 version 16.3, pack task raises the NU5048 warning if the package metadata only specifies PackageIconUrl property.
Now, we shall use the <PackageIcon> property to specify the icon file path, relative to the root of the library project. In addition, we also need to make sure that the file is included in the package.
<Project Sdk="Microsoft.NET.Sdk">
    <PropertyGroup>
        ...
	<PackageIcon>logo.png</PackageIcon>
    </PropertyGroup>

    ...

    <ItemGroup>
	<None Include="logo.png" Pack="true" Visible="false" PackagePath="" />
    </ItemGroup>
</Project>
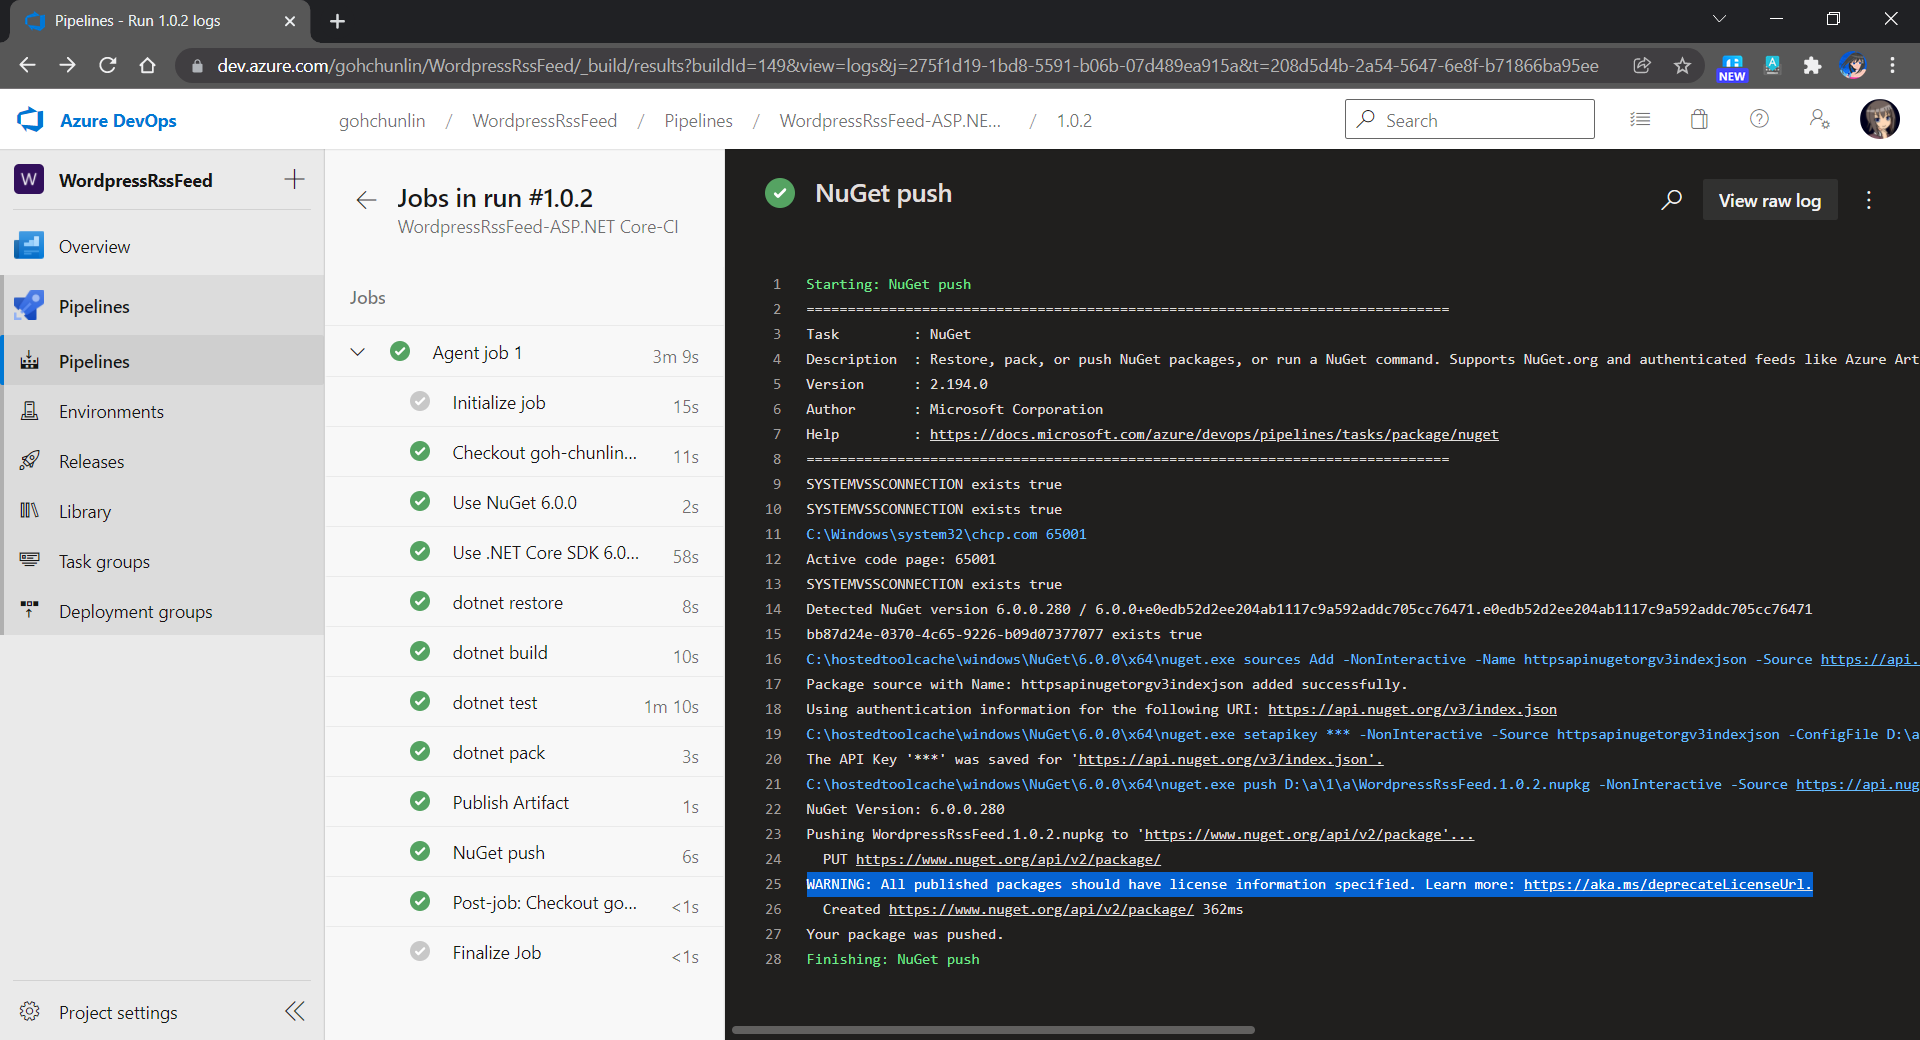
License
If you pay attention to the log of the “NuGet Push” task, you will notice that there is a warning about the license information, as shown below.
To solve this issue, we can use the <PackageLicenseExpression> property to specify the license of our package. If we’re licensing the package under a common license, like MIT or GPL 3.0, we can use the associated SPDX license identifier.
<Project Sdk="Microsoft.NET.Sdk">
    <PropertyGroup>
        ...
	<PackageLicenseExpression>GPL-3.0-only</PackageLicenseExpression>
    </PropertyGroup>

    ...

</Project>
After specifying the license, the warning above will go away.
Alternatively, you can also choose to package a license file by using the <PackageLicenseFile> property to specify the package path, relative to the root of the package. This is similar to how we add an icon to the package, so I won’t repeat the steps of doing that here.
Please take note that only one of PackageLicenseExpression and PackageLicenseFile can be specified at a time. Also, PackageLicenseUrl is deprecated.
Conclusion
It takes a while for our package to be published on NuGet.org. We have to wait a bit longer if it’s the first release of our package.
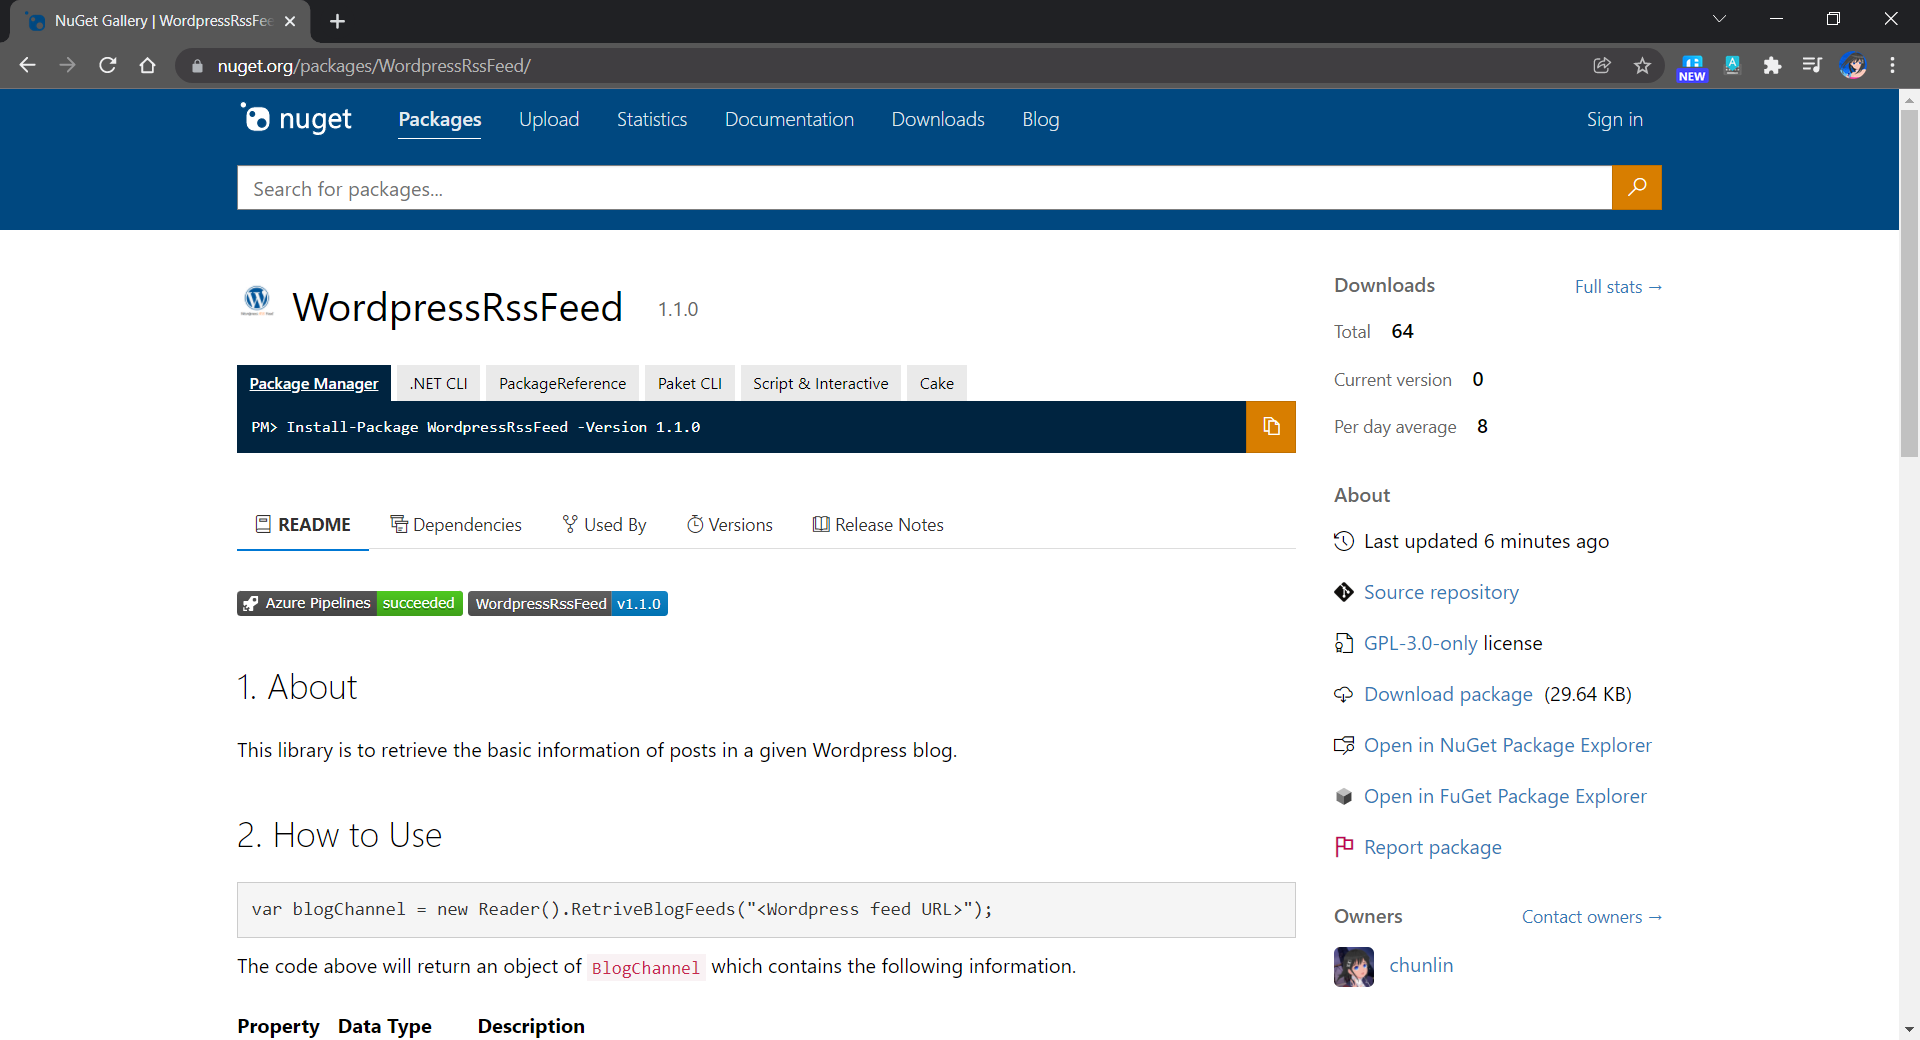
Once the package is searchable on the NuGet Gallery, we shall be able to see our beautiful package page as shown below.
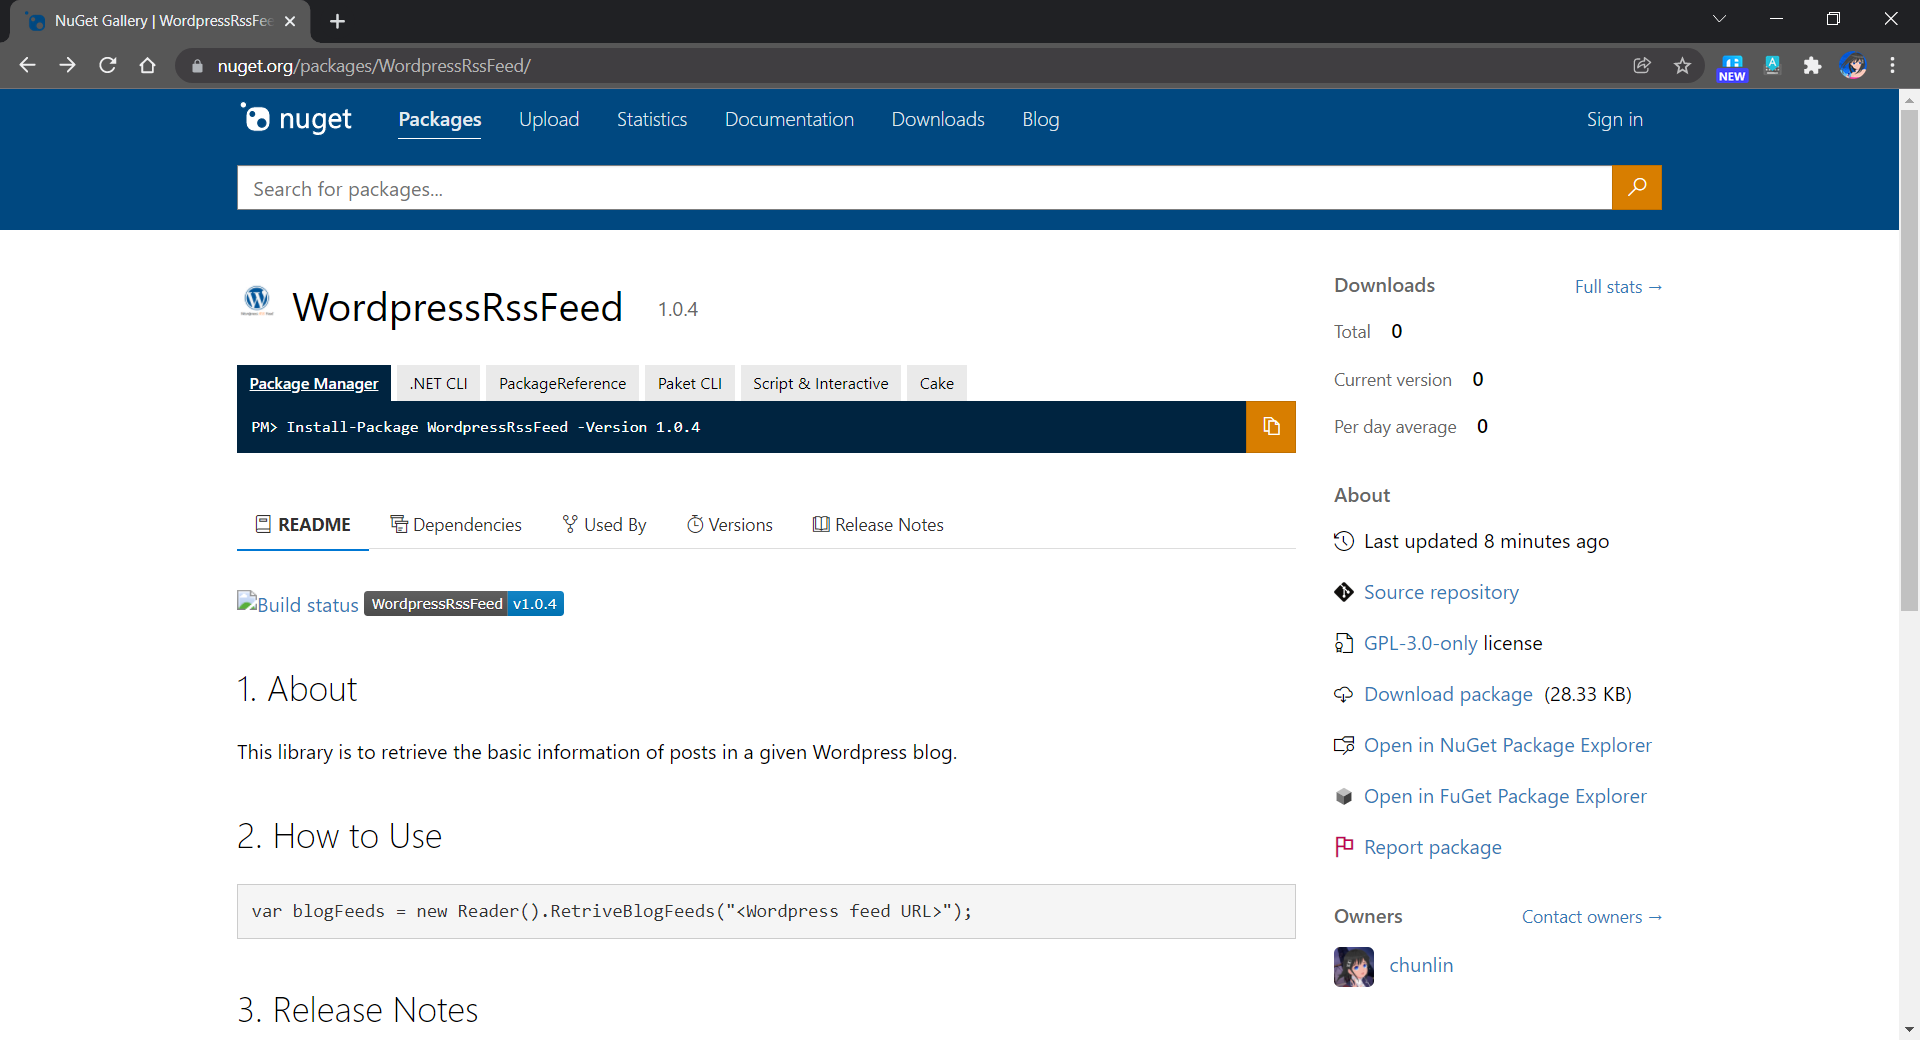
There is one thing to take note here is that due to security and privacy concerns, NuGet.org restricts the domains from which images and badges can be rendered to trusted hosts.
Hence, you may notice that the badge of “Build status” in the screenshot above cannot be loaded. This is because my Azure DevOps is on the old domain, i.e. *.visualstudio.com. The visualstudio.com unfortunately is not one of the trusted domains.
To solve that issue, we should get the badge from the new domain of Azure DevOps, i.e. dev.azure.com, instead.
After the update is done, we should be able to see a complete homepage of our NuGet package as shown in the following screenshot.