In the August meetup of Azure Community Singapore (ACS), Dileepa Rajapaksa shared with us approaches that we could take to modernise our apps with FaaS (Function as a Service) in Azure where he talked about Azure Functions. After his talk, I decided to share how we could use the knowledge of serverless as well as CDN to help improving our website performance.
The website that we are going to work on today is called TechConnect. It’s a website showing the work done by four of my friends and myself, including our blog posts and YouTube videos. It currently consists of three pages:
- Homepage;
- Articles;
- Videos.

Processing Blog Feeds with Azure Functions
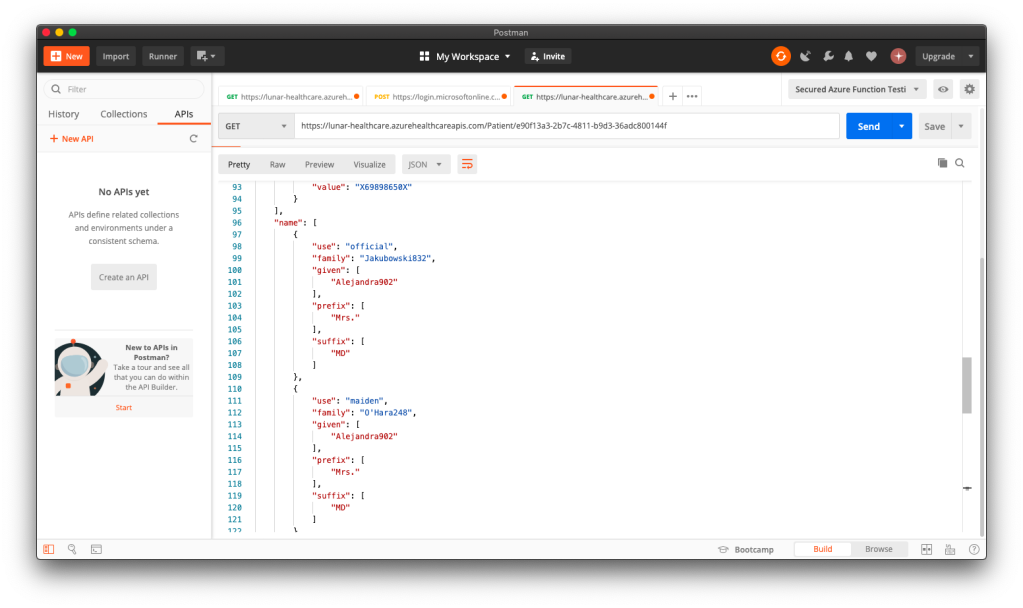
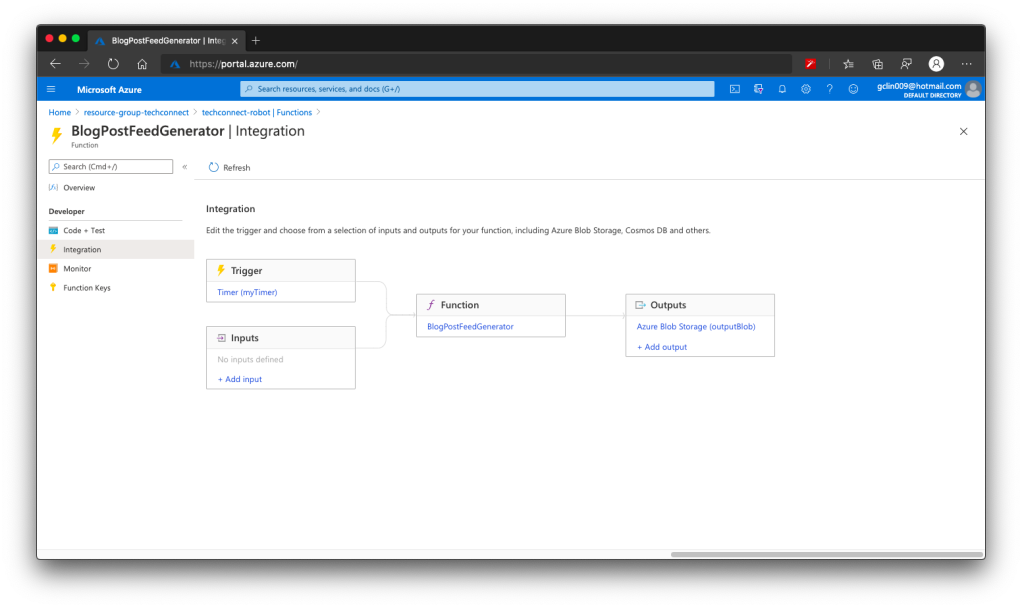
In the Articles page, we will list down the most recent blog posts written by all of us. WordPress, Dev.to, and Medium are the three main blog platforms that five of us use. Hence, in order to retrieve the blog posts from these different platforms, we choose to rely on their RSS feed which is available in all the platforms we use.
However, the RSS feed schema varies across different blog platforms. Hence, we have a simple C# program to process the RSS feed and store them as JSON array into a JSON file on Azure Storage. For example, when we are reading the RSS feed from a WordPress blog, we will have the following code to handle its blog post entries.
XNamespace media = "http://search.yahoo.com/mrss/";

var items = xDoc.Descendants("item")
            .Select(i => new BlogFeed {
                Id = i.Element("link").Value,
                Author = blogAuthor,
                Title = i.Element("title").Value,
                ThumbnailUrl = i.Descendants(media + "content").Where(img => !img.Attribute("url").Value.Contains("gravatar.com")).FirstOrDefault()?.Attribute("url").Value,
                Description = i.Element("description").Value,
                PublishedAt = DateTimeOffset.ParseExact(i.Element("pubDate").Value.Replace("GMT", "+00:00"), "ddd, dd MMM yyyy HH:mm:ss zzz", CultureInfo.InvariantCulture)
            })
            .ToList();
Now, where should we put this code at? We can put it in the website project so that every visit to the Articles page will read the feeds from different blogs and do the aggregation. This works fine but it’s going to take a long time to load the web page. For every visit, the web server needs to make several calls over the network to different blog posts to retrieve the RSS feed and then process it before displaying the blog posts on the Articles page.
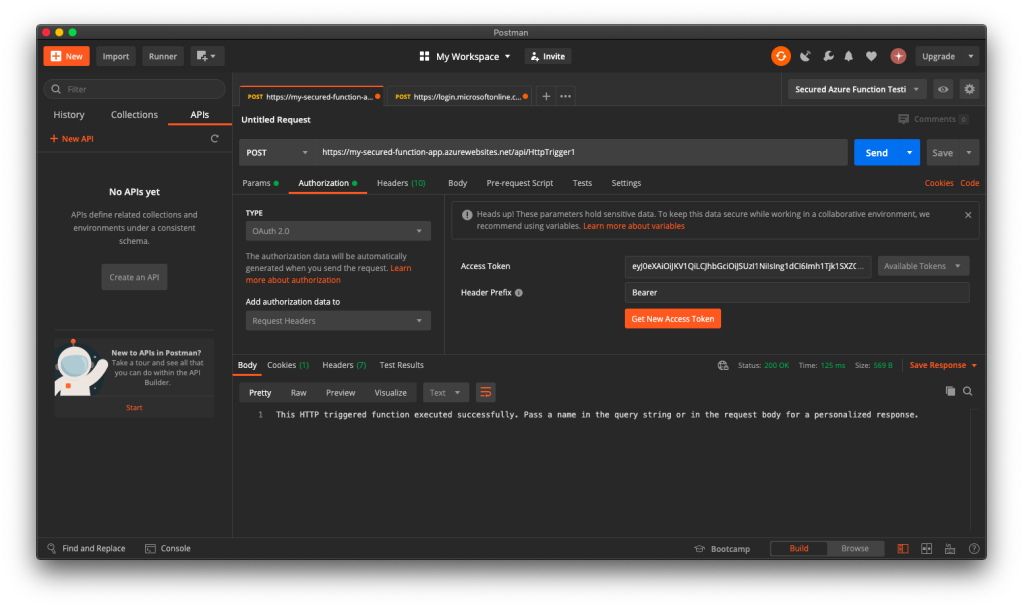
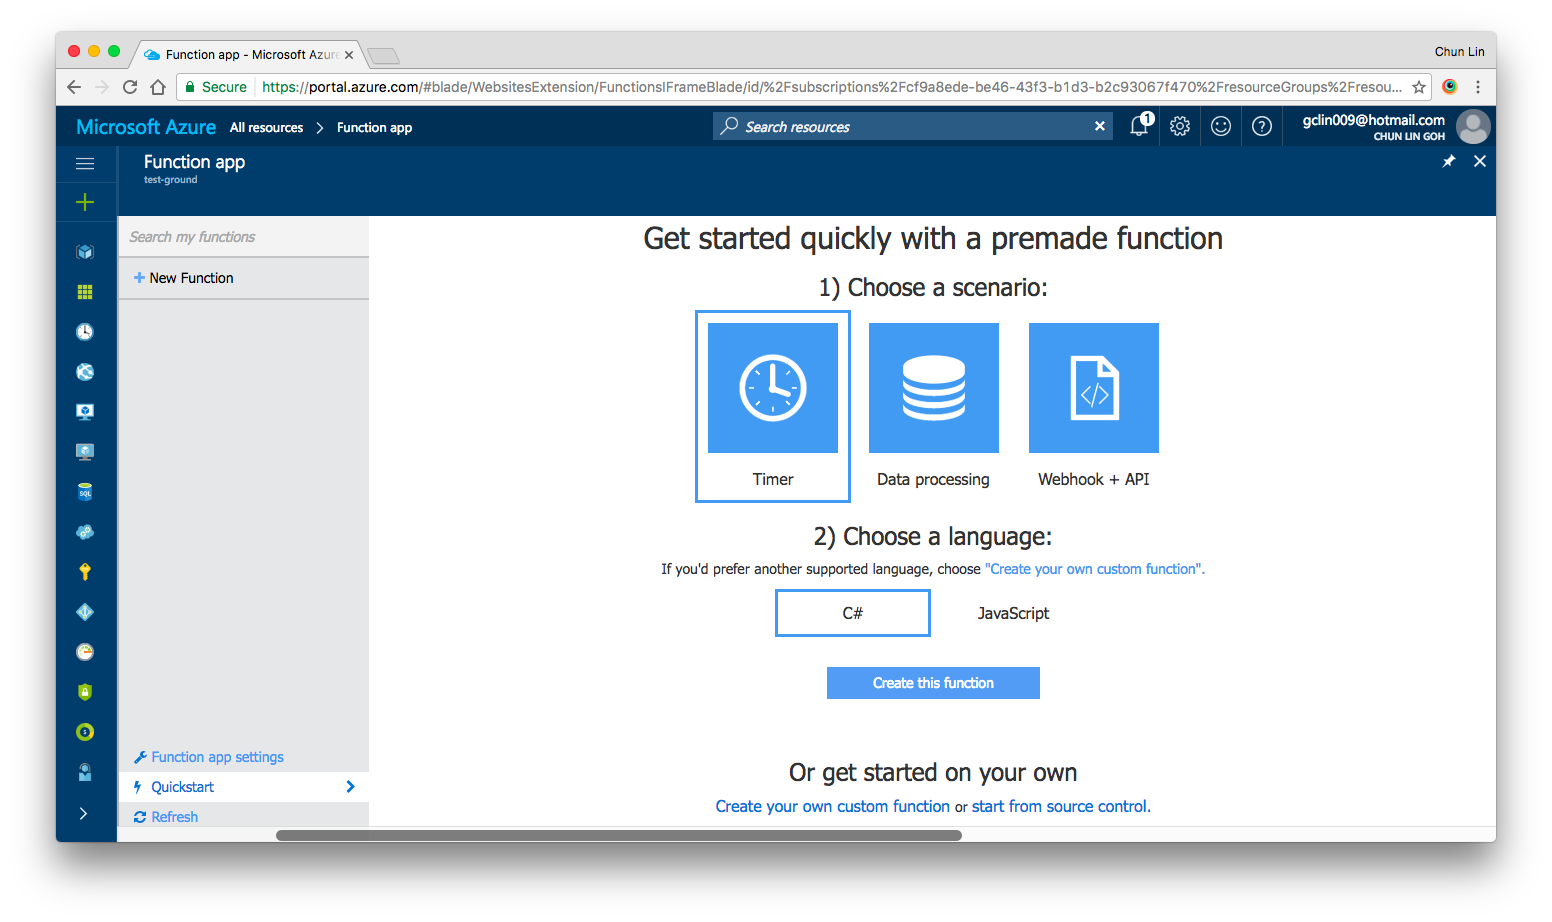
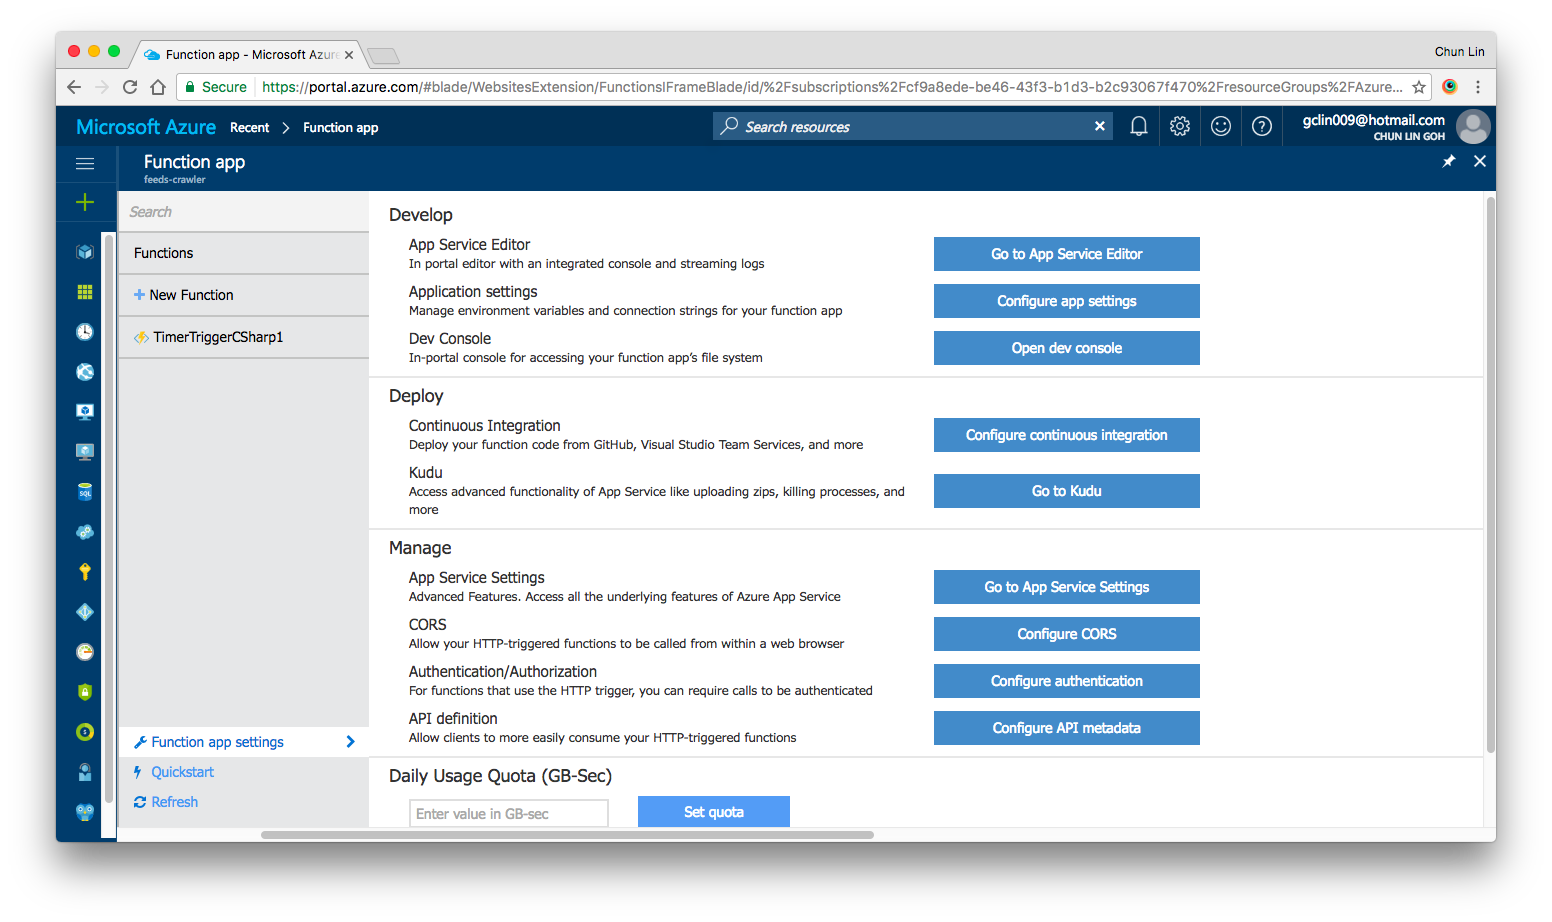
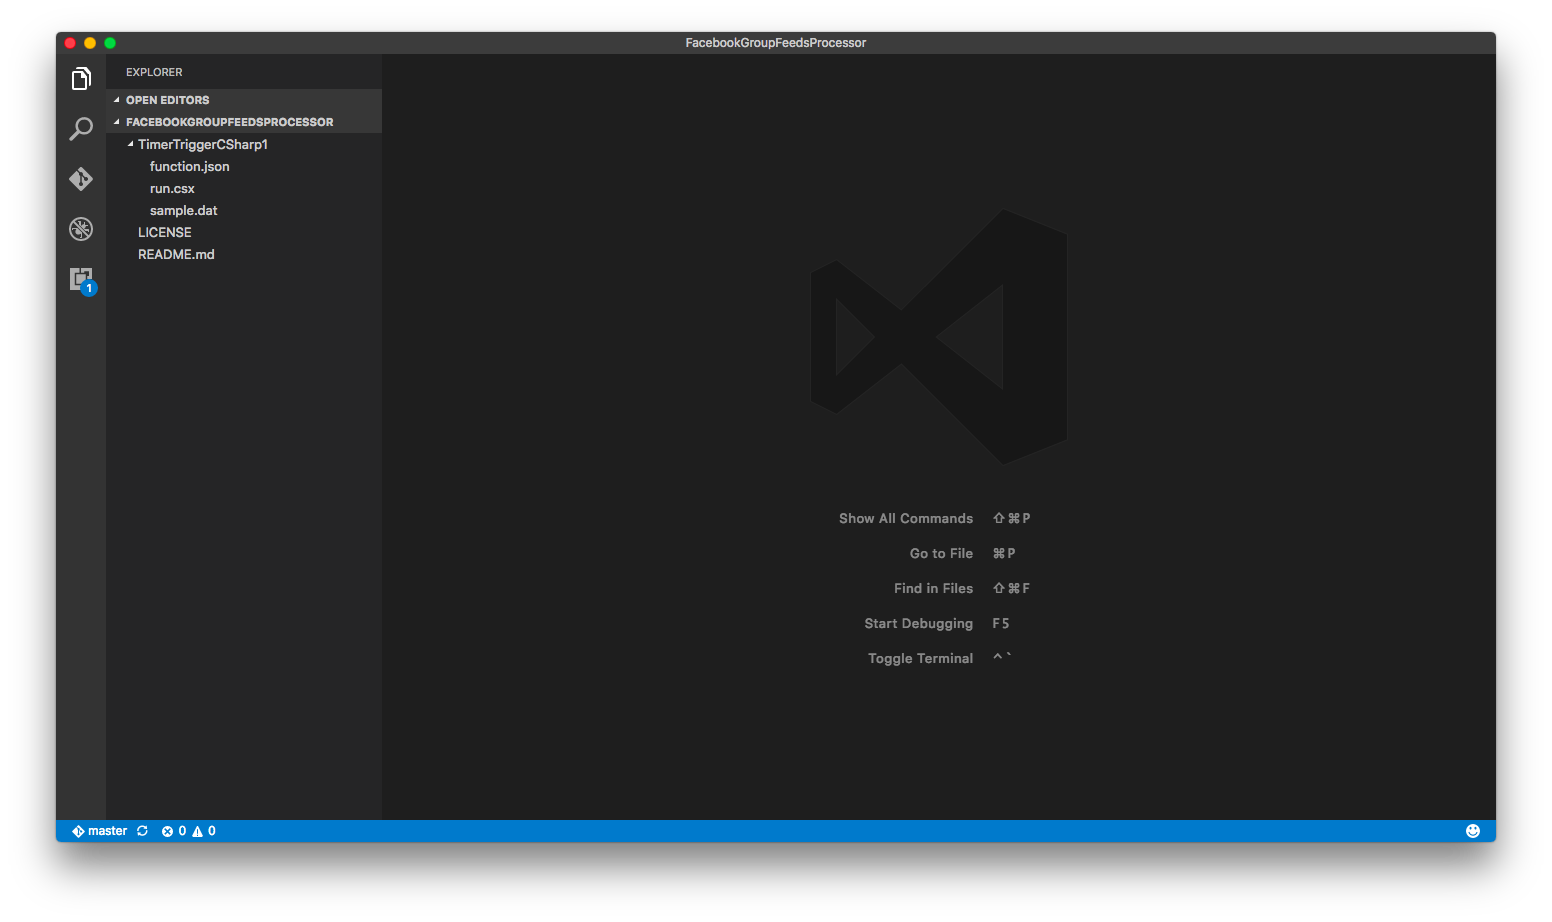
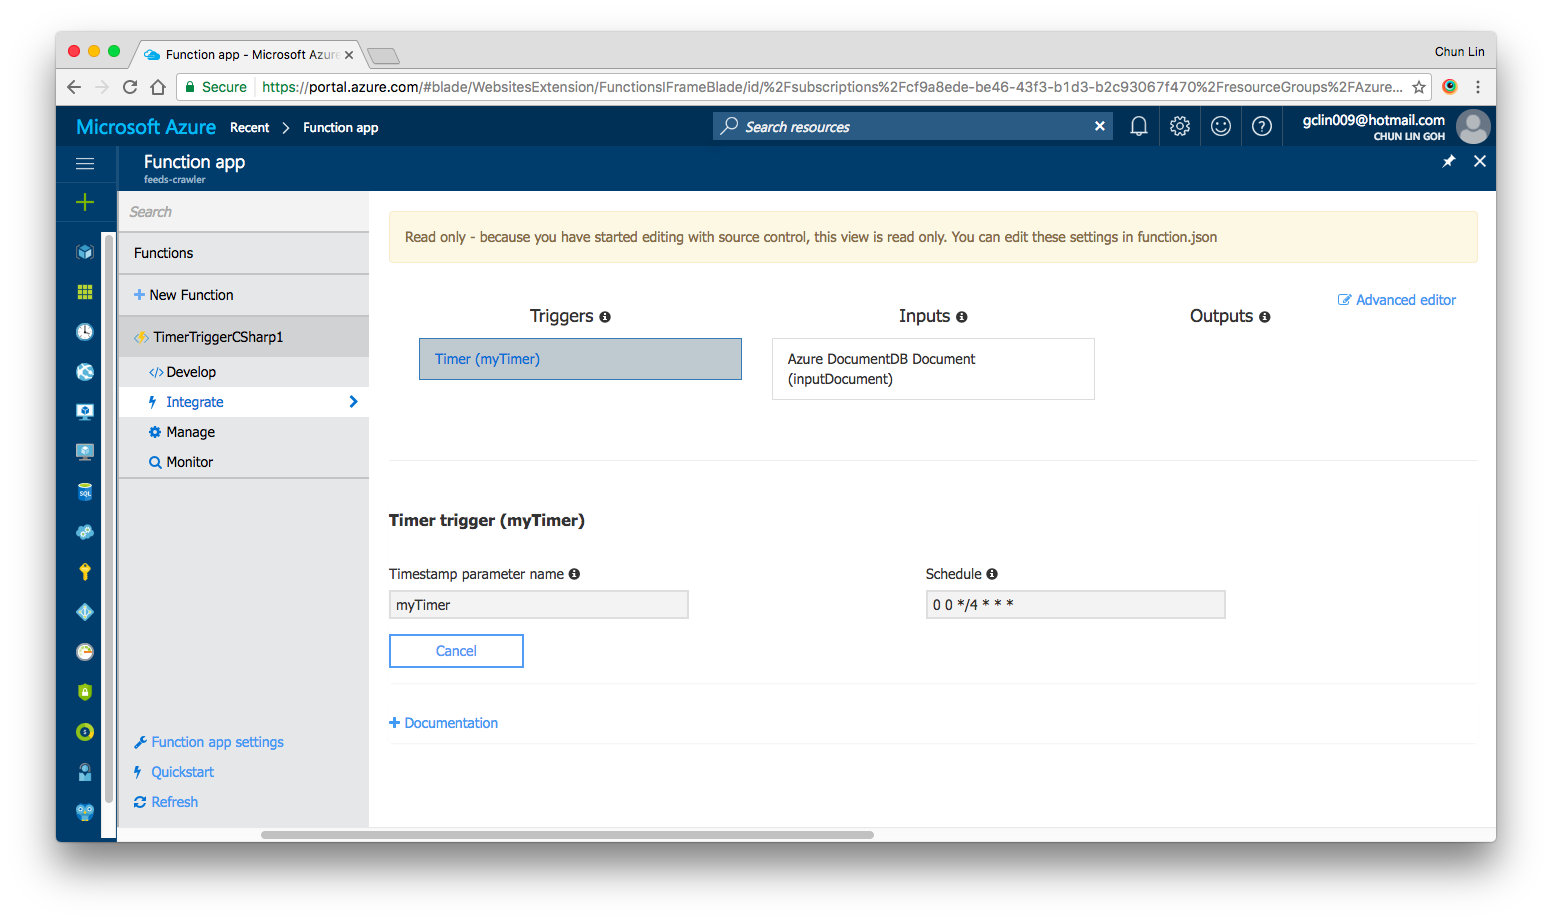
The way we choose is to use Azure Function to retrieve the RSS feed from all the blogs we have in a scheduled manner. We don’t update our blogs frequently, the blogs are at most updated two to three times per day. Hence, we use the time-triggered Azure Function with a call frequency of 6 hours to run the codes above. After each call, the Azure Function will store the info of the latest blog posts into a JSON file and upload it to Azure Storage.
It’s the same for YouTube videos feed in the Videos page. We can also process the RSS feed from our YouTube channels to retrieve the latest videos information using the codes below.
XDocument xDoc = XDocument.Load(channel.RssFeedUrl);

XNamespace ns = "http://www.w3.org/2005/Atom";
XNamespace media = "http://search.yahoo.com/mrss/";
XNamespace yt = "http://www.youtube.com/xml/schemas/2015";

var items = xDoc.Descendants(ns + "entry")
            .Select(i => new YouTubeFeed {
                VideoId = i.Element(yt + "videoId").Value,
                Channel = channel,
                Title = i.Element(ns + "title").Value,
                Description = i.Descendants(media + "group").FirstOrDefault()?.Element(media + "description")?.Value,
                PublishedAt = (DateTimeOffset)i.Element(ns + "published")
            })
            .ToList();
Since we also don’t publish new videos frequently in a day, we have Azure Function to process the YouTube RSS feeds with the codes above and store the information of our latest videos into a JSON file on Azure Storage.
Azure CDN
There is an advantage of storing the latest blog posts and videos information on Azure Storage, i.e. introducing the Azure CDN (Content Delivery Network). Azure CDN is a global CDN solution for delivering content from the closest POP server and thus accelerate the content delivery of a website.
With Azure CDN, we can cache static objects loaded from the Azure Storage as well.

Azure CDN Standard from Microsoft and Akamai
There are three companies offering CDN service in Azure, i.e. Microsoft, Akamai, and Verizon. So far I have only tried out the Azure CDN Standard from Microsoft and Akamai. Eventually the product that I use for TechConnect is Azure CDN Standard from Microsoft.
Why? This is because out of the three companies, Microsoft is the only one providing features that allow me to easily perform the following operations.
- Performing URL Rewrite/Redirect;
- Updating Cache Header/Settings;
- Customising rule-based content delivery.
These features are currently only available in Azure CDN Standard from Microsoft, but not from Akamai and Verizon. However, if you are willing to pay more to upgrade Azure CDN Standard from Verizon to its Premium edition, then you still can enjoy the features above.
There are more about the comparison among the four products (Four because Verizon has both Standard and Premium editions), please refer to the Microsoft documentation on the difference among four of them.
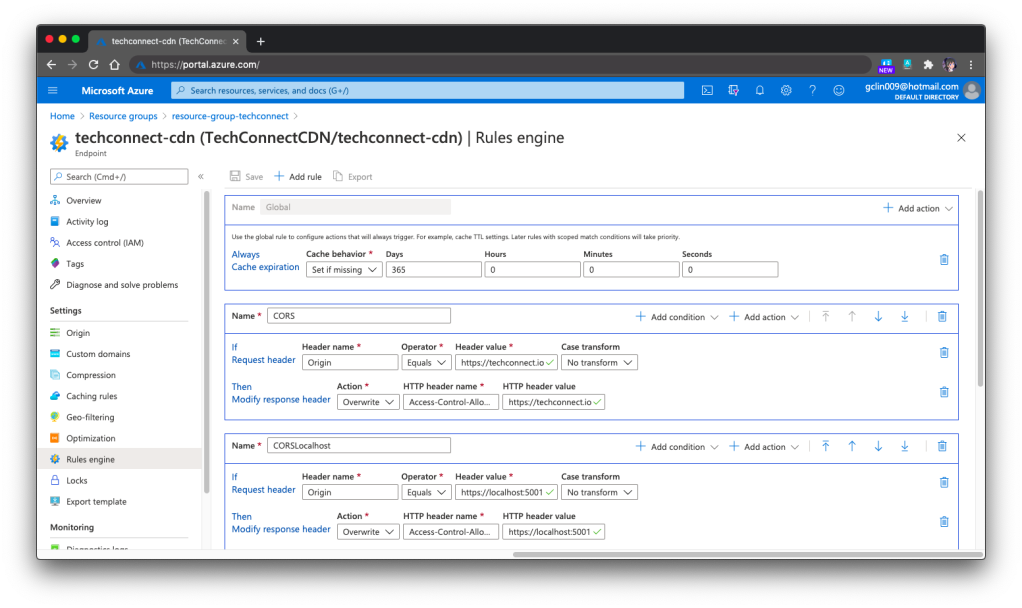
In the previous screenshot, you will notice that there is this Global Rule on top of other rules. The cache expiration is being set there. However, for the Akamai version, we need to set the cache expiration differently under Caching Rules, as shown in the following screenshot.
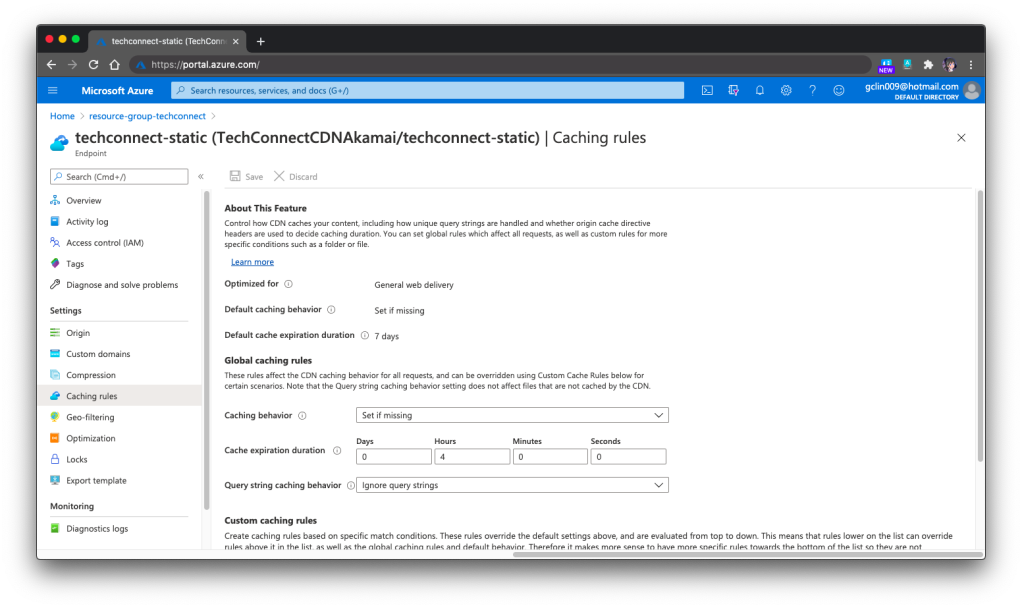
In the Akamai version, we can set the Custom Caching Rules as well, as shown above. For the Microsoft version, we can do that as well under its rule-based engine.
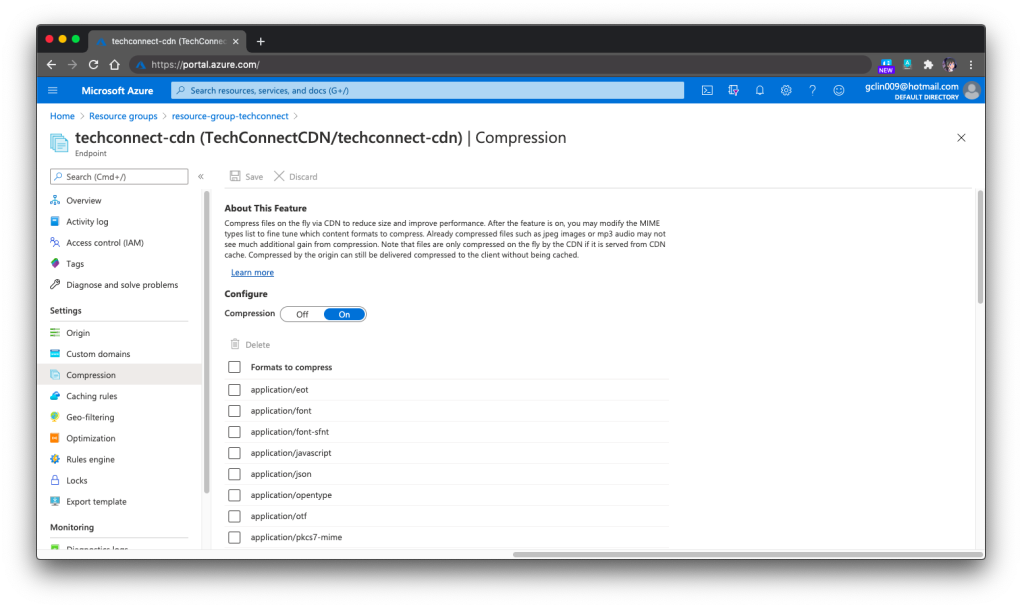
One last important feature that I would like to share is specifying the files that need to be compressed on the fly via Azure CDN so that the performance can be improved. This compression feature is the same in both Microsoft and Akamai versions.
Azure CDN with Custom Domain and HTTPS
Besides static content, we can also integrate our Azure Web App with Azure CDN. Under the Networking section of a web app, we are able to configure Azure CDN for our web app directly.
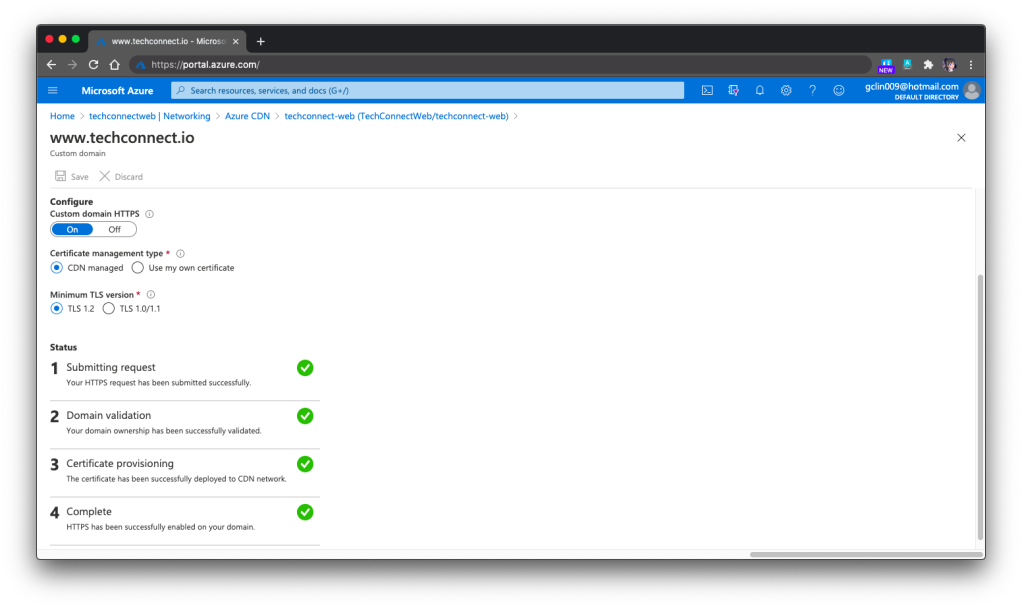
However, there is one important thing to take note if you have a custom domain for the web app and it needs to be HTTPS. Marvin, Eng Teong, and I were trying to set it up with the free SSL cert from SSL For Free, the free cert just did not work with the Azure CDN, as shown in the following screenshot. So far we still have no idea why. If you happen to know the reason, please let me know. Thank you!
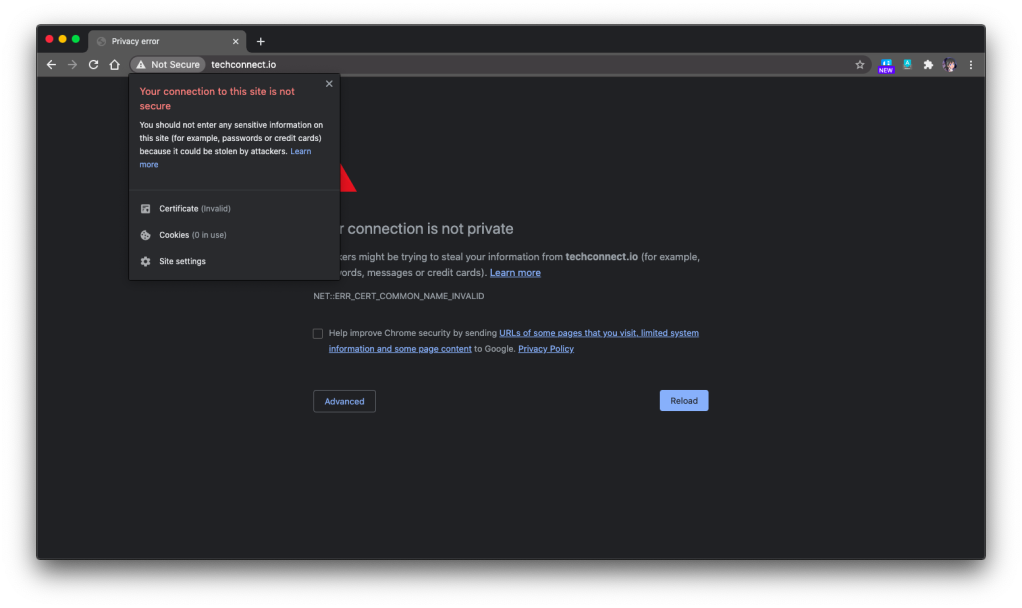
This will only happen for root domain, i.e. https://techconnect.io in our case. This is because in Azure CDN, the Custom Domain HTTPS can have the SSL certificates being managed by either Azure CDN itself or using our own SSL certificates. However, for root domains, the CDN-managed certificates option cannot be used and thus we must bring our own certificates.
For https://www.techconnect.io, we successfully setup the HTTPS for Azure CDN of TechConnect using the CDN-managed certificates. Hence, currently visitors have to visit the website through https://www.techconnect.io.
One more thing that we need to take note of is that if we choose to bring our own certificates for Azure CDN, that those certificates must be stored in Azure Key Vault first.
However, after storing the certificates in the Key Vault, we also need to remember to setup the right permissions for the Azure CDN to access those certificates in the Key Vault. To do so, we need to run the following command in Azure CLI or Azure Cloud Shell to create a new Azure Service Principal for that purpose.
New-AzureRmADServicePrincipal -ApplicationId "..."
This command is normally available in the HTTPS setup page of the Azure CLI. So simply have your administrator of the directory to run the command above will be fine.
Here, I’d also like to thank Eng Teong for helping me in this step.
Simple Contact Us Form with Logic App
For the Contact Us form on the TechConnect homepage, it’s a perfect example of small little things that is crucial in a system but can be solved with easy solution. Of course, we can use some ready-made solutions available in the market to help us manage the Contact Us form. However, that means we rely on 3rd party services and our data most likely will not be with us.
In fact, Issac Levin, Microsoft Senior Technical Product Marketing Manager, once wrote about his solution which is using Azure Function. However, that is too much also because, in my opinion, it requires coding knowledge in order to write the function.
So, if you are looking for a simpler solution, I’d like to recommend you to give Azure Logic Apps a try.
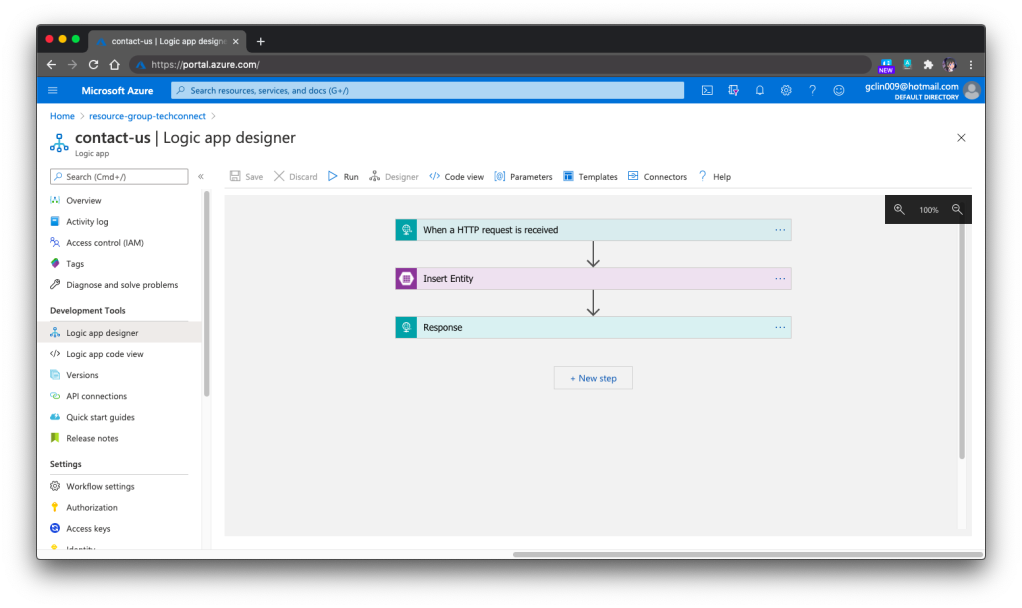
Here, I will not go through the details about Logic App and steps on how to set it up. There are plenty of tutorials about this online. Instead, I will share with you our design of Logic App for the Contact Us form on TechConnect.
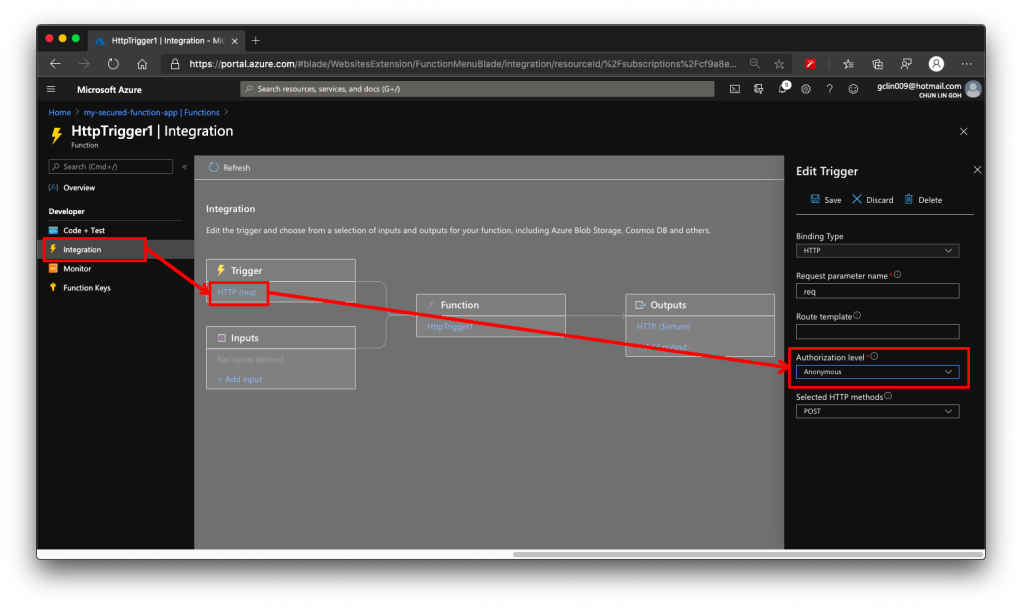
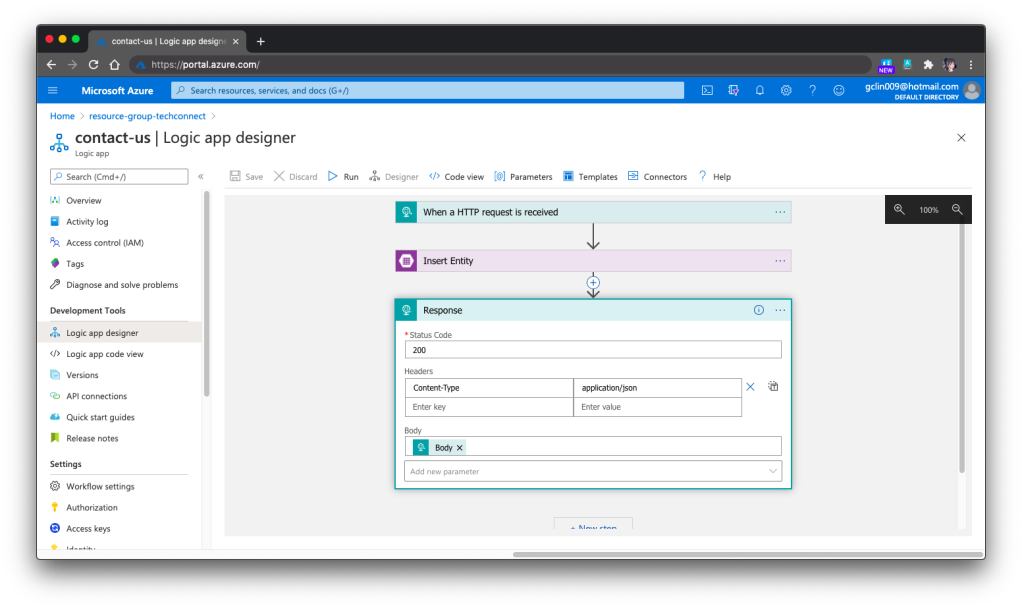
Our Logic App is HTTP triggered. Once it receives a POST request, it will validate the request body against the schema provided. If the request is valid, it will proceed to insert the form submission to the Azure Table Storage, a NoSQL key-value store. Finally, it will return a HTTP 200 back.
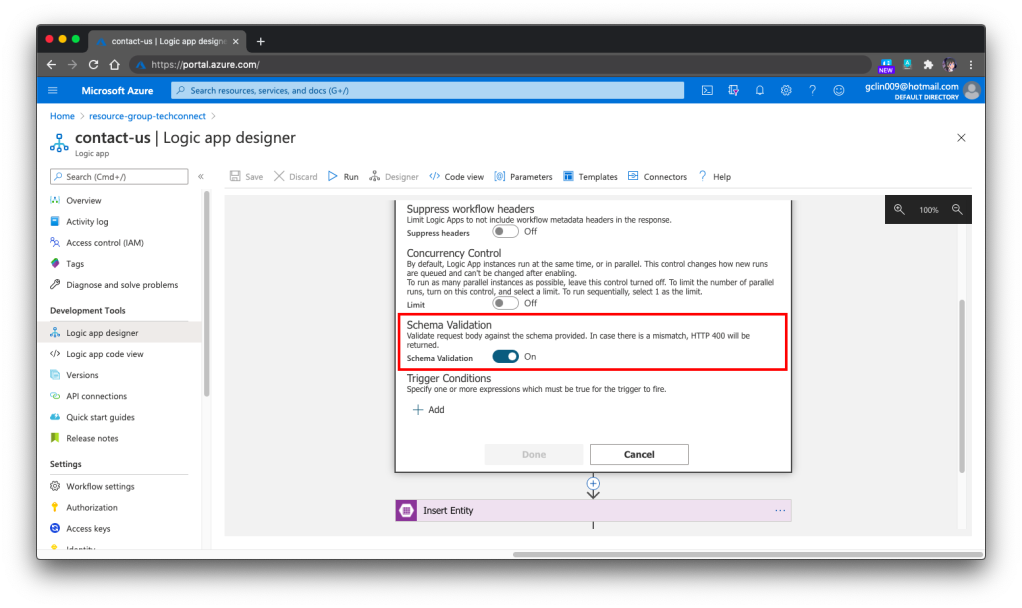
Just now we mention about schema validation for the HTTP request body but how to do so? It turns out that it’s pretty straightforward, just need to turn on the feature in the Settings of the 1st Step, as shown in the following screenshot.
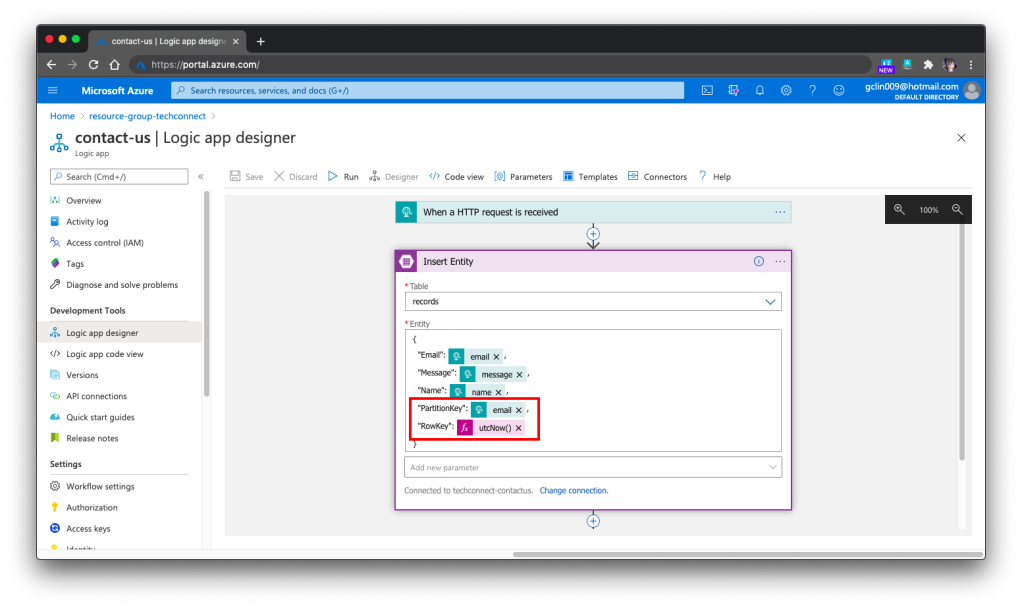
Then for the 2nd step, it is pretty straightforward too. We just need to remember to provide the two compulsory fields, i.e. PartitionKey and RowKey, as shown in the following screenshot. Otherwise, the storing will fail.
Next, the Logic App needs to return a HTTP 200 to tell the website that the call is successful, as shown in the following screenshot.
Finally, we need to talk a bit about how to debug the Logic Apps. One the Azure Portal, there is a very helpful tool for debugging and tracing purposes. The tool is called the Runs History which is available right in the Logic App Overview page. You can refer to the official Microsoft Docs for more details about it.
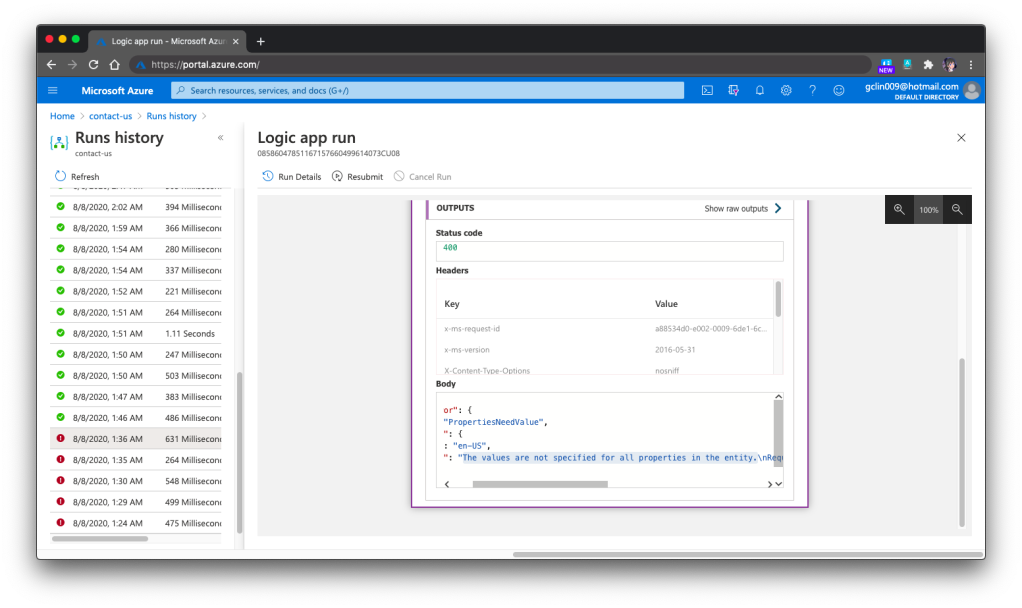
For example, when we omitted the PartitionKey and RowKey in the Step 2, we would see Step 3 is not executed in the Run History and it stopped at the Step 2. Then the detail error message will be available there to give us more info, as shown in the screenshot above.
Conclusion
That’s all for the weekend project that I did with the help from my friends, Marvin and Eng Teong.
Lastly, please visit our TechConnect website and say hi to us! =D