Front-end Development in dotnet.sg

yeoman-bower-npm-gulp

The web development team in my office at Changi Airport is a rather small team. We have one designer, one UI/UX expert, and one front-end developer. Sometimes, when there are many projects happening at the same time, I will also work on the front-end tasks with the front-end developer.

In the dotnet.sg project, I have chance to work on front-end part too. Well, currently I am the only one who actively contribute to the dotnet.sg website anyway. =)

Screen Shot 2017-01-29 at 12.49.23 AM.png
Official website for Singapore .NET Developers Community: http://dotnet.sg

Tools

Unlike the projects I have in work, dotnet.sg project allows me to choose to work with tools that I’d like to explore and tools that helps me work more efficiently. Currently, for the front-end of dotnet.sg, I am using the following tools, i.e.

  • npm;
  • Yeoman;
  • Bower;
  • Gulp.

Getting Started

I am building the dotnet.sg website, which is an ASP .NET Core web app, on Mac with Visual Studio Code. Hence, before I work on the project, I have to download NodeJs to get npm. The npm is a package manager that helps to install tools like Yeoman, Bower, and Gulp.

After these tools are installed, I proceed to get a started template for my ASP .NET Core web app using Yeoman. Bower will then follow up immediately to install the required dependencies in the web project.

screen-shot-2017-01-28-at-9-03-10-pm
Starting a new ASP .NET Core project with Yeoman and Bower.

From Bower with bower.json…

Working on the dotnet.sg project helps me to explore more. Bower is one of the new things that I learnt in this project.

To develop a website, I normally make use of several common JS and CSS libraries, such as jQuery, jQuery UI, Bootstrap, Font Awesome, and so on. With so many libraries to manage, things could be quite messed up. This is where Bower comes to help.

Bower helps me to manage the 3rd party resources, such as Javascript libraries and frameworks, without the need to locate the script files for each resources myself.

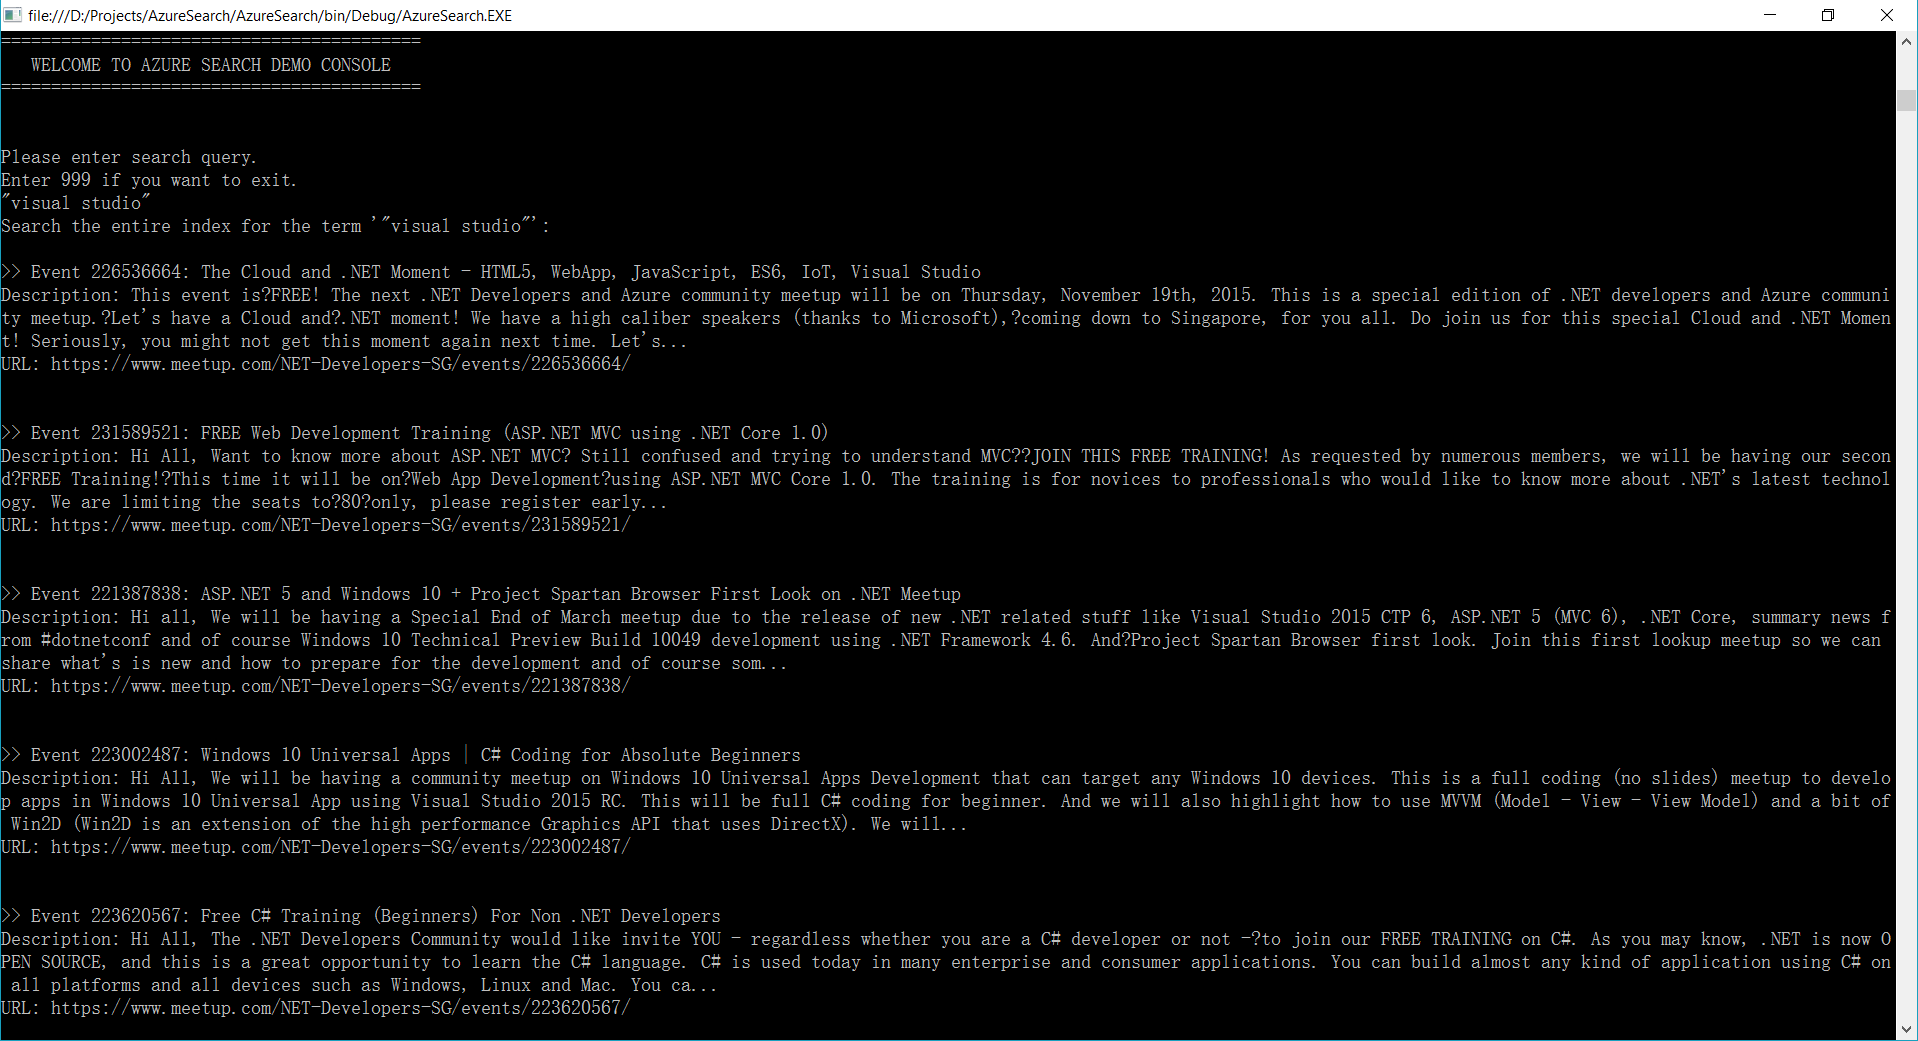
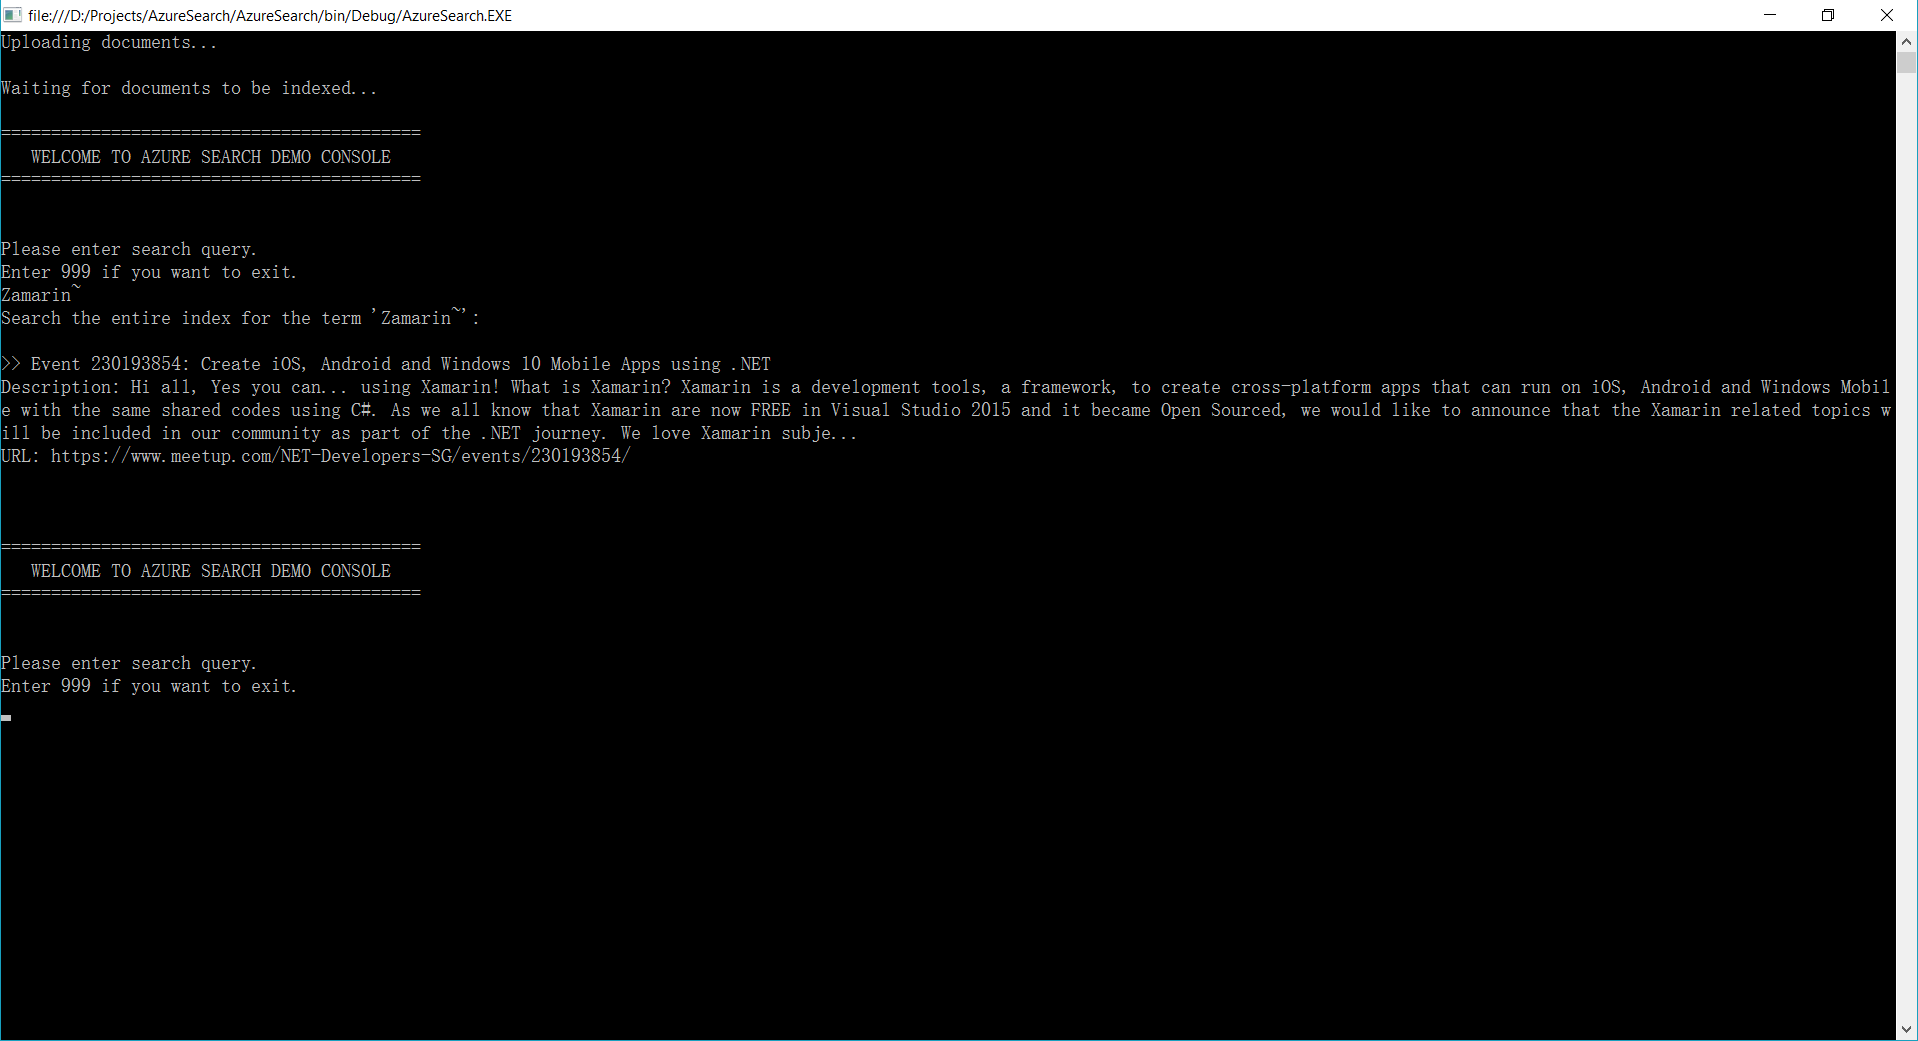
For example, we can do a search of a library we want to use using Bower.

Screen Shot 2017-01-28 at 9.44.47 PM.png
Search the Font Awesome library in Bower.

To install the library, for example Font Awesome in this case, then with just one command, we can easily do it.

$ bower install fontawesome

The libraries will be installed in the directory as specified in the Bower Configuration file, .bowerrc. By default, the libraries will be located at the lib folder in wwwroot.

screen-shot-2017-01-28-at-10-08-44-pm
Downloaded libraries will be kept in wwwroot/lib as specified in .bowerrc.

Finally, to check the available versions of a library, simply use the following command to find out more about the library.

$ bower info fontawesome

I like Bower because checking bower.json into the source control ensures that every developer in the team has exactly the same code. On top of that, Bower also allows us to lock the libraries to a specific version. This will thus prevent some developers to download some different version of the same library from different sources themselves.

…to npm with package.json

So, now some of you may wonder, why are we using Bower when we have npm?

Currently, there are also developers supporting the act to stop using Bower and switch to npm. Libraries such as jQuery, jQuery UI, and Font Awesome, can be found on npm too. So, why do I still talk about Bower so much?

Screen Shot 2017-01-28 at 11.30.58 PM.png
Searching for packages in npm.

For ASP .NET Core project, I face a problem on referring to node_module from the View. Similar as Bower, npm will position the downloaded packages in a local folder also. The folder turns out to be node_module, which is on the same level as wwwroot folder in the project directory.

As ASP .NET Core serves the CSS, JS, and other static files from the wwwroot folder which doesn’t have node_module in it, the libraries downloaded from npm cannot be loaded. One way will be using Gulp Task but that one is too troublesome for my projects so I choose not to go that way.

Please share with me how to do it with npm in an easier way than with Bower, if you know any. Thanks!

Goodbye, Gulp

I first learnt Gulp was when Riza introduced it one year ago in .NET Developers Community Singapore meetup. He was then talking about the tooling in ASP .NET Core 1.0 projects.

Riza Talking about Gulp.png
Riza is sharing knowledge about Gulp during dotnet.sg meetup in Feb 2016.

However, about four months after the meetup, I came to a video on Channel9 announcing that the team removed Gulp from the default ASP .NET template. I’m okay with this change because using BundleMinifier to do bundling and minifying of CSS and JS now without using Gulp because using bundleconfig.json in BundleMinifier seems to be straightforward.

Screen Shot 2017-01-28 at 11.59.18 PM.png
Discussion on Channel 9 about the removal of Gulp in Jun 2016.

However, the SCSS compilation is something I don’t know how to do it without using Gulp (Please tell me if you know a better way. Thanks!).

To add back Gulp to my ASP .NET Core project, I do the following four steps.

  1. Create a package.json with only the two compulsory properties, i.e. name and version (Do this step only when package.json does not exist in the project directory);
  2. $ npm install --save-dev gulp
  3. $ npm install --save-dev gulp-sass
  4. Setup the generated gulp.js file as shown below.
var gulp = require('gulp');
var sass = require('gulp-sass');

gulp.task('compile-scss', function(){
    gulp.src('wwwroot/sass/**/*.scss')
        .pipe(sass().on('error', sass.logError))
        .pipe(gulp.dest('wwwroot/css/'));
})

//Watch task
gulp.task('default', function() {
    gulp.watch('wwwroot/sass/**/*.scss', ['compile-scss']);
})

After that, I just need to execute the following command to run gulp and changes made to the .scss files in the sass directory will trigger the Gulp Task to compile the SCSS to corresponding CSS.

$ gulp

There is also a very detailed online tutorial written by Ryan Christiani, the Head Instructor and Development Lead at HackerYou, explaining each step above.

Oh ya, in case you are wondering what is the difference between –save and –save-dev in the npm commands above, I like how it is summarized on Stack Overflow by Tuong Le, as shown below.

  • –save-dev is used to save the package for development purpose. Example: unit tests, minification.
  • –save is used to save the package required for the application to run.

Conclusion

I once heard people saying that web developers were the cheap labour in software development industry because they are still having the mindset that web developers just plug-and-play modules on WordPress.

After working on the dotnet.sg project and helping out in front-end development at work, I realize that web development is not an easy plug-and-play job at all.

Picking Up SCSS

sass-web-compiler-visual-studio-pluralsight

Last week, during our work discussion, we came to this point where we argued if “fast first, slow later” or “slow first, fast later” is suitable in our working environment.

In startup mode, everything comes at you quickly, and you tend to react fast. So in the first two years of setting up the Innovation Team in Changi Airport, our software development team had been working very hard and very fast to meet the deadline. Now, our company is switching from startup mode to scale-up mode where we need to shift towards doing things right more often than doing things fast.

Hence, we are working on setting up a set of suitable development and design principles in our development team. Applying SCSS to refactor our CSS is part of this time-consuming, difficult, and tiring process.

Installing Web Debugger in VS2015

After the introduce of Web Essentials 2015, features such as compiling SCSS files have been moved to another extension called Web Compiler in Visual Studio.

Hence, to get started in VS2015, we need to first download Web Compiler via Tools > Extensions and Updates.

Installing Extensions in VS2015.png
Installed Web Compiler in Visual Studio 2015

We will need to restart Visual Studio after the installation. Once the Visual Studio is restarted, we then can start using SCSS in our web projects.

By using Web Compiler, every time we save the .scss file, it will auto compile it to be a corresponding .css file (with minified version as well!).

Another feature that I like in this extension is that Visual Studio will specify whether the SCSS files are “Compiled successfully” or there is any SCSS error, as shown in the screenshot below.

SCSS Error Reporting in VS2015.png
Visual Studio will provide friendly error messages for SCSS too!

Refactor CSS into SCSS

Previously, besides using CSS from Bootstrap, we mostly handcrafted our CSS. Recently, it had become quite hard to maintain. So I started to refactor the CSS files from one of our web projects into SCSS.

Firstly, I created a new set of blank SCSS files while keeping the existing CSS files untouched. Secondly, I change the CSS reference of the website to use the new CSS files generated by the Sass pre-compiler. By doing this, I can choose to slowly refactor the existing CSS.

Change I Love #1: Introduction of Variables

Taking just brand colour as an example, currently our CSS files have it all over the place. The same shade of blue appears a lot of times. It is incredibly hard and time consuming to make changes in our web projects using plain CSS.

Previously, for example, we have the following CSS.

.btn-main {
    background-color: #28c8f0;
    border-color: #28c8f0;
}

The primary colour #28c8f0 is used in other classes throughout the whole CSS. Hence, we can just define it as a variable $primary-color: #28c8f0; and then use it

.btn-main {
    background-color: $primary-color;
    border-color: $primary-color;
}

In the future, if we want to change the primary colour to another colour, we just need to change it at one place without worrying if we miss out any part of the CSS not updated.

Change I Love #2: DRY with Mixin

Don’t Repeat Yourself (DRY), if we are using plain CSS, we normally find ourselves reusing the same set of codes throughout the CSS files. So, by using mixins in SCSS, there will always be one and only one set we need to remember and reuse.

Before using SCSS:

.customized-width-250 {
    margin-top: 4px;
    border: 1px solid #ffffff;
    border-radius: 5px 5px 5px 5px;
    font-weight: bold;
    height: 30px;
    min-width: 250px; 
}

.customized-width-120 {
    margin-top: 4px;
    border: 1px solid #ffffff;
    border-radius: 5px 5px 5px 5px;
    font-weight: bold;
    height: 30px;
    min-width: 120px; 
}

.customized-width-60 {
    margin-top: 4px;
    border: 1px solid #ffffff;
    border-radius: 5px 5px 5px 5px;
    font-weight: bold;
    height: 30px;
    min-width: 60px; 
}

Now, by using mixin, we can easily remove the duplicates for easy maintenance.

@mixin customized-controls ($width) {
    margin-top: 4px; 
    border: 1px solid #ffffff; 
    border-radius: 5px 5px 5px 5px; 
    font-weight: bold; 
    height: 30px;
    min-width: $width;
}

.customized-width-250 {
    @include customized-controls(250px);
}

.customized-width-120 {
    @include customized-controls(120px);
}

.customized-width-60 {
    @include customized-controls(60px);
}

Change I Love #3: Loops and Conditional

On our website, we need to display representative image for each of the countries available on the portal.

If we are using plain CSS, we need to do the following for each country. For example, for Australia, we have the follows.

.country-box-australia {
    background-image: url("/images/device-country-australia.png");
}

Now we have 9 countries on our portal. So we need to repeat the lines above for 9 times. If the images are moved to another folder, then we need to update the CSS at 9 places.

In SCSS, we can use list and each loop to make the CSS more readable.

$portal-countries: australia, france, hong-kong, japan, malaysia, new-zealand, south-korea, taiwan, thailand;

@each $country in $portal-countries {
    .country-box-#{$country} {
        background-image: url('/images/device-country-#{$country}.png')
    }
}

As you see above, it also makes use of Interpolation #{} to make the code even cleaner.

Change I Love #4: Color Functions

This is helpful especially when we do the hover effect for buttons. Previously, we always needed to ask the Design Team to give us two colour codes for buttons. One for non-hover and one for hover.

So with the Color Functions in SCSS, we can now do as follows.

a {
    text-decoration: none;
    color: $primary-color;

    &:hover, &:focus {
        text-decoration: none;
        color: darken($primary-color, 20%);
    }
}

We then can have a consistent look-and-feel throughout the whole website.

Oh ya, the & character above is used to reference parent selector.

Change I Love #5: Partials

We can also have partials by starting the name of the partials with an underscore.

Because of partials, we can organize our SCSS files properly according to their functionality.

Conclusion

I believe that now given the fact that our company is already in a scale-up mode, if we keep doing everything in a hacking way, we will easily end up with technical debt soon. Having technical debt means that we will need to spend extra development work in the future because the best overall solution is not implemented in the beginning.

That is why I always welcome opportunities to learn and improve my skills. This includes learning from my teammates via our countless conversations because the conversations kept me inspired and kept me going. The team had made me a better developer. Picking up SCSS is one of the examples and it is only the beginning.

Learning Materials

Exploring Azure Search

azure-search-meetup.png

Last year, Riza shared about his small little algorithm to do smart auto complete in WPF in Singapore .NET Developers Community March meetup. Riza has his project for this, SmartSuggestions, available on Github. What it does is that it will prompt user for smart suggestion of typos and find the similar words for suggestion.

meetup-riza-smart-suggestion
Riza Marhaban is sharing his SmartSuggestion algorithm to the audience during the community meetup. (Photo Credit: Singapore .NET Developers Community)

I find his program to be very interesting. In fact, I did a similar task when I was working in Easibook as well. By calculating the Levenshtein Distance of user input and the records in database, the small JavaScript code I wrote is able to suggest the places even user keys in the place name wrongly.

Soon after Riza’s talk about his SmartSuggestion, I read the announcement of general availability of Azure Search from Microsoft team.

azure-search-generally-available
Azure Search is generally available!

Azure Search

Azure Search is a fully managed search-as-a-service in Microsoft Azure. It offers scalable full-text search for the program. Hence, with its help, developers do not need to re-invent the text-searching capability in their programs and websites.

Azure Search currently provides two ways of querying text. One is using Simple Query Syntax where user can do keywords searching, phrase searching, suffix searching, etc. AND/OR/NOT operator is also available for use.

Another way of querying will be Lucene Query Parser. What interests me the most in Lucene Query Syntax is the use of Damerau–Levenshtein Distance in its Fuzzy Search, which does more than the Levenshtein Distance that only allows insertion, deletion, and substitution operations.

Try It Out!

In order to try out this feature, I have decided to create a demo program to test its functionality.

In this program, I use the event data from the .NET Developers Community Singapore to demonstrate how Azure Search works. To do this, I have to integrate with the Meetup APIs in this program.

Currently, this demo application covers the following features in Azure Search.

  • Create Azure Search index;
  • Data upload;
  • Keywords query in both Simple Query Syntax and Lucene Query Syntax.

Here are some of the screenshots of querying using Azure Search.

For example, if I’d like to find out what the talks covering topic about Visual Studio are, I can just simply search by “visual studio” as a phrase, as shown in the following screenshot.

azure-search-phrase-search
Phrase Searching in Azure Search

Or let’s say a user wants to search the meetup events about “Xamarin” but he doesn’t know its correct spelling is either Xamarin or Zamarin. So he can do a Fuzzy Search by keying in “Zamarin~”. Take note of the tilde “~” symbol at the end of the word. It means the search of the word will be done using Fuzzy Search.

azure-search-fuzzy-search
Fuzzy Search in Azure Search

Holiday and Coding

Christmas is a public holiday in Singapore. Since Christmas is on Sunday, I get a day off on Monday. So besides taking a rest in my room, I did a quick research on Azure Search. It’s kind of fun because it helps me to learn new things which I don’t have chance to explore during work.

search-with-ease.png
With Azure Search, we can now search with our minds at east. (Image Credit: Re:Zero Kara Hajimeru Isekai Seikatsu, KissAnime)

Anyway, I have uploaded my demo program project to Github. Feel free to check it out!

github-azure-search-demo

Burger and Cheese

xamarin-cognitive-services-android-voicetext

As a web developer, I don’t have many chances to play with mobile app projects. So rather than limit myself to just one field, I love to explore other technologies, especially mobile app development.

Burger Project: My First Xamarin App

Last month, I attended a Xamarin talk at Microsoft Singapore office with my colleague. The talk was about authentication and authorization with social networks such as Facebook and Twitter via Azure App Service: Mobile App.

Ben Ishiyama-Levy is talking about how Xamarin and Microsoft Azure works together.

The speaker is Ben Ishiyama-Levy, a Xamarin evangelist. His talk inspired me to further explore how I could retrieve user info from social network after authenticating the users.

Because I am geek-first and I really want to find out more, so I continue to read more about this topic. With the help from my colleague, I developed a simple Xamarin.Android app to demonstrate the Authentication and logged-in user’s info retrieval.

The demo app is called Burger and it can be found on my Github repository: https://github.com/goh-chunlin/Burger.

Challenges in Burger Project

Retrieving user's info from social network.
Retrieving user’s info from social network.

In Burger project, the first big challenge is to understand how Azure App Service: Mobile App works in Xamarin. Luckily, with the material and tutorial given in the Xamarin talk from Ben, I was able to get a quick start on this.

My colleague also shared another tutorial which is about getting authenticated user’s personal details on Universal Windows Platform (UWP). It helps me a lot to understand about how mobile app and Azure App Service can work together.

My second challenge in this project is to understand Facebook Graph API. I still remember that I spent quite some time finding out why I could not retrieve the friend list of a logged-in Facebook user. With the introduction of the Facebook Graph API 2.0, access to a user’s friends list via /me/friends is limited to just friends using the same app. Hence after reading a few other online tutorials, I finally somehow able to get another subset of a user’s friends via /me/taggable_friends.

In this project, it’s also the first time I apply Reflection in my personal project. It helps me easily get the according social network login class with a neat and organized code.

microsoftdeveloperday
Microsoft Developer Day at NUS, Singapore in May 2016

Cheese Project: When Google Speech Meets MS LUIS on Android

Few months ago, I’m fortunate to represent my company to attend Microsoft Developer Day 2016 in National University of Singapore (NUS).

The day is the first time Microsoft CEO Satya Nadella comes to Singapore. It’s also my first time learn about the powerful Cognitive Services and LUIS (Language Understanding Intelligence Service) in Microsoft Azure in Riza’s talk.

presentation
Riza’s presentation about Microsoft Cognitive APIs during Microsoft Developer Day.

Challenges in Cheese Project

Everyday, it takes about one hour for me to reach home from office. Hence, I will only have two to three hours every night to work on personal projects and learning. During weekends, when people are having fun out there, I will spend time on researching about some exciting new technologies.

There are many advance topics in LUIS. I still remember that when I was learning how LUIS works, my friend was actually playing the Rise of the Tomb Raider beside me. So while he was there phew-phew-phew, I was doing data training on LUIS web interface.

luis
Microsoft LUIS (Language Understanding Intelligence Service) and Intents

Currently, I only worked on some simple intents, such as returning me current date and time as well as understanding which language I want to translate to.

My first idea in Cheese project is to build an Android app such that if I say “Please translate blah-blah to xxx language”, the app will understand and do the translation accordingly. This can be quite easily done with the help of both LUIS and Google Translate.

After showing this app to my colleagues, we realized one problem in the app. It’s too troublesome for users to keep saying “Please translate blah-blah to xxx language” every time they need to translate something. Hence, recently I have changed it to use GUI to provide language selection. This, however, reduces the role played by LUIS in this project.

voicetext
VoiceText provides a range of speakers and voices with emotions!

To make the project even more fun, I implemented the VoiceText Web API from Japanese in the Android app. The cool thing about this TTS (Text-To-Speech) API is that it allows developers to specify the mood and characteristic of the voice. The challenge, of course, is to read the API written in Japanese. =P

Oh ya, this is the link to my Cheese repository on Github: https://github.com/goh-chunlin/Cheese. I will continue to work on this project while exploring more about LUIS. Stay tuned.

languagelist    googlespeech    SuccessfullyTranslated.png

After-Work Personal Projects

There are still more things in mobile app development for me to learn. Even though most of the time I feel exhausted after long work day, working on new and exciting technologies helps me getting energized again in the evening.

I’m not as hardworking as my friends who are willing to sacrifice their sleep for their hobby projects and learning, hence the progress of my personal project development is kind of slow. Oh well, at least now I have my little app to help me talking to people when I travel to Hong Kong and Japan next year!