
Continue from the previous topic…
Without user authentication, we cannot secure our web services and protect our users’ privacy on our application. Hence, it is important to introduce ways to authenticate users in our Golang web application now.
In this article, we will focus only on authenticating users on our Golang web application with Google Sign-In in Google Identity Platform.
Configure OAuth on Google Cloud Platform
We first need to create a Project on Google Cloud Platform (GCP).
After the Project is created successfully, we need to proceed to OAuth Consent Screen to enter the information of our Golang web application, as shown in the following screenshot.
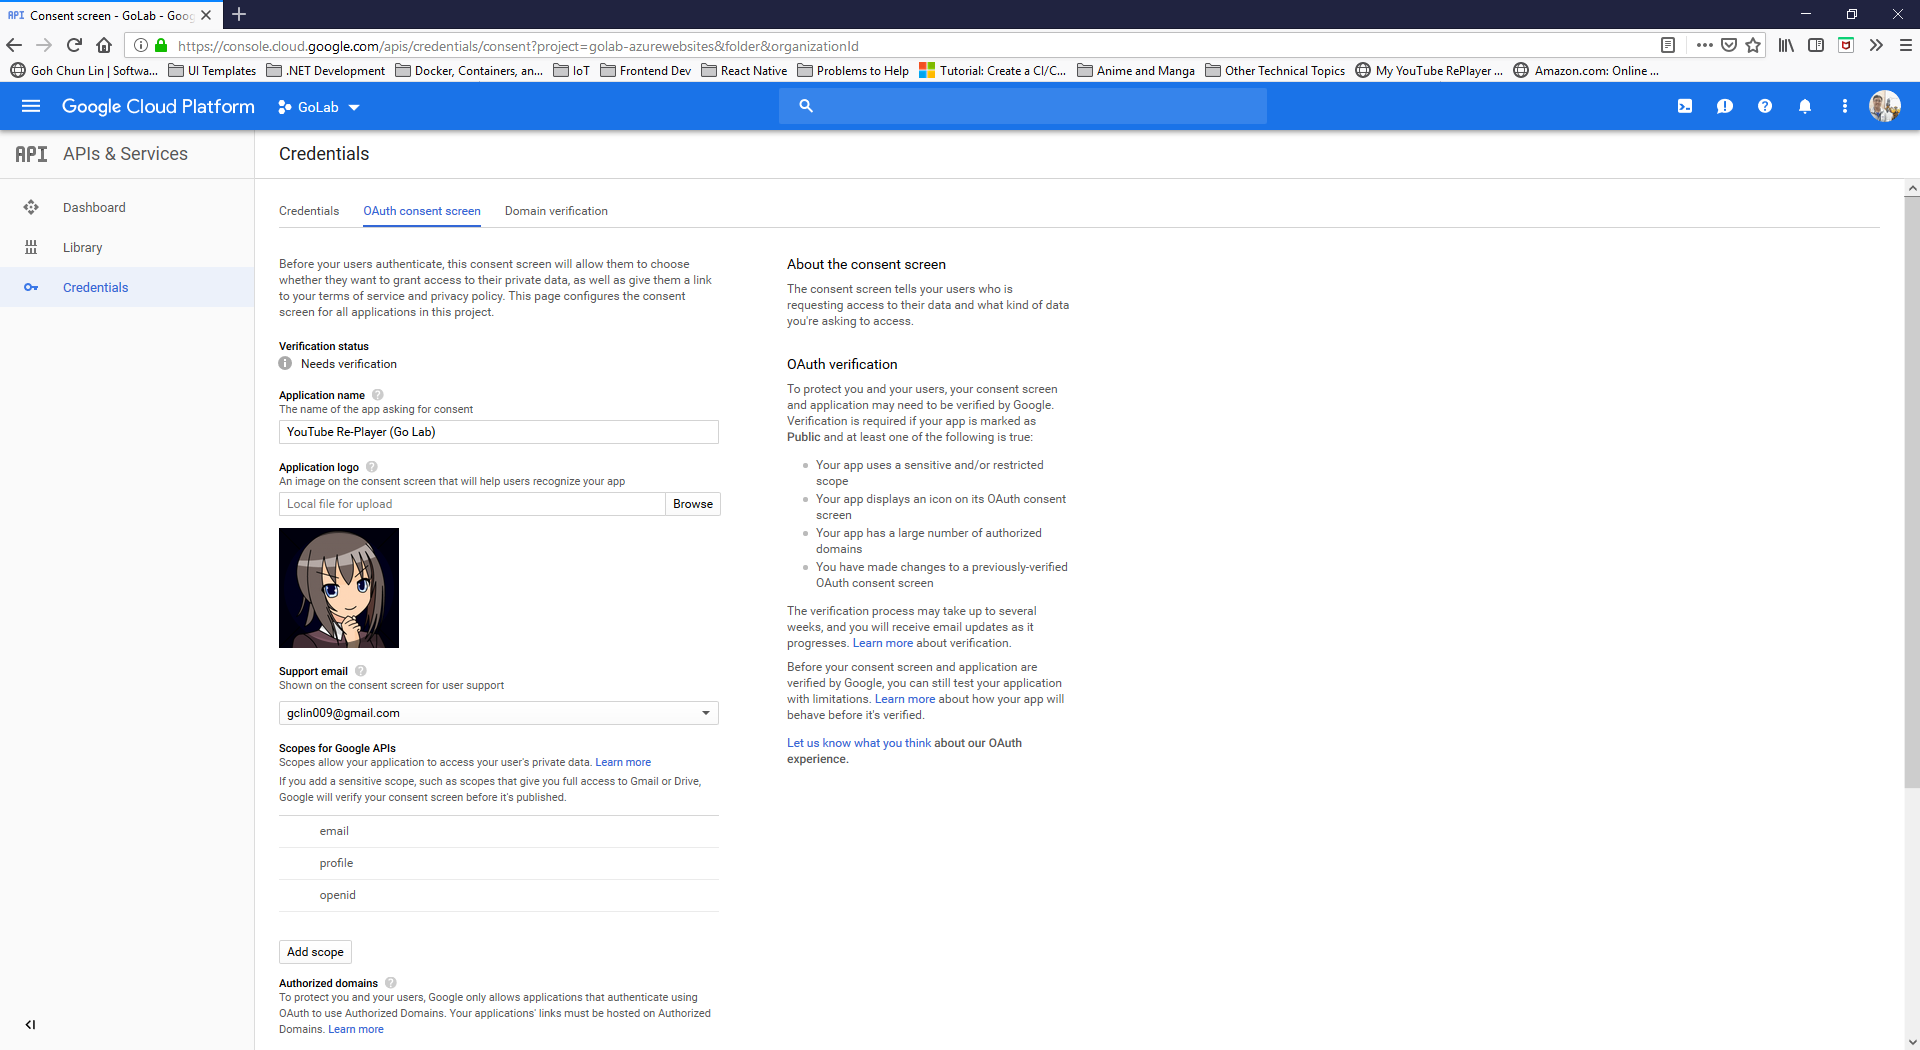
As you should have noticed by now, we are using OAuth because OAuth authentication system from Google makes it easy to provide a sign-in flow for all users of our application and provides our application with access to basic profile information about authenticated users.
Currently, Google only allows applications that authenticate using OAuth to use Authorized Domains which are required for redirect or origin URIs. Another thing to take note is that Authorized Domains must be a Top Private Domain. Hence, even though azurewebsites.net is a top level domain but it is not privately owned, so we cannot use the default Azure Web App URL. We thus need to assign a domain which is owned by us.
After entering all the information, we can then submit for verification. Interestingly, the verification step is not compulsory. We can choose to just save the information without submitting it for verification. However, users of unverified web applications might get warnings based on the OAuth scopes we’re using. This is how Google protects users and their data from deceptive applications.
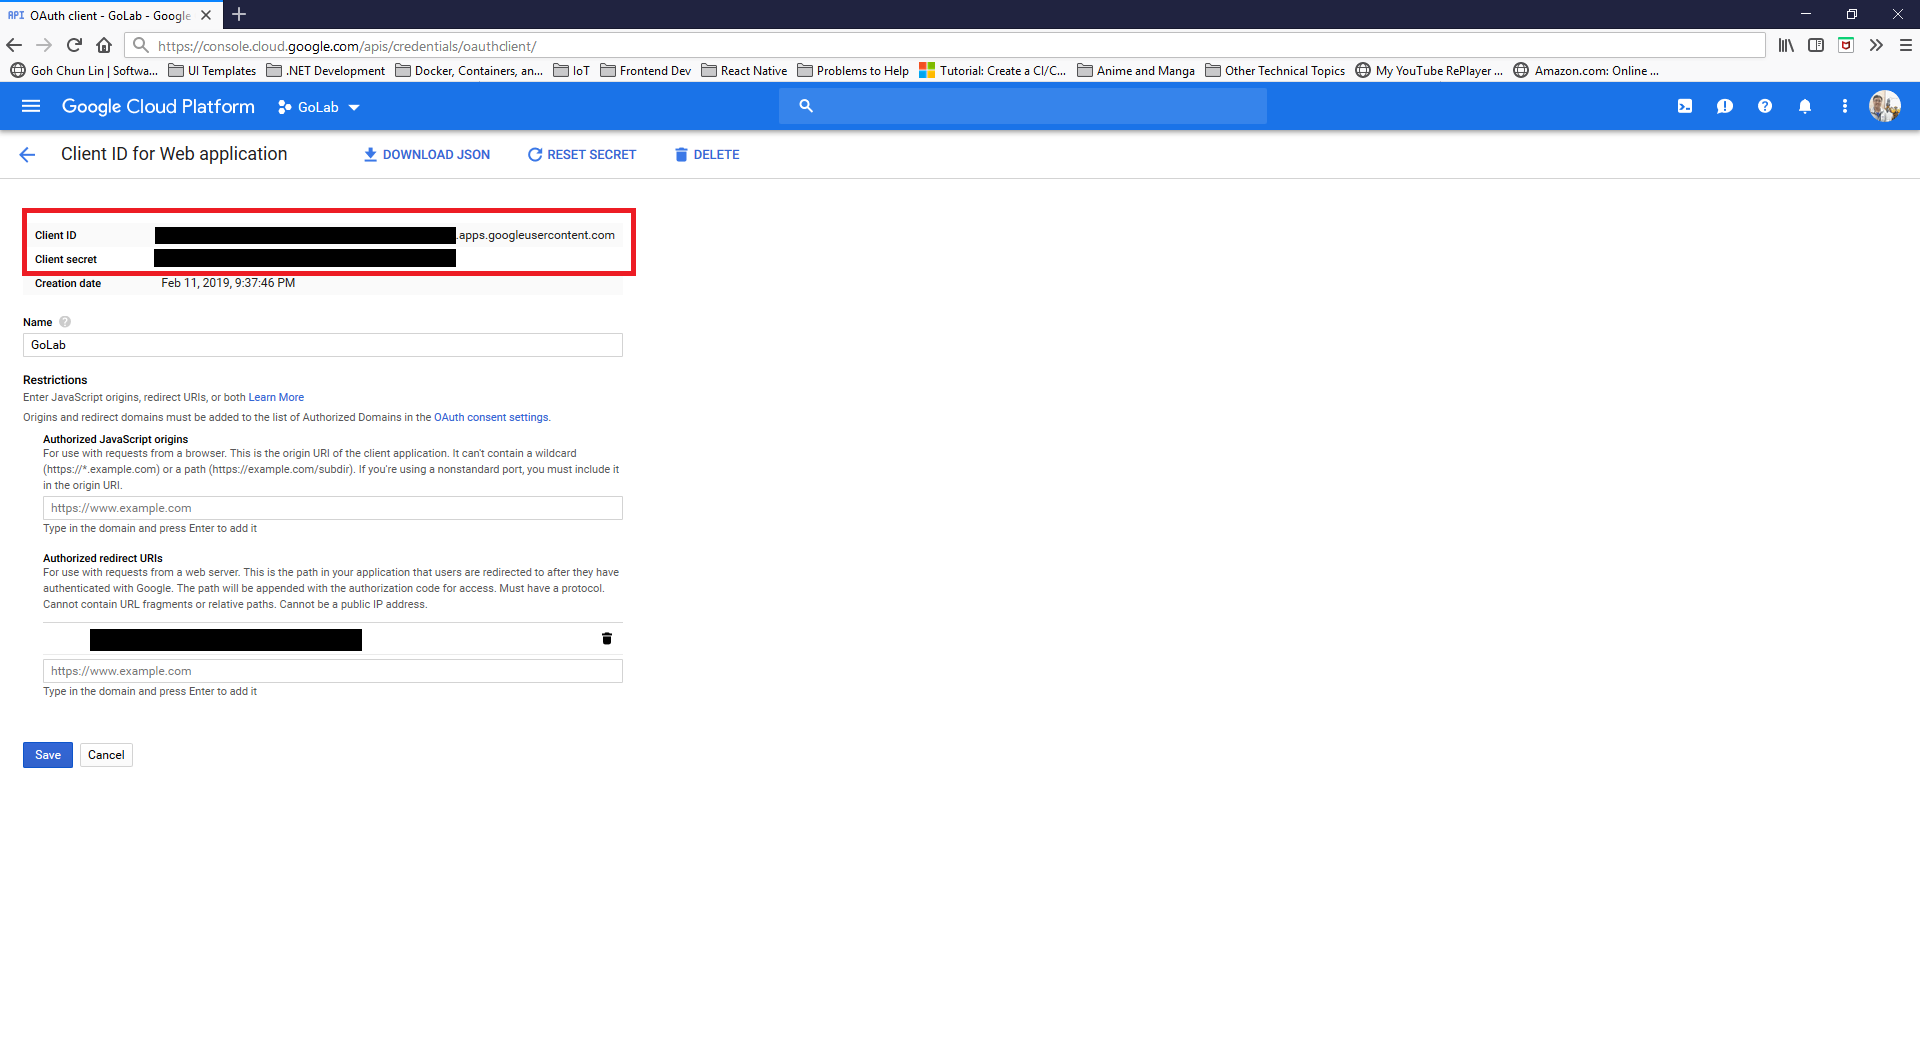
We will then be able to get both Client ID and Client Secret of our OAuth client for later use, as shown in the screenshot below.
Configure Settings in Golang Web Application
With the configuration done on GCP, we can then move on to update our Golang web application. Fortunately, Google provides a code sample about authenticating users with Go.
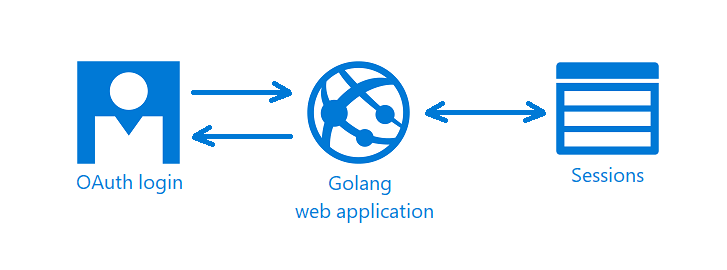
There is Sessions in the graph above because we need a way to store information about the current user. To do so, we make use of the CookieStore implementation to store session data in a secure cookie.
There are basically two new files need to be introduced.
Firstly, we have auth.go which is in charge of handling login/logout requests, handling callback from the OAuth, fetching user profile, and validating redirect URL to make sure there will be no attempts to redirect users to a path not existing within the web application.
Secondly, we have config.go which has all the configuration needed for the OAuth client on our web application. The two main functions are as follows. So this is the part when the Client ID and Client Secret from the GCP will be used.
func init() {
    // To enable user sign-in
    OAuthConfig = configureOAuthClient(os.Getenv("OAUTH_CLIENT_ID"), os.Getenv("OAUTH_CLIENT_SECRET"))

    // Configure storage method for session-wide information.
    cookieStore := sessions.NewCookieStore([]byte(os.Getenv("COOKIE_STORE_SECRET")))
    cookieStore.Options = &sessions.Options{
        HttpOnly: true,
    }
    SessionStore = cookieStore
}

func configureOAuthClient(clientID, clientSecret string) *oauth2.Config {
    redirectURL := os.Getenv("OAUTH2_CALLBACK")
    if redirectURL == "" {
        redirectURL = "http://localhost/oauth2callback"
    }
    return &oauth2.Config{
        ClientID:     clientID,
        ClientSecret: clientSecret,
        RedirectURL:  redirectURL,
        Scopes:       []string{"email", "profile"},
        Endpoint:     google.Endpoint,
    }
}
Handlers
We will then have the following three new handlers needed in server.go.
mux.HandleFunc("/login", handleRequestWithLog(handleLoginRequest))
mux.HandleFunc("/logout", handleRequestWithLog(handleLogoutRequest))
mux.HandleFunc("/oauth2callback", handleRequestWithLog(oauthCallbackHandler))
Our index handler will be changed to the following where it will show the homepage asking for user to login if the user is not yet logged in. Otherwise, it will bring the user to the page with the player.
func index(writer http.ResponseWriter, request *http.Request) {
    user := profileFromSession(request)
    if user == nil {

        http.ServeFile(writer, request, "templates/index.html")

        writer.Header().Set("Content-Type", mime.TypeByExtension("html"))

    } else {

        http.Redirect(writer, request, "/player", http.StatusFound)

    }
}

Updates of Web Service
We also need to update the functions that we have done earlier for HTTP methods so that each of the functions will check for the user profile first. So we need to change the function handleVideoAPIRequests() to include the following code.
func handleVideoAPIRequests(video models.IVideo) http.HandlerFunc {
    return func(writer http.ResponseWriter, request *http.Request) {
        var err error

        user := profileFromSession(request)

        if user == nil {
            err = errors.New("sorry, you are not authorized")
            writer.WriteHeader(401)

            return
        }

        ...
    }
}
The response will be HTTP 401 Unauthorized if the user profile is not found.
If the user profile is found, then we will use the updated code to retrieve only the videos added by the current user. For example, when we are updating the info of a video record, we will need to also make sure the video record belongs to the current user, as shown in the following code.
func handleVideoAPIPut(...) (err error) {
    ...

    err = video.GetVideo(user.ID, videoID)
    if err != nil {
        // update the video record
    }
}
That means, the GetVideo function needs to be updated as well, as shown below, so that it can retrieve only video related to the currently logged-in user.
// GetVideo returns one single video record based on id
func (video *Video) GetVideo(userID string, id int) (err error) {
    sqlStatement := "SELECT id, name, url FROM videos WHERE created_by = $1 AND id = $2;"

    err = video.Db.QueryRow(sqlStatement, userID, id).Scan(&video.ID, &video.Name, &video.URL)
    video.YoutubeVideoID = video.URL[32:len(video.URL)]

    return
}
References
- Authenticating Users with Go;
- [Stack Overflow] Must be a Top Private Domain;
- Go Bookshelf App;
- [GitHub] Google Cloud Platform Go Samples;
- [GitHub] auth.go;
- [GitHub] config.go;
- [GitHub] app.go.


