I already forgot how I got to know about Microsoft hackathon back in 2012, few months after I entered my first job.
Dream Build Launch, Wowzapp~
The first hackathon that I took part in is Dream Build Launch. I worked together with my C# guru, Desmond, to build our first Windows 8 app (which was called Metro App back then). We successfully published the app to Windows Store after two rounds of Microsoft Premier Field Engineer (PFE) consultation sessions. We named our first Windows 8 app “EsplanadeGo!”, which has 51 downloads today.
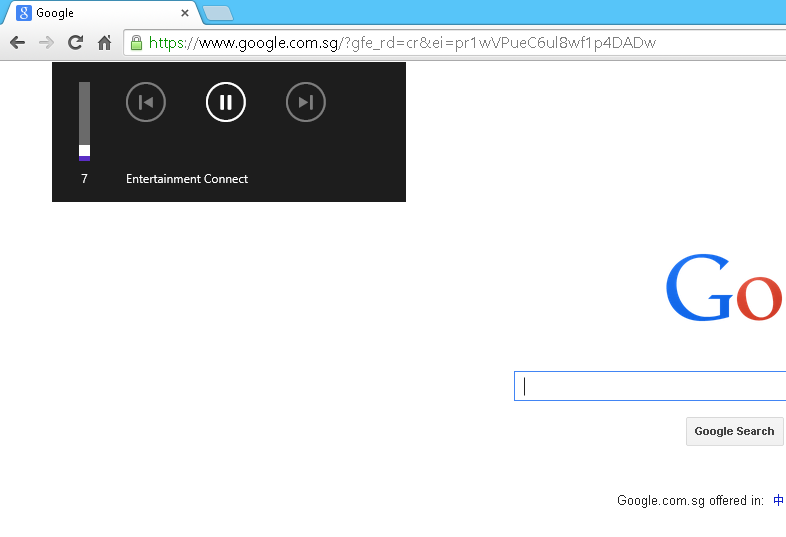
In December 2012, I participated in another Microsoft hackathon, Wowzapp. That was the first time I won the first prize in Microsoft competition after I graduated from university. The app that I built was called Entertainment Connect, also a Windows 8 app. User can use it to connect to his/her Dropbox account to retrieve media files and then play them in the app.
Near the end of the Wowzapp hackathon, one of the judges from Microsoft Singapore, Eugene, suggested me to build another app which connected to SkyDrive (which was later renamed to OneDrive) because he would love to use such an app and SkyDrive API was still quite new back then.
Because of Eugene’s idea of the app, I challenged myself again in the hackathon organized by Microsoft Singapore in 2014, //publish/. I decided to make Eugene’s dream come true.
//publish/
The special thing about //publish/ was that participants were allowed to bring their own existing Windows 8/8.1 projects. The focus of the event was more about publishing app to Windows Store. Hence, I took the opportunity to complete my second personal Windows 8 app, Entertainment Connect.
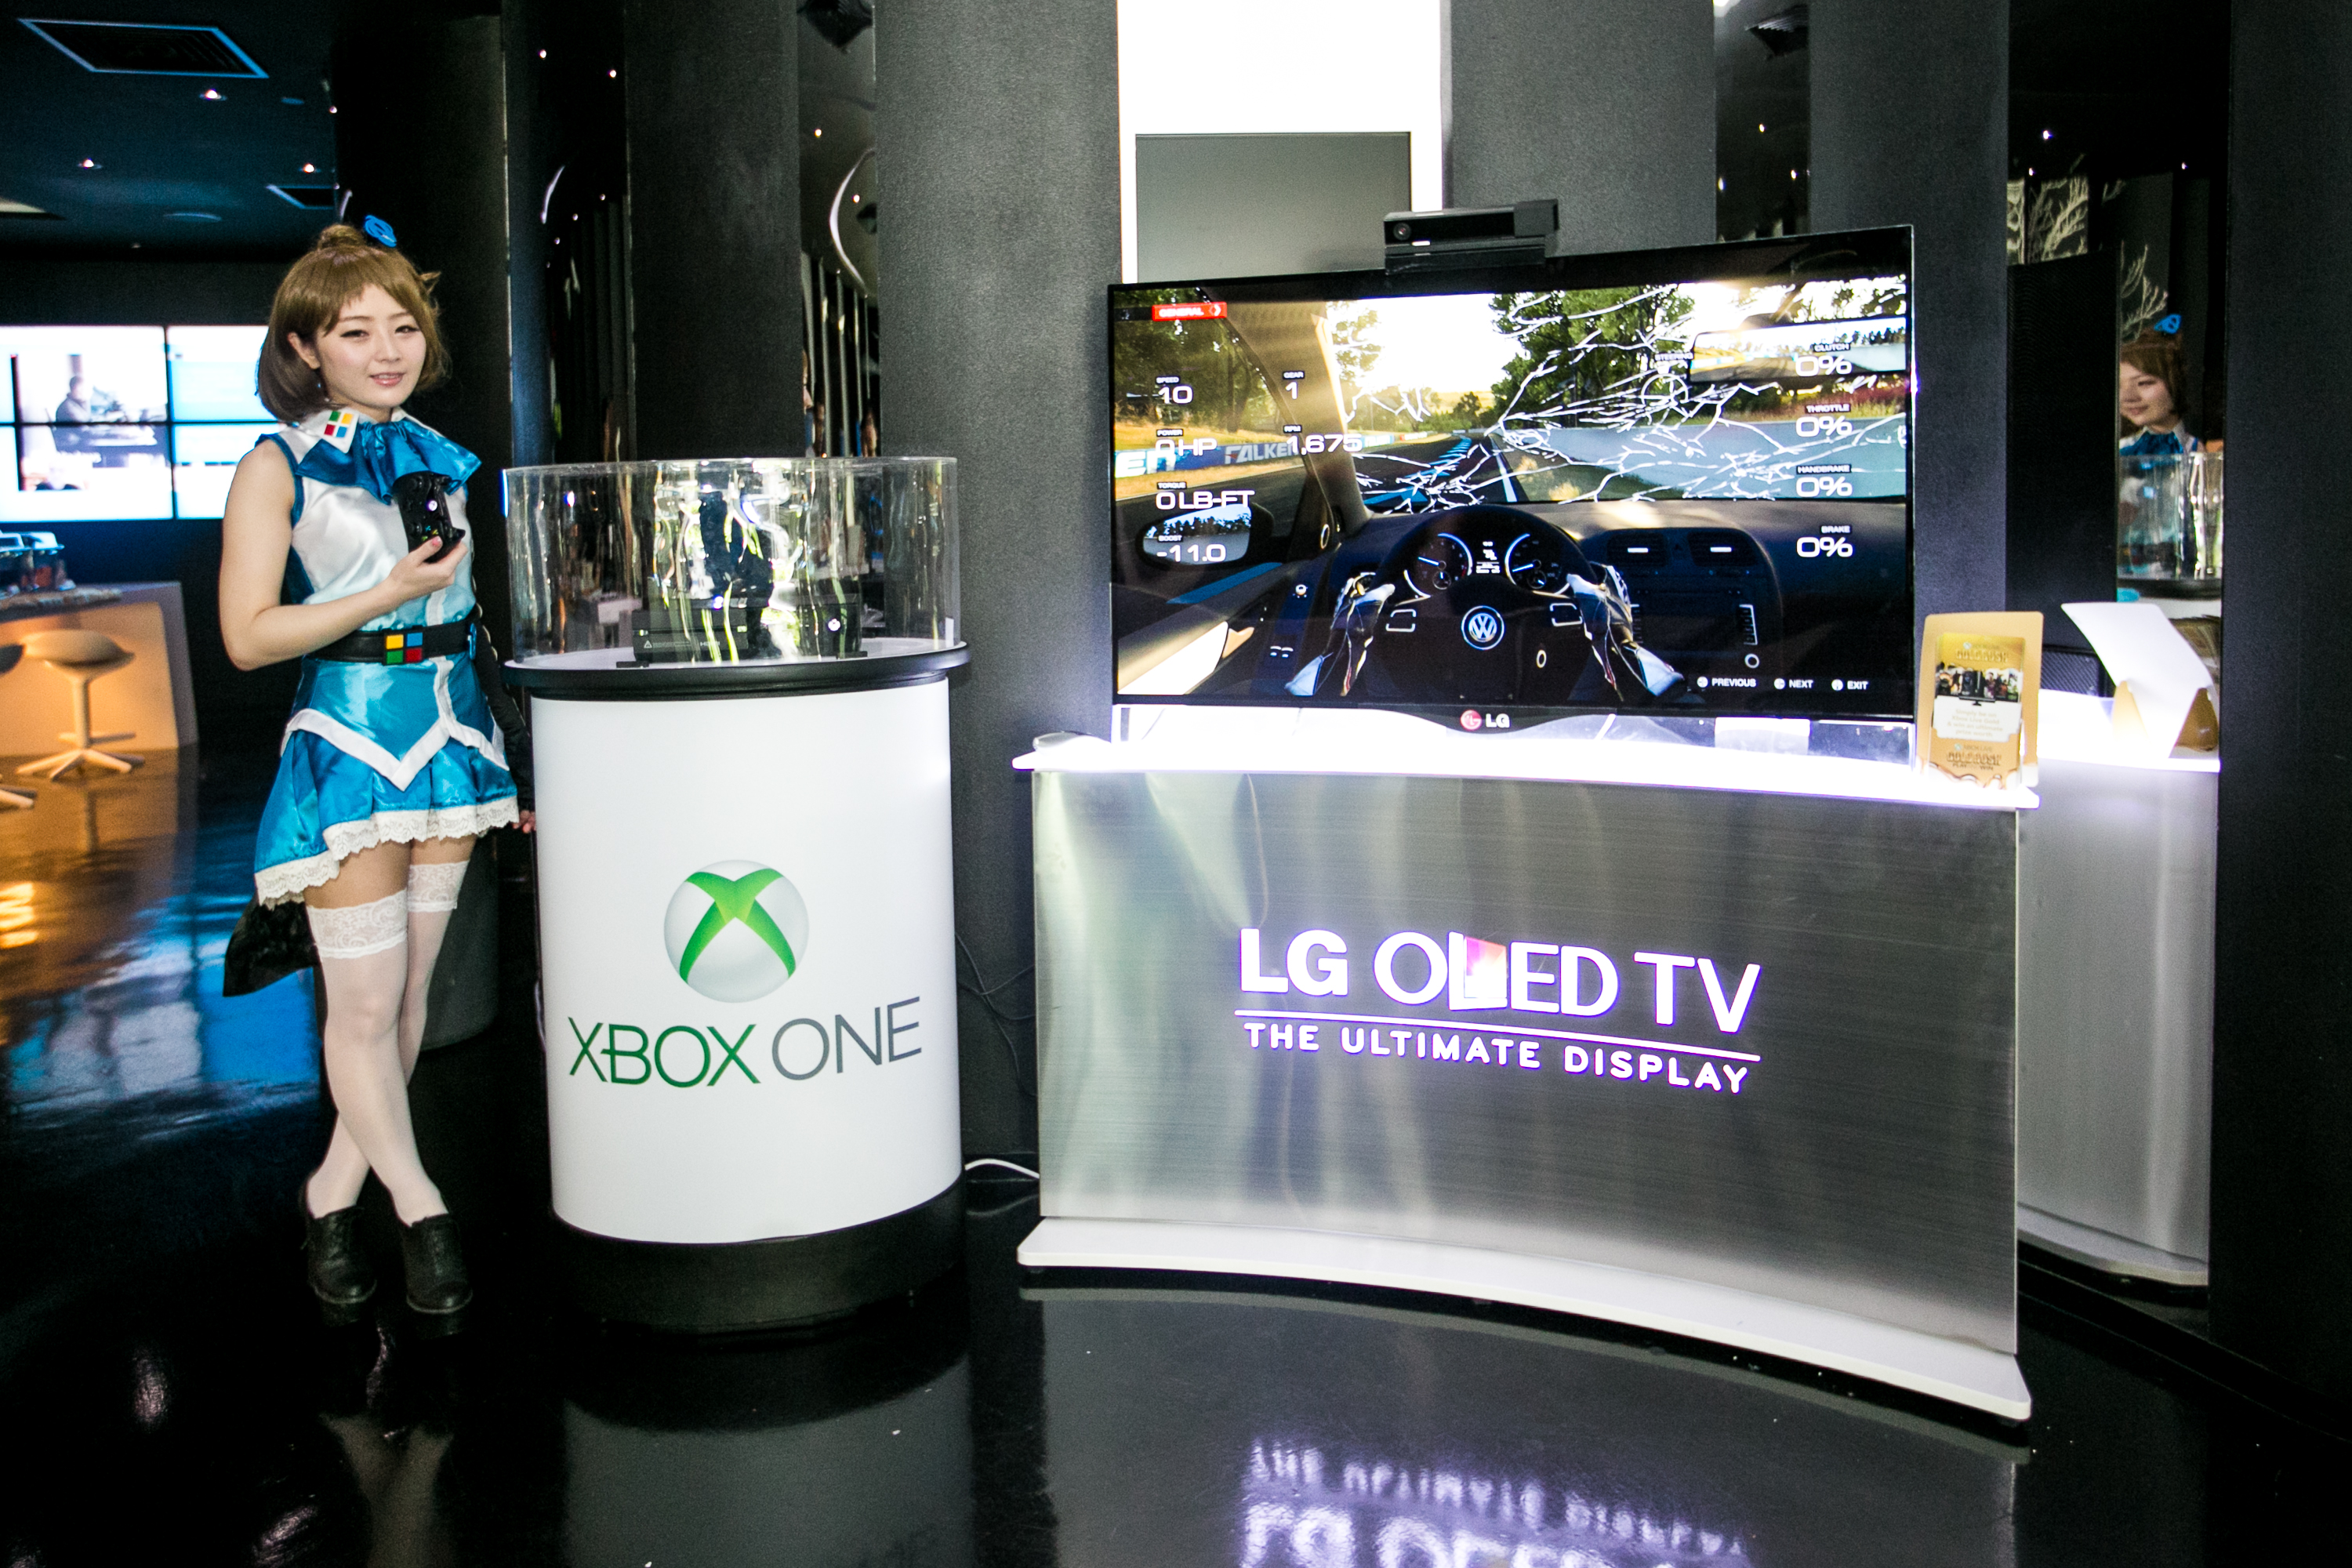
//publish/ hackathon was actually a 2D1N event happening worldwide. Personally, I thought the one in Singapore was the most special one because Inori Aizawa was invited as special guest to the event as well! Participants got the chance to take photo with her and won cute prizes. Also, we had the chance to try out Xbox One, the device that people were willing to queue up at Funan DigitaLife Mall for a few hours just to buy one.
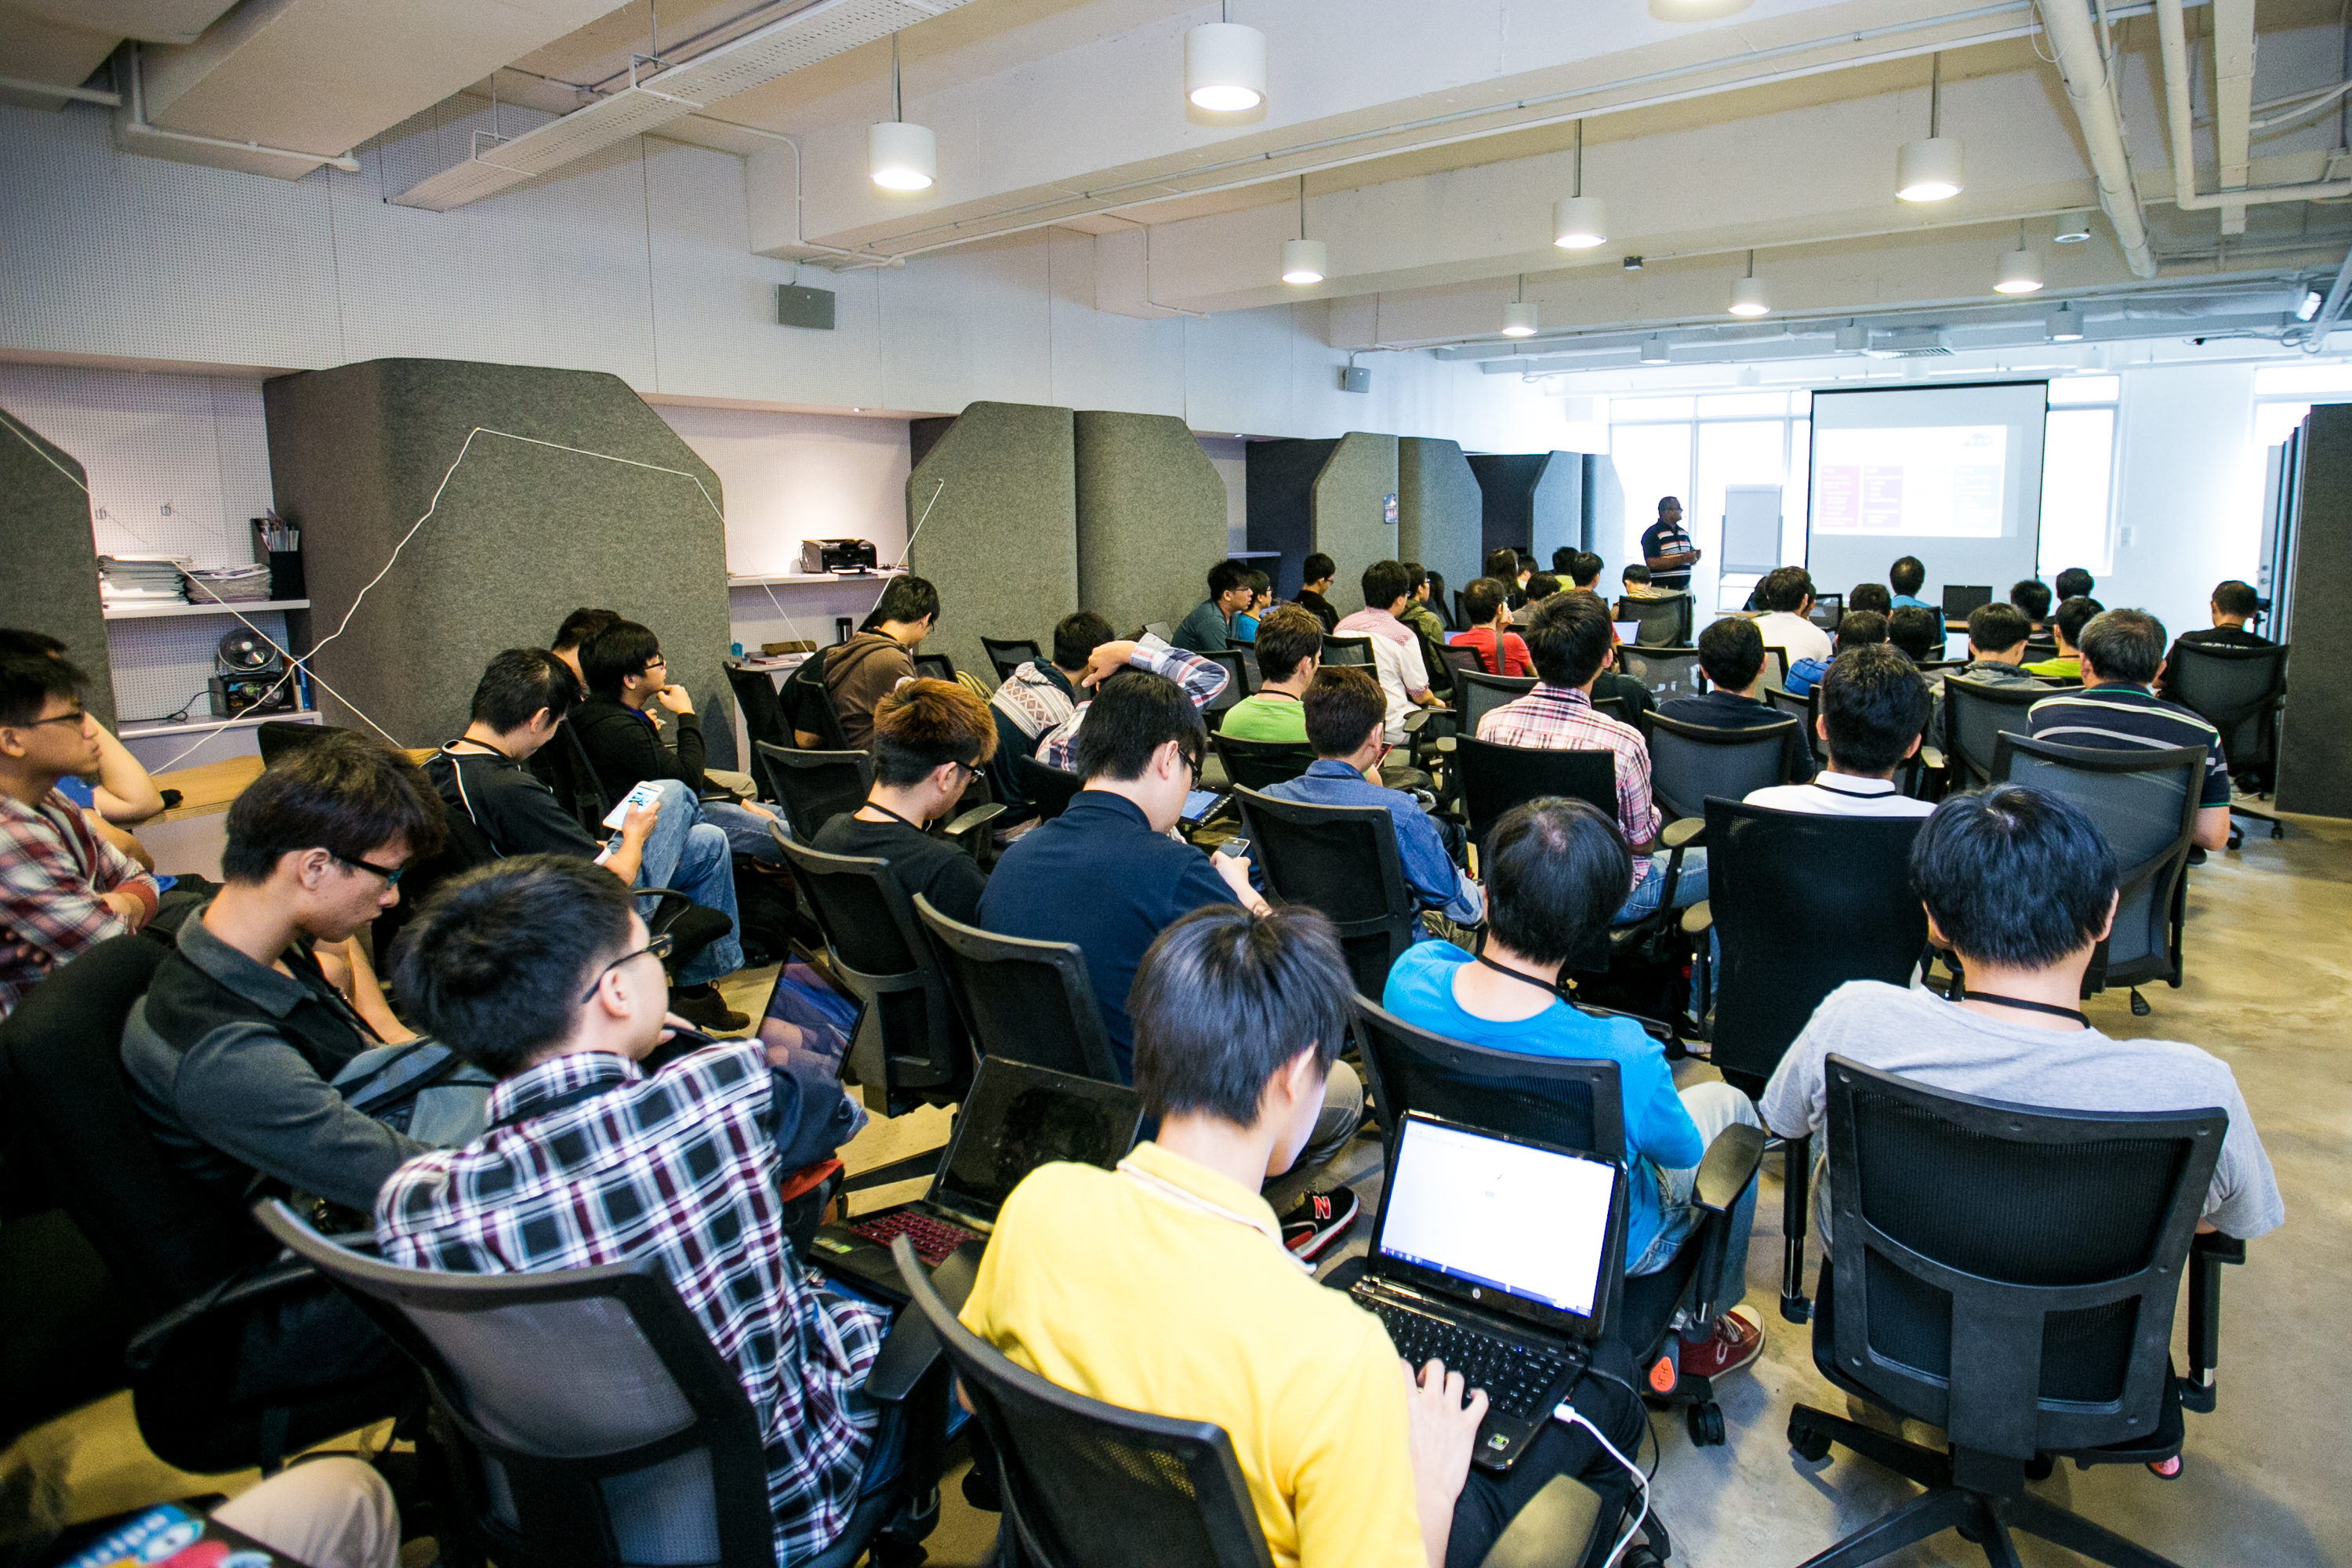
The event took place at The Co., a very comfortable place just next to my office. So, I got to bring laptop external keyboard and mouse, which helped to improve my coding speed.
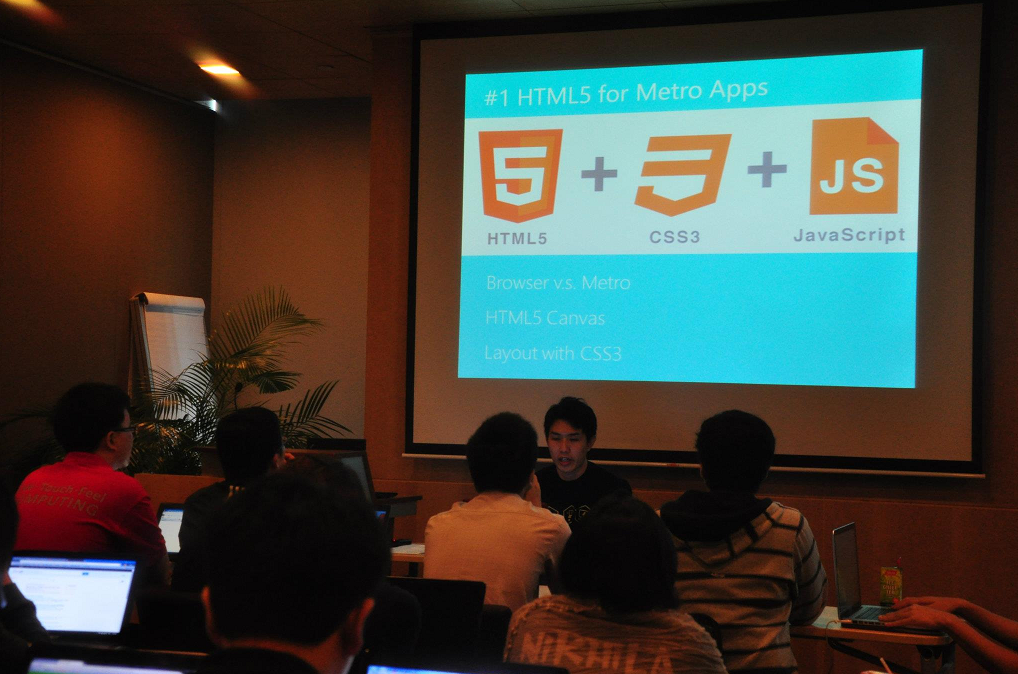
There were tech talks given in the first morning. One of them was about Push Notification with Microsoft Azure. This talk in fact helped me a lot in my work when our company decided to do a push notification to Android and iOS phone.

Meet People
One of the great things that I love about Microsoft hackathon is that I always can meet imba people here. By just having a chat with them, I get to learn more technologies out there, such as Arduino, Azure Media Services, iOS development, and so on.
Because of this event, I also had the opportunities to make friend with Microsoft Singapore engineers who help me a lot in my work.
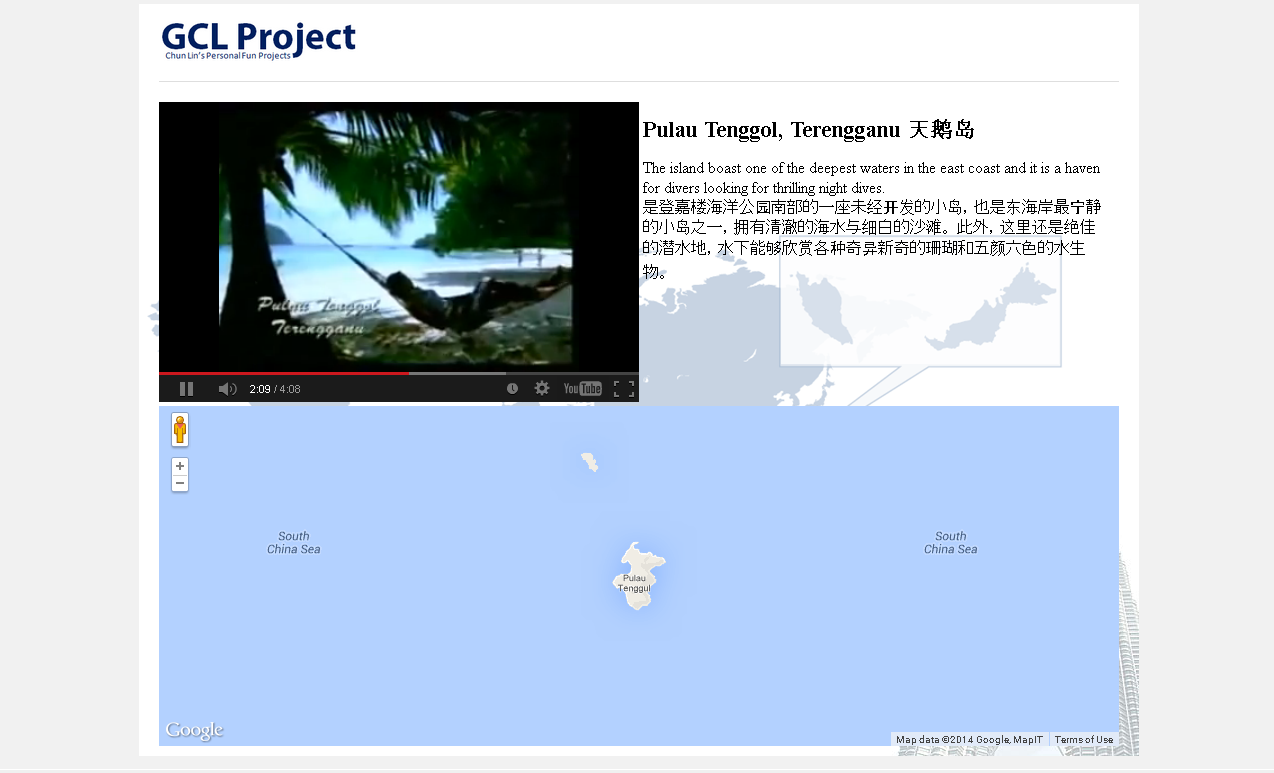
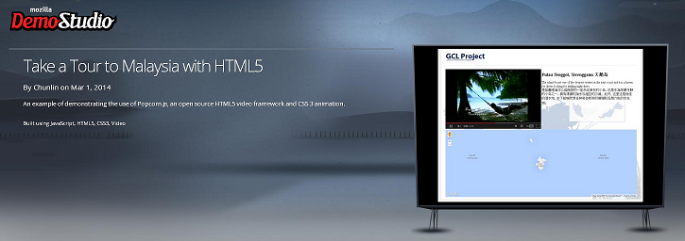
Entertainment Connect
Entertainment Connect is my submission for //publish/ in 2014.

What’s so special about Entertainment Connect? Isn’t it just a media player that can play videos and songs? What else?
Firstly, yes, it is a media player. However, it is not a normal media player which can only play the local media files. It connects to your OneDrive account and retrieves available media files from there.
Secondly, I make it so that when you switch from one media file to another, the previous media file is paused and is hidden in the background. So, you can, let’s say, click on one video, play it halfway, then click on another song, then jump back to the same video again and continue from where you stop earlier. So this is actually similar to the “Parallel Video Downloading” feature that I introduced back then in YouTube Re-Player (Desktop) in 2009. The only difference is that now it does not limit the number of videos to be just 5.
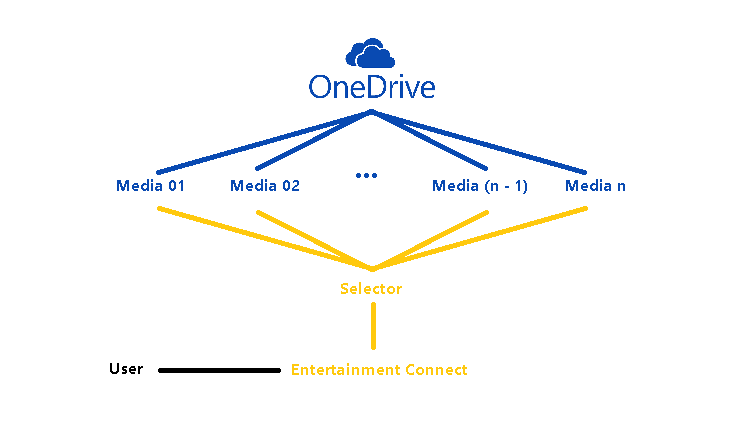
Thirdly, it supports playing audio in the background. This means that even though the app is running in the background, users can still continue listening to the music and at the same time they can also control the media player.
Finally, it can loop songs and videos. Yup, re-playing is always the must-have feature in the media player programs that I build. =)
Wait, It Was 6 Months Ago!
Some of the readers by now should have realized that //publish/ actually happened 6 months ago. Why do I only blog about it now? Well, the answer is that I choose to blog about it after I successfully publish Entertainment Connect to Windows Store. So, why does it take so long for me to publish an app? This is because I have little time to work on it after the event.
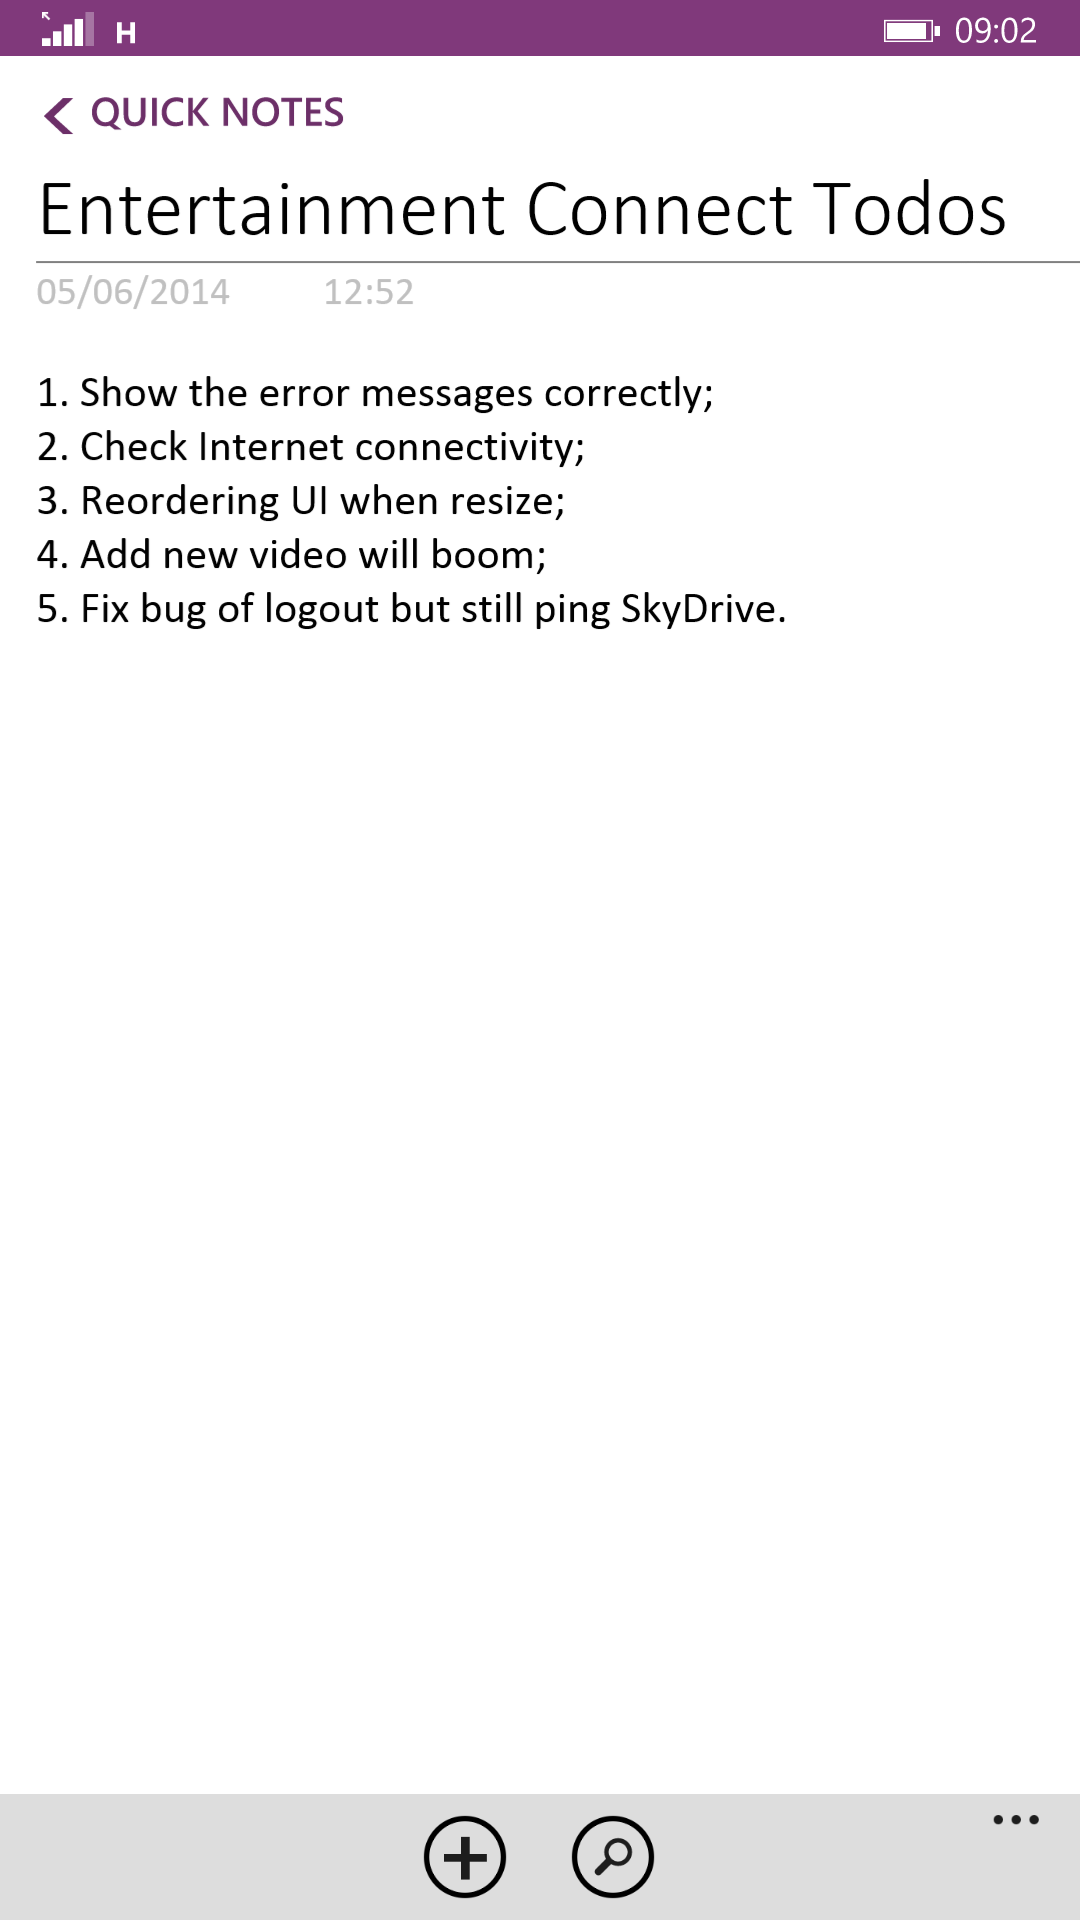
I have learnt the key to finishing a personal project is to work on the project every day. However, I have a full-time work which requires me to OT always. Sleeping has thus become my top priority after work. However, I still try to at least work on the project by writing a few lines of code or just staring at Visual Studio for a few minutes. So, after 6 months of doing so, I am finally able to publish Entertainment Connect.
There is a saying, “Only do side projects you are absolutely crazy about.” Hence, I also installed Entertainment Connect on my laptop so I got to use it daily. The reason of doing so is to force me to remember about the project and to easily find out bugs in the app.
Today, I am happy that I successfully realize the dream of Eugene about a Windows 8 app that he can use to connect to play the media files stored in his OneDrive. In fact, I am very happy to have taken up this challenge and complete the app by myself even though the entire process is tiring.
Prize
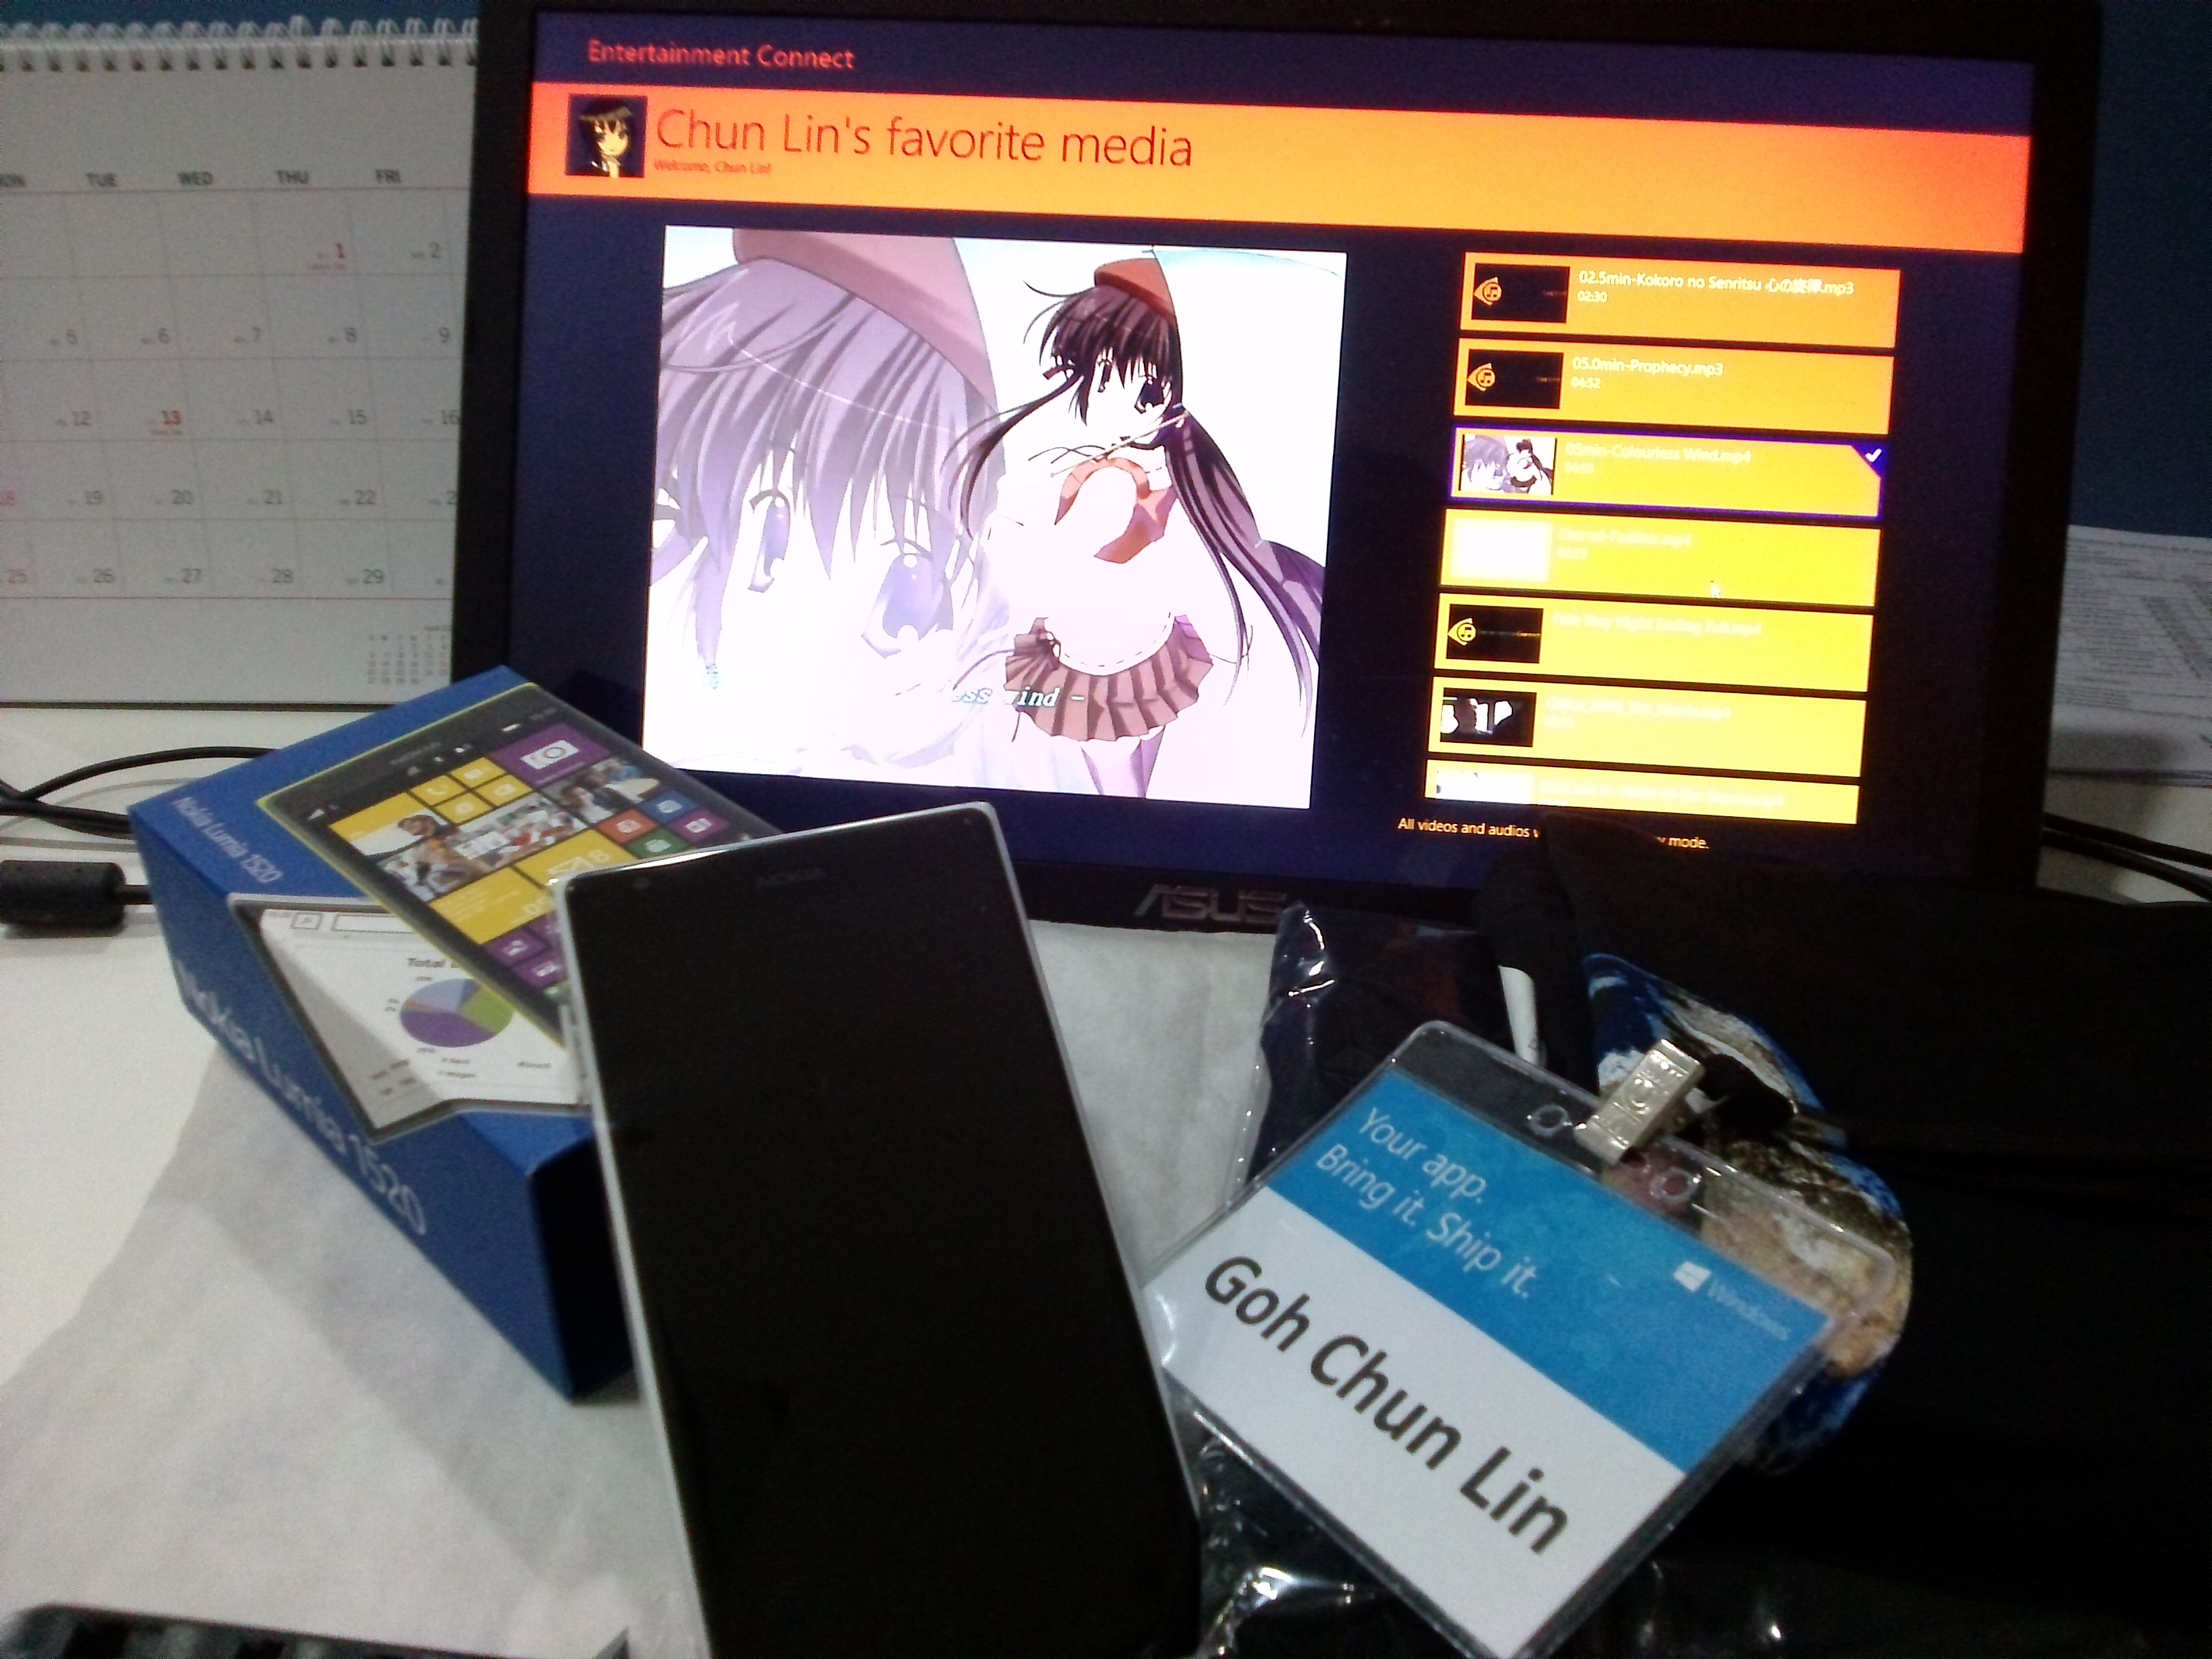
I’d also like to take this chance to thank Microsoft Singapore team for giving me a special prize for Entertainment Connect during //publish/. It was a brand new Nokia Lumia 1520. Coincidentally, my Android phone stopped functioning few days before the event. So, I managed to get a new modern smart phone for free.
I should blog about the phone next time to show how good/bad Nokia Lumia 1520 is. =P
Downloads
Entertainment Connect is now available at Windows Store. You can visit the page http://apps.microsoft.com/windows/en-us/app/entertainment-connect/41d91a6b-6b56-4ae8-94b9-9b5f1053ca92 to download it now. It is free. =)
For developers who are interested to read the codes of app written in WinJS, please checkout the source code of Entertainment Connect on GitHub: https://github.com/goh-chunlin/EntertainmentConnect.