I am very fortunate to be able to attend the Singapore .NET Developer meetup of this month. The topics of the meetup are MVVM, Windows 10, and Win2D. We are glad to have experienced developer, Riza, to be one of the speakers.
Riza’s sharing his thoughts about Win2D. (Image Credit: .NET Developer Singapore Community)
Retained Mode does not directly cause actual graphic rendering. Example: WPF.
Immediate Mode will directly cause actual graphic rendering. Example: Direct2D and System.Drawing library.
Last year, Microsoft proudly announced the Win2D which developers could use it to bring hardware accelerated Direct2D graphics to Windows 8.1 Universal Apps. This undoubtedly is a great news for game developers who would like to publish their games on Surface and Windows Phone in the future.
Let’s Start Coding!
I thus decided to read through some online tutorials to try out this new cool API. The following are two tutorials that I read.
The first app that I developed is an app similar to what is being shown in the first tutorial listed above.
Pavel’s code doesn’t work well when I am using the latest version of Win2D from Nuget (Version 0.0.20). For example, the way he sets the speed of the moving circle is as follows.
circle.Speed = new Vector2(-circle.Speed.X, circle.Speed.Y);
However, this won’t work in my project. So, I changed it to the code below.
circle.Speed = new Vector2() { X = -circle.Speed.X, Y = circle.Speed.Y };
Before doing the coding, there is a need to add Win2D to the Windows 8.1 Universal App project first.
The interface of Nuget Package Manager has changed in VS2015! Here, we can find Win2D package.
VS2015 and Azure
As you can see from the screenshot above, it’s actually VS2015 on Microsoft Azure! On Azure, we can easily create a VM with one of the following editions of VS2015 installed: Professional, Enterprise, and Community. Hence, I no longer need to download VS2015 to my own laptop. =)
However, when I first started the VS 2015 on the new VM, I encountered two problems once I tried to compile my Windows 8.1 Universal App.
Firstly, it said developer license couldn’t be approved because of having no Desktop Experience feature enabled.
“We couldn’t get your developer license for Windows Server 2012 R2”
This was easily solved by enabling the Desktop Experience feature. In the beginning, I was having a hard time finding where to enable the Desktop Experience. Thanks to a blog post written by Tamer Sherif Mahmoud, I found the option as shown in the following screenshot.
Desktop Experience option is actually under User Interfaces and Infrastructure.
Secondly, VS2015 complaint that the Windows 8.1 Universal App couldn’t be activated by the Built-in Adminstrator.
“This app can’t be activated by the Built-in Adminstrator”
In order to use CanvasControl, I need to include Microsoft.Graphics.Canvas.UI.Xaml, as highlighted in green in the code above.
The Logic
The following is my Main method.
public MainPage()
{
    this.InitializeComponent();
    _width = (float)Window.Current.Bounds.Width;
    _height = (float)Window.Current.Bounds.Height;
    _timer.Tick += (s, e) => {
        Dictionary<CircleData, int> reference = _circles.ToDictionary(x => x.Key, x => x.Value);

        foreach (var circleKeyPair in reference)
        {
            var circle = circleKeyPair.Key;

            int circleRadiusChangingSpeed = circleKeyPair.Value;

            float posX = circle.Speed.X + circle.Center.X;
            float posY = circle.Speed.Y + circle.Center.Y;
            circle.Radius += circleRadiusChangingSpeed;

            if (circle.Radius > _height / 4 || circle.Radius <= 0)
            {
                _circles[circle] = -1 * circleKeyPair.Value;
            }

            var radius = circle.Radius;
            if (posX + radius > _width || posX - radius < 0)
            {
                circle.Speed = new Vector2() { X = -circle.Speed.X, Y = circle.Speed.Y };
            }
            else if (posY + radius > _height || posY - radius < 0)
            {
                circle.Speed = new Vector2 { X = circle.Speed.X, Y = -circle.Speed.Y };
            }
            circle.Center = new Vector2 { X = circle.Speed.X + circle.Center.X, Y = circle.Speed.Y + circle.Center.Y };
        }

        _canvas.Invalidate();
    };

    _timer.Start();
}
In the code, I first define the area to have the circles by declaring two variables _width and _height to be the width and height of the current window. I can’t use the width and height (or even actualWidth and actualHeight) of the grid because they are always 0.
Then same as Pavel, I also move the circles around by having the following code.
circle.Center = new Vector2 { X = circle.Speed.X + circle.Center.X, Y = circle.Speed.Y + circle.Center.Y };
Here, I can’t set X = posX and Y = posY because the circle.Speed here, which is used to define the moving speed and direction, can be already different as the circle.Speed when posX and posY were calculated.
In addition, I also add in the code to change the size of the circle every time it moves. The circle will grow until a certain size and then its radius will be decreased to 0. Once the radius is 0, it will start to increase again.
For the OnTapped and OnDraw, I am using the same codes as Pavel’s.
The following screenshot shows the colourful circles created by clicking on the app a few times.
Colourful circles created with DrawCircle.
That is done using DrawCircle. So, let’s see what will happen if I change to use FillCircle with an image, as taught in the second tutorial mentioned above.
The CircleInnerImageBrush is created in the following way.
CanvasBitmap image = await CanvasBitmap.LoadAsync(_canvas.Device,
    new Uri("<URL to the image here>"));
CanvasImageBrush imageBrush = new CanvasImageBrush(_canvas.Device, image)
{
     ExtendX = CanvasEdgeBehavior.Clamp,
     ExtendY = CanvasEdgeBehavior.Wrap,
     SourceRectangle = new Rect(0, 0, image.Bounds.Width, image.Bounds.Height)
};
Then I am able to get the following cool effects!
FillCircle + Image
Win2D is Open Source
That’s what I have learnt so far after listening to Riza’s 10-minute sharing on Win2D. I will probably try out the API more in the near future because Win2D looks very promising!
In case, you wonder how much I spent on running VS2015 on Azure, running an A4 (8 cores, 14GB memory) instance for about one week costed me about USD 90.
I already forgot how I got to know about Microsoft hackathon back in 2012, few months after I entered my first job.
Dream Build Launch, Wowzapp~
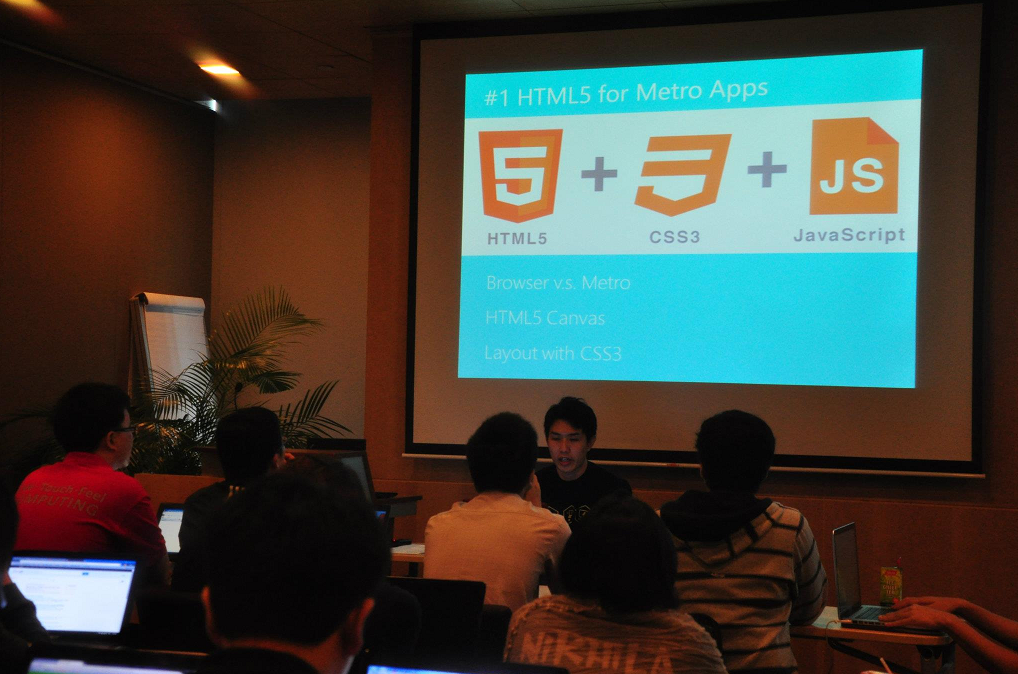
The first hackathon that I took part in is Dream Build Launch. I worked together with my C# guru, Desmond, to build our first Windows 8 app (which was called Metro App back then). We successfully published the app to Windows Store after two rounds of Microsoft Premier Field Engineer (PFE) consultation sessions. We named our first Windows 8 app “EsplanadeGo!”, which has 51 downloads today.
HTML5 for Metro Apps talk given by Alex Goh during Dream Build Launch event. Photo Credits: Spiffy
In December 2012, I participated in another Microsoft hackathon, Wowzapp. That was the first time I won the first prize in Microsoft competition after I graduated from university. The app that I built was called Entertainment Connect, also a Windows 8 app. User can use it to connect to his/her Dropbox account to retrieve media files and then play them in the app.
Near the end of the Wowzapp hackathon, one of the judges from Microsoft Singapore, Eugene, suggested me to build another app which connected to SkyDrive (which was later renamed to OneDrive) because he would love to use such an app and SkyDrive API was still quite new back then.
Because of Eugene’s idea of the app, I challenged myself again in the hackathon organized by Microsoft Singapore in 2014, //publish/. I decided to make Eugene’s dream come true.
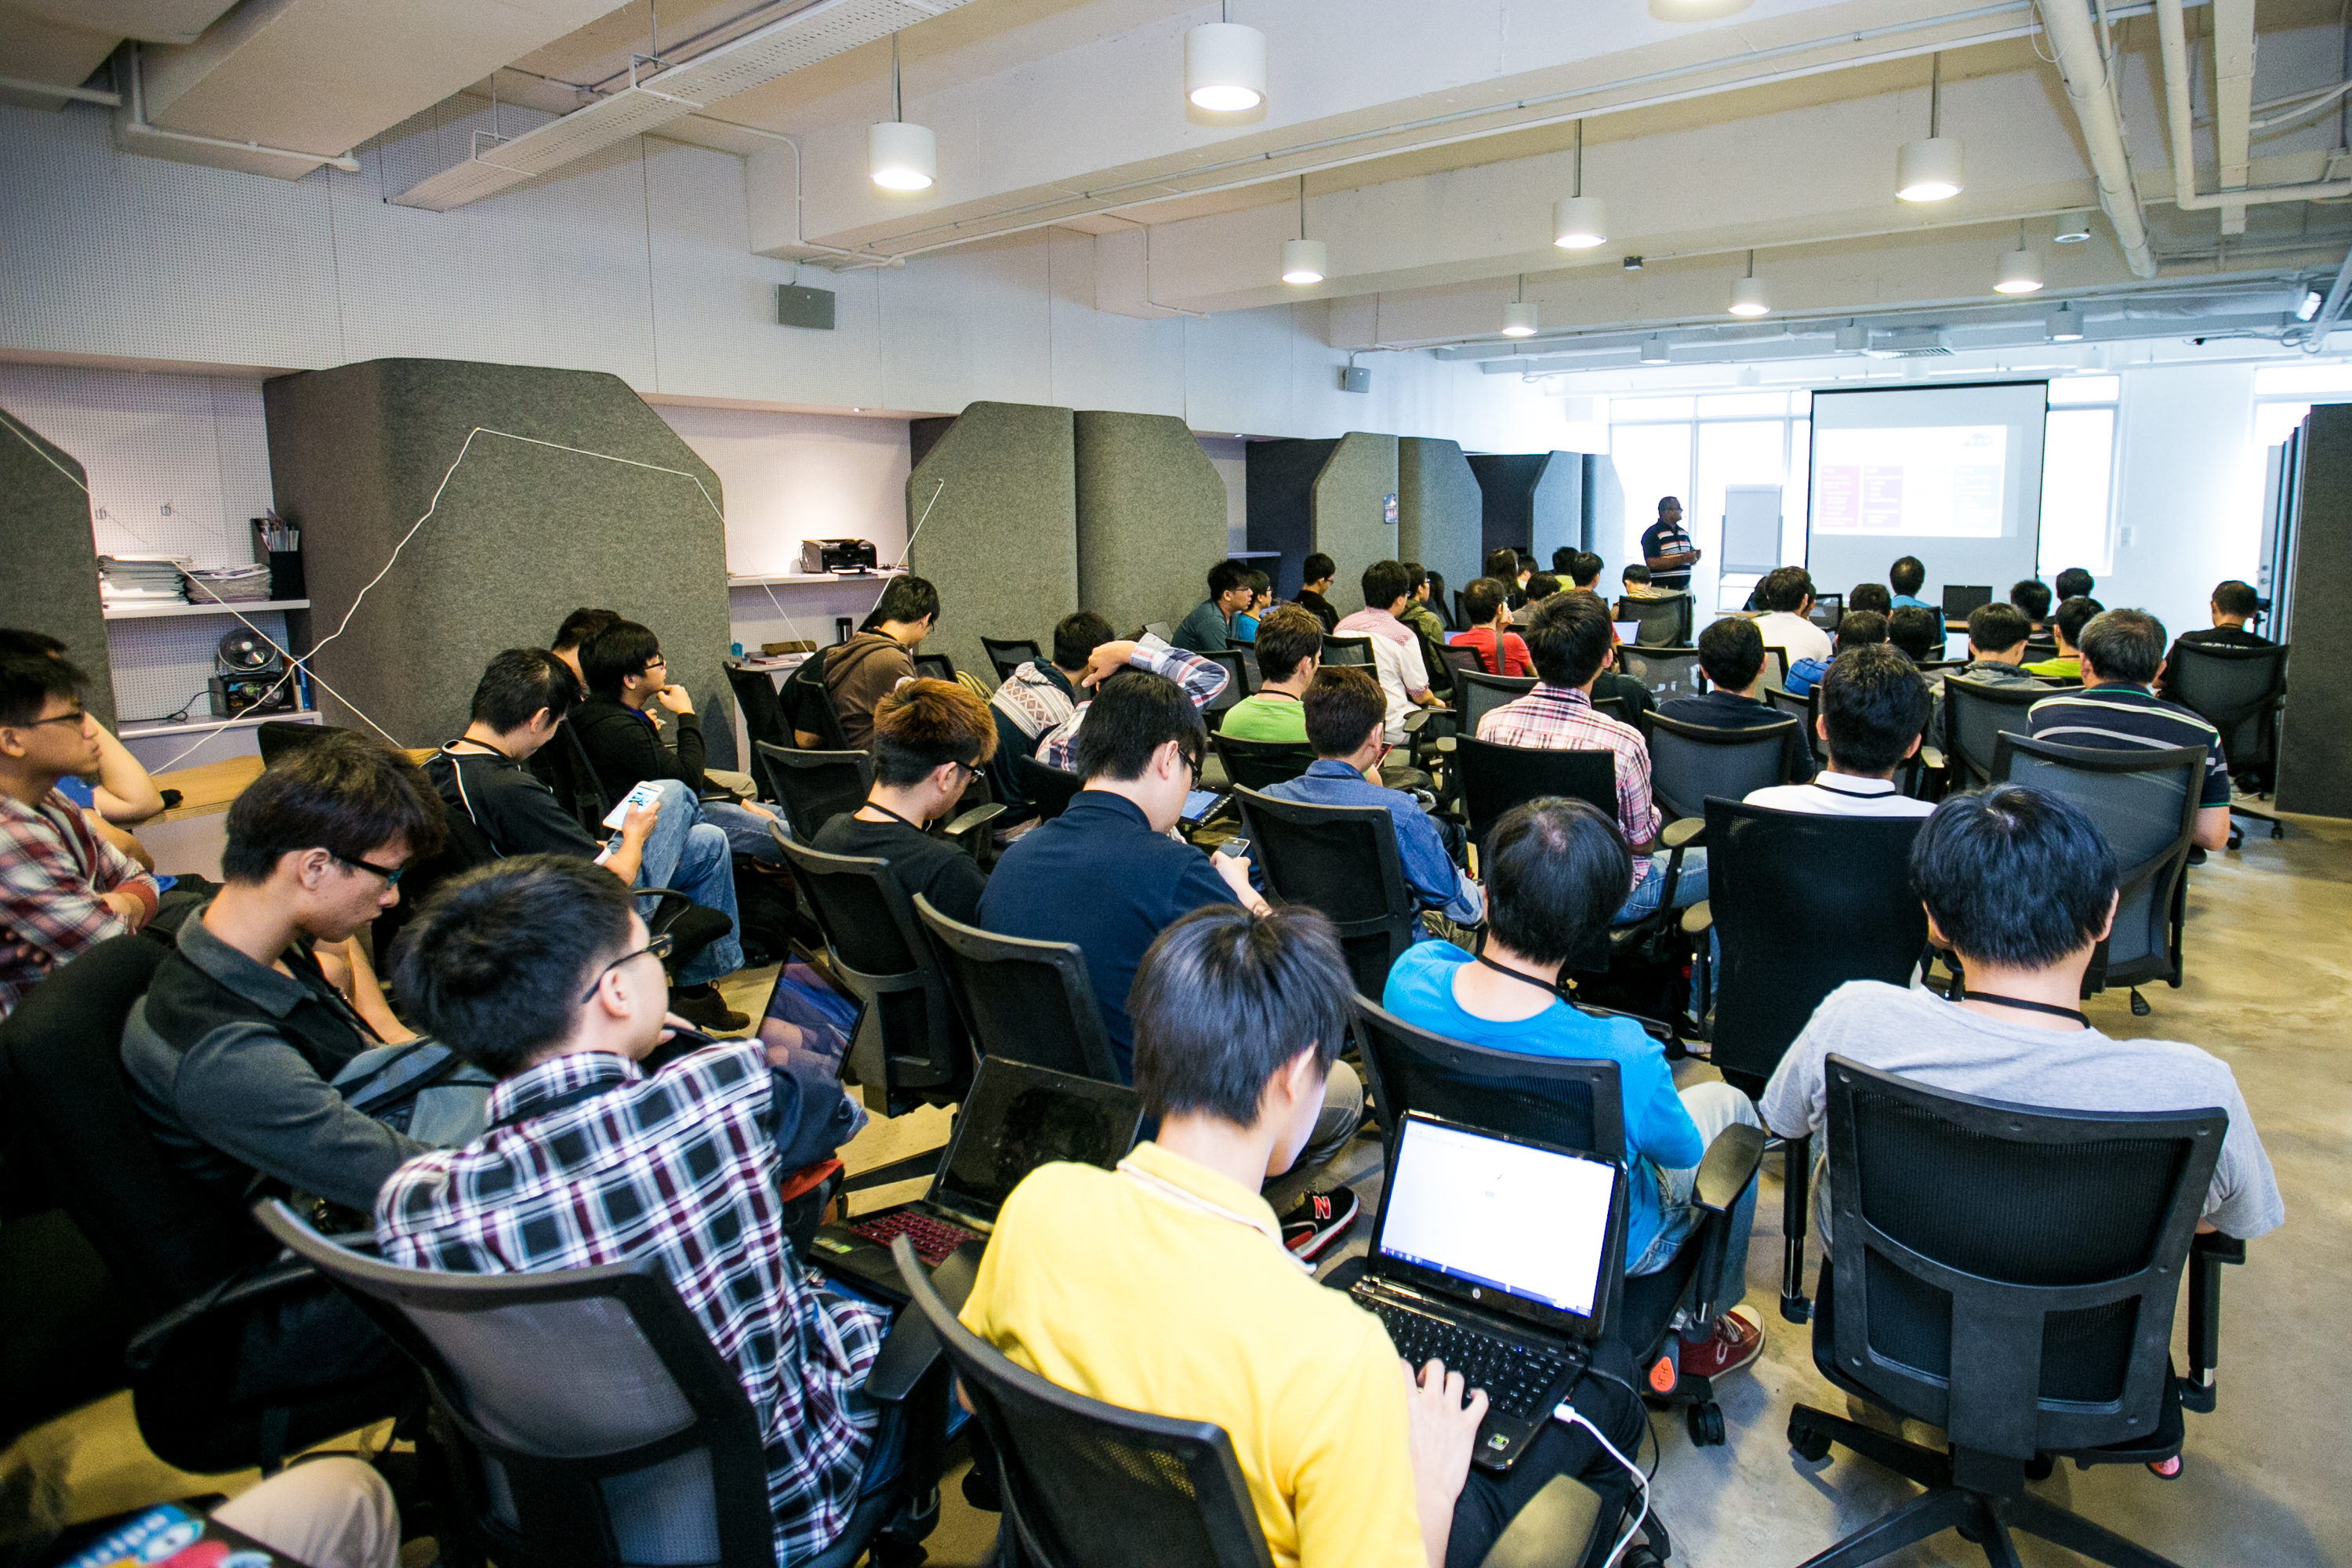
//publish/
The special thing about //publish/ was that participants were allowed to bring their own existing Windows 8/8.1 projects. The focus of the event was more about publishing app to Windows Store. Hence, I took the opportunity to complete my second personal Windows 8 app, Entertainment Connect.
//publish/ hackathon was actually a 2D1N event happening worldwide. Personally, I thought the one in Singapore was the most special one because Inori Aizawa was invited as special guest to the event as well! Participants got the chance to take photo with her and won cute prizes. Also, we had the chance to try out Xbox One, the device that people were willing to queue up at Funan DigitaLife Mall for a few hours just to buy one.
Where else can you see Inori Aizawa playing Xbox One? Photo Credits: Microsoft Singapore//publish/ organized by Microsoft in Singapore. Photo Credits: Microsoft Singapore
The event took place at The Co., a very comfortable place just next to my office. So, I got to bring laptop external keyboard and mouse, which helped to improve my coding speed.
There were tech talks given in the first morning. One of them was about Push Notification with Microsoft Azure. This talk in fact helped me a lot in my work when our company decided to do a push notification to Android and iOS phone.
Tech talk about Cortana delivered by Chun Siong. Photo Credits: Microsoft Singapore
Meet People
One of the great things that I love about Microsoft hackathon is that I always can meet imba people here. By just having a chat with them, I get to learn more technologies out there, such as Arduino, Azure Media Services, iOS development, and so on.
Entertainment Connect is my submission for //publish/ in 2014.
Entertainment Connect (Available now at Windows Store)
What’s so special about Entertainment Connect? Isn’t it just a media player that can play videos and songs? What else?
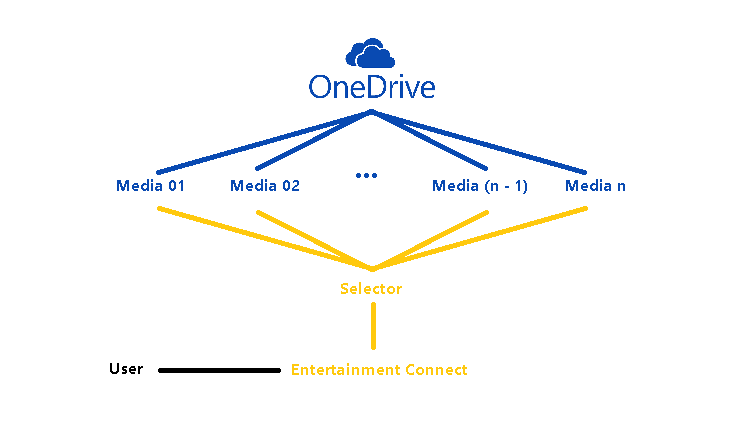
Firstly, yes, it is a media player. However, it is not a normal media player which can only play the local media files. It connects to your OneDrive account and retrieves available media files from there.
Secondly, I make it so that when you switch from one media file to another, the previous media file is paused and is hidden in the background. So, you can, let’s say, click on one video, play it halfway, then click on another song, then jump back to the same video again and continue from where you stop earlier. So this is actually similar to the “Parallel Video Downloading” feature that I introduced back then in YouTube Re-Player (Desktop) in 2009. The only difference is that now it does not limit the number of videos to be just 5.
Parallel Media Downloading from OneDrive to Entertainment Connect
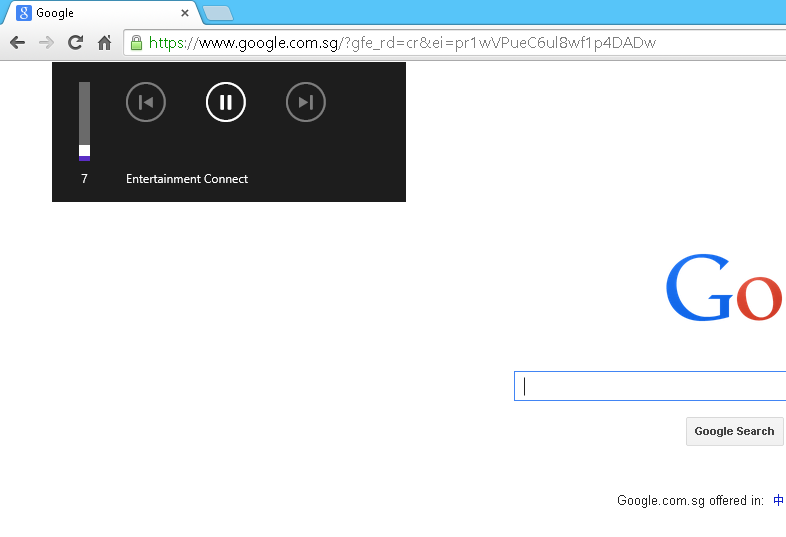
Thirdly, it supports playing audio in the background. This means that even though the app is running in the background, users can still continue listening to the music and at the same time they can also control the media player.
SystemMediaTransportControls
Finally, it can loop songs and videos. Yup, re-playing is always the must-have feature in the media player programs that I build. =)
Wait, It Was 6 Months Ago!
Some of the readers by now should have realized that //publish/ actually happened 6 months ago. Why do I only blog about it now? Well, the answer is that I choose to blog about it after I successfully publish Entertainment Connect to Windows Store. So, why does it take so long for me to publish an app? This is because I have little time to work on it after the event.
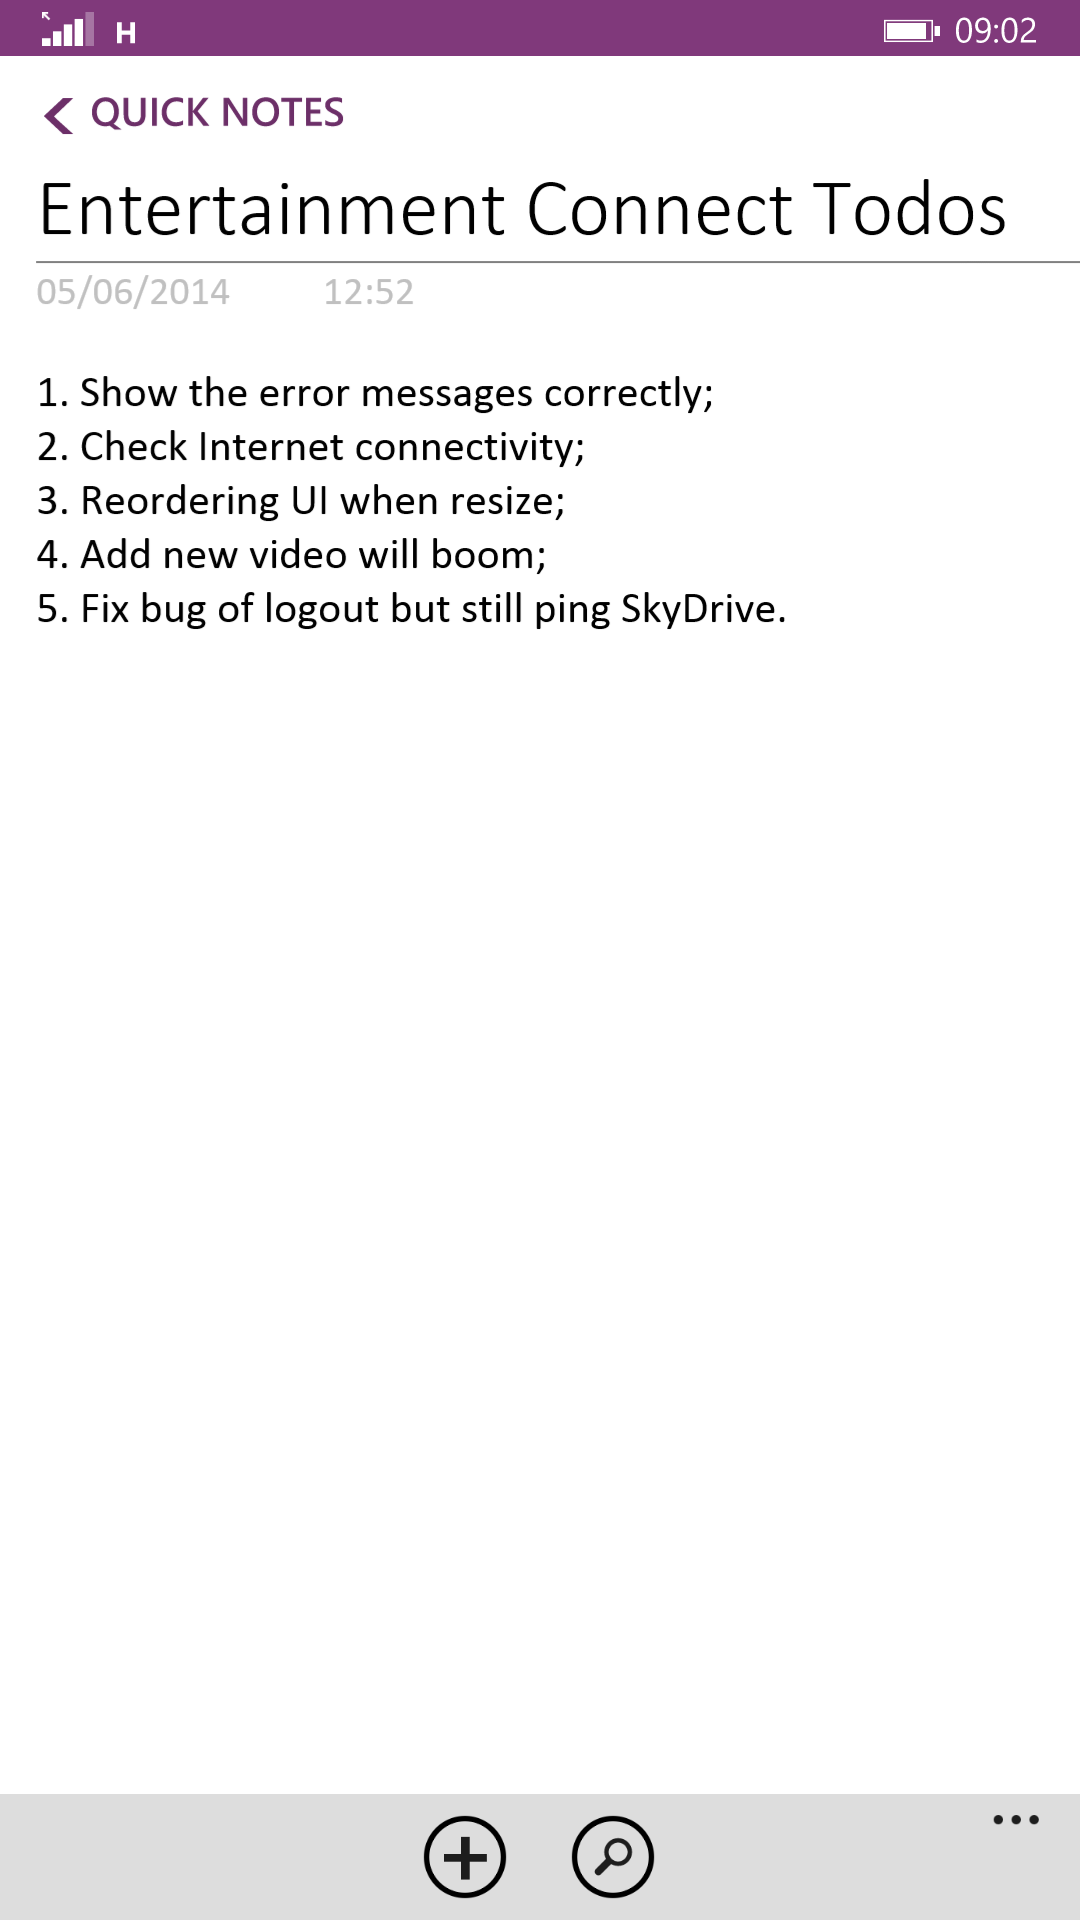
Simple to-do list kept in OneNote
I have learnt the key to finishing a personal project is to work on the project every day. However, I have a full-time work which requires me to OT always. Sleeping has thus become my top priority after work. However, I still try to at least work on the project by writing a few lines of code or just staring at Visual Studio for a few minutes. So, after 6 months of doing so, I am finally able to publish Entertainment Connect.
There is a saying, “Only do side projects you are absolutely crazy about.” Hence, I also installed Entertainment Connect on my laptop so I got to use it daily. The reason of doing so is to force me to remember about the project and to easily find out bugs in the app.
Today, I am happy that I successfully realize the dream of Eugene about a Windows 8 app that he can use to connect to play the media files stored in his OneDrive. In fact, I am very happy to have taken up this challenge and complete the app by myself even though the entire process is tiring.
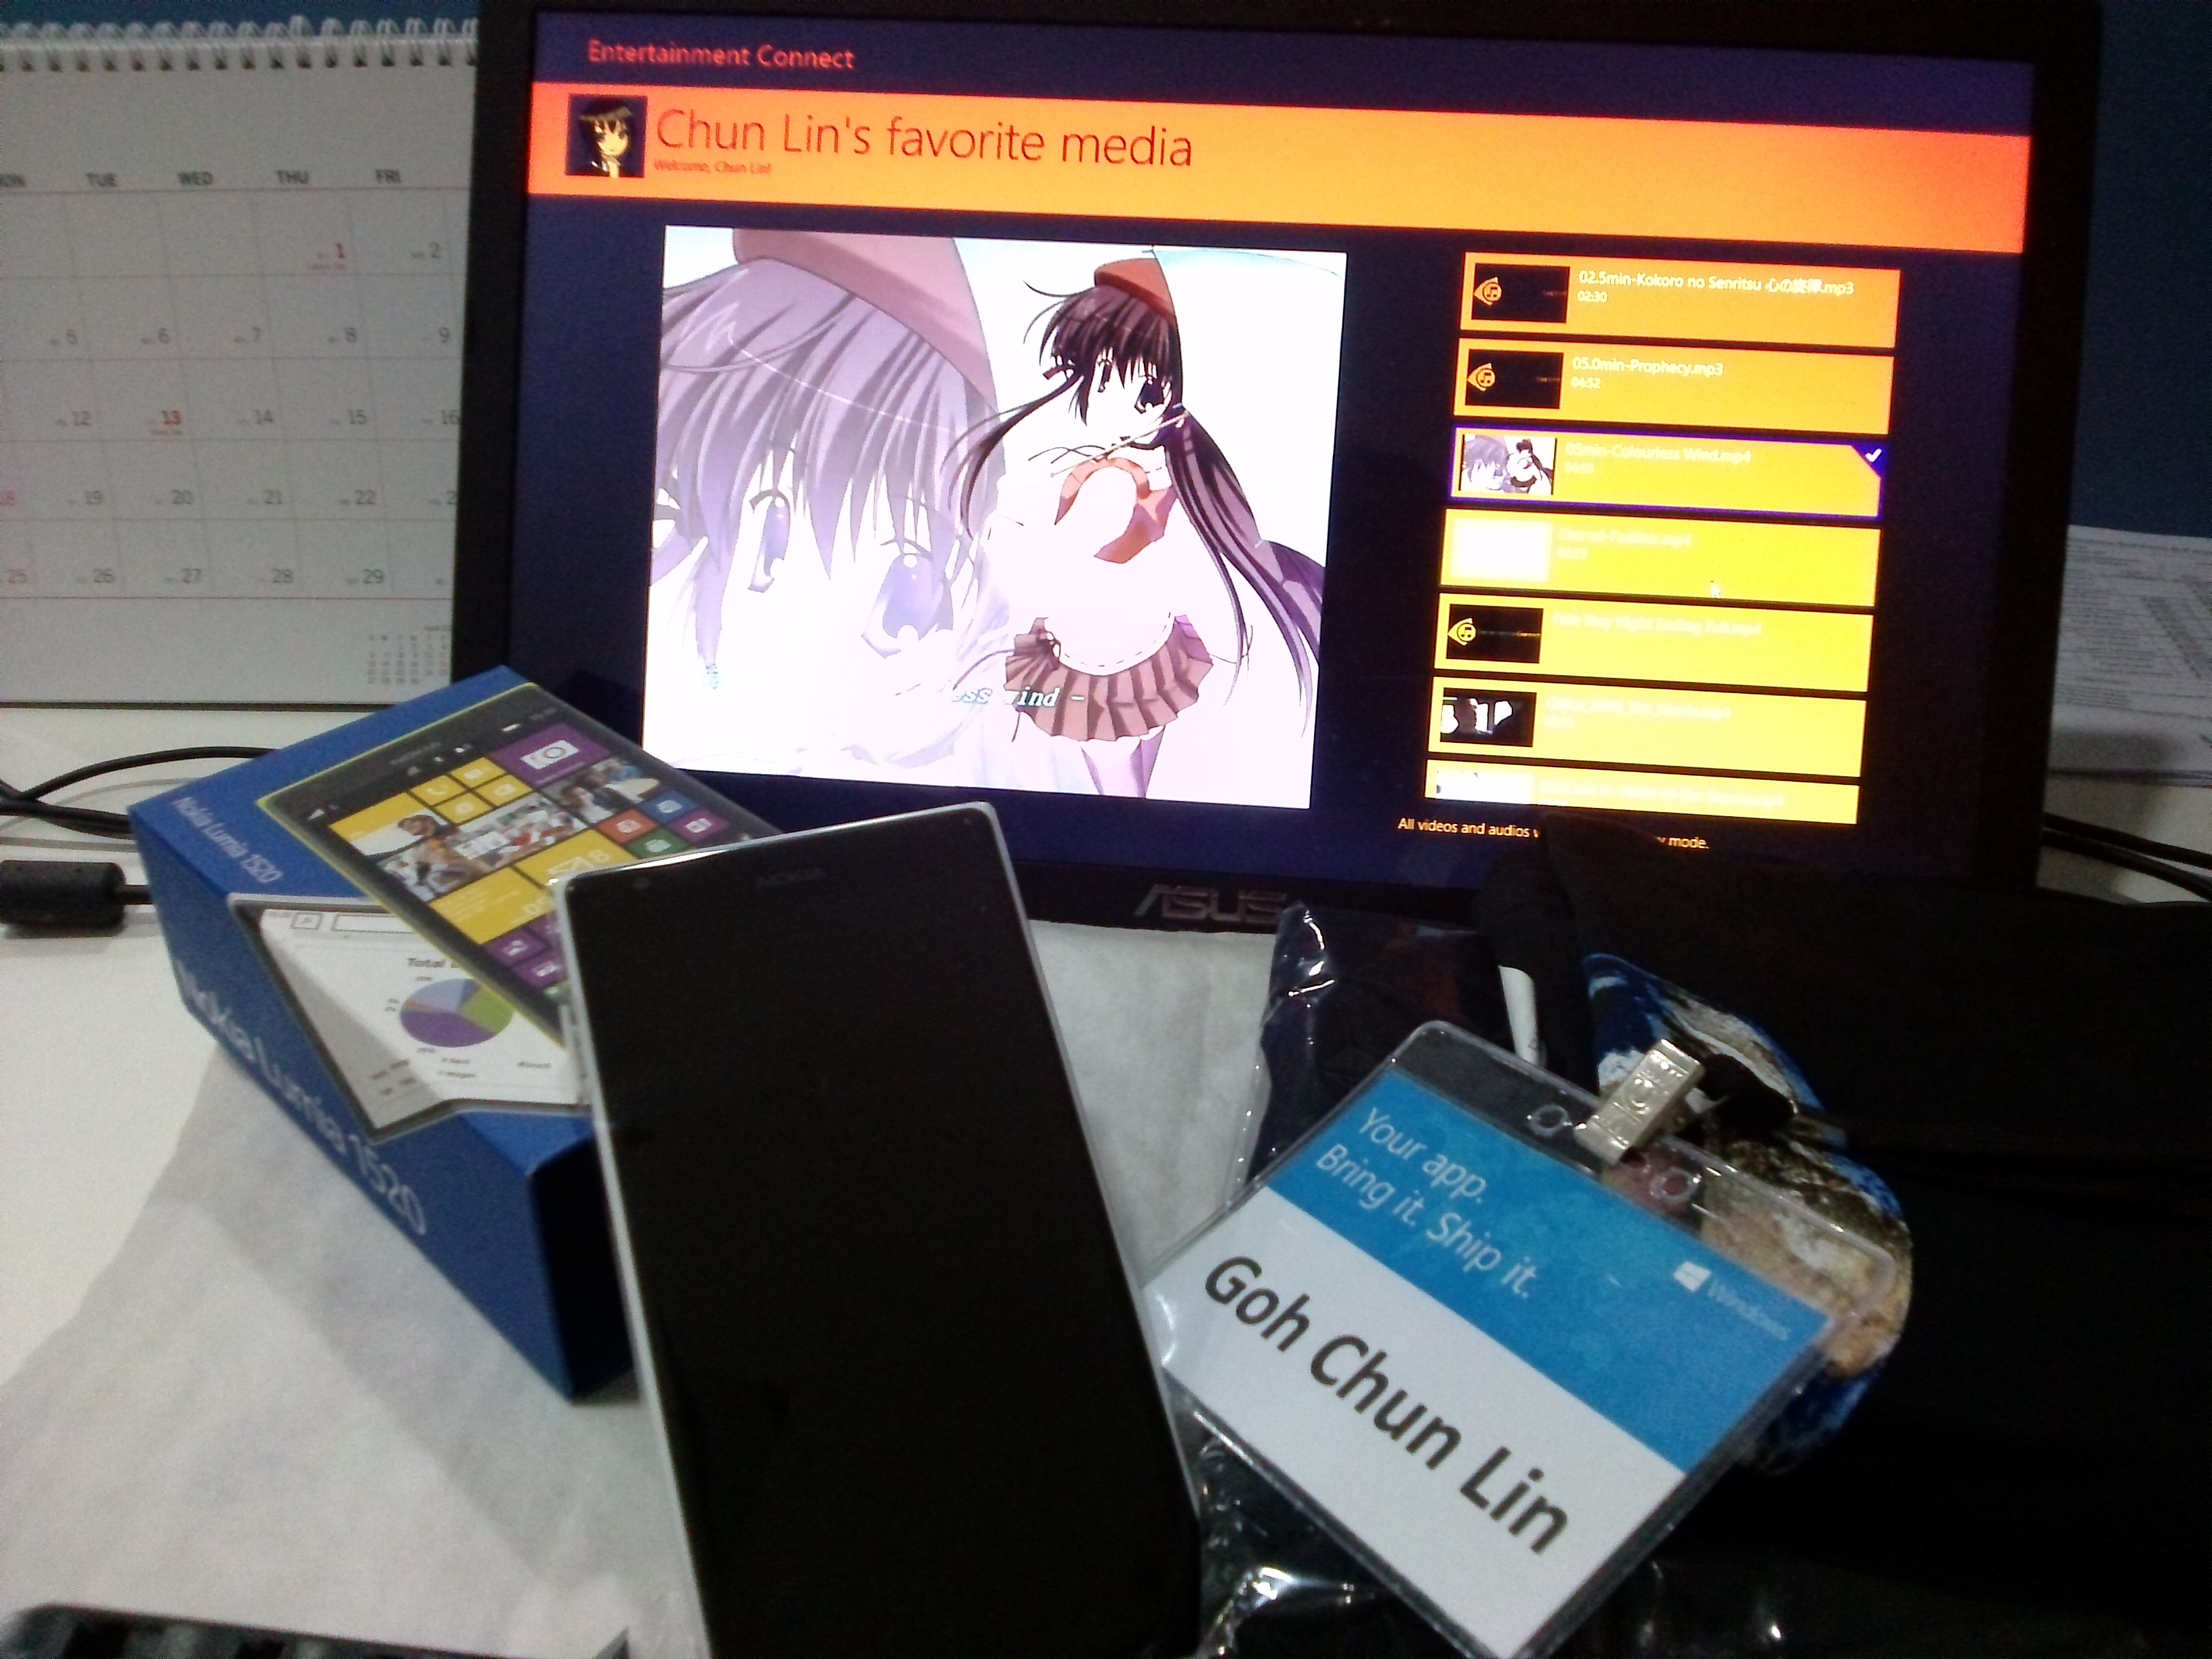
Prize
Prize is Nokia Lumia 1520!
I’d also like to take this chance to thank Microsoft Singapore team for giving me a special prize for Entertainment Connect during //publish/. It was a brand new Nokia Lumia 1520. Coincidentally, my Android phone stopped functioning few days before the event. So, I managed to get a new modern smart phone for free.
I should blog about the phone next time to show how good/bad Nokia Lumia 1520 is. =P
Yesterday night, I was updating Windows 8 to Windows 8.1 to enjoy the new exciting features offered in the latest version of Windows.
Although it’s said to be very simple to update to Windows 8.1 for those who were already using Windows 8, I was stuck in the first step. I couldn’t find the Windows 8.1 update on Windows Store. The update should be provided as free on Windows Store. After reading the help, it turned out that the reason why the update wasn’t available was due to the fact that some important Windows updates were not installed on the computer, especially the KB2871389. Thus, before getting the Windows 8.1 update, I downloaded the required Windows updates in PC Settings.
Downloading Windows Update (20 minutes)
After successfully installed the updates and restarted my computer, I finally could see the Windows 8.1 update in the Windows Store!
Windows 8.1 Update for free!
It took about one and half hour to finish downloading the update. After that it took another few hours to complete the installation and setup. I went to sleep after starting the update. So by the time I woke up, Windows 8.1 was already ready to use!
Few days after the Dream Build Launch hackathon held at Microsoft Singapore office, Desmond and I received an email from Microsoft. The email is to inform us that our app, EsplanadeGo!, that we built during the 24-hour hackathon was selected as one of the applications with high potential on the Windows Store and thus both of us got the opportunity to take part in the Premier Field Engineer (PFE) consultation sessions.
I had been excited about it ever since I received the email and confirmed the 2-hour timeslot for our PFE consultation session. We’re actually invited twice to the PFE consultation session. The first time was in 25 July. During the consultation session, we received feedback from Noemi, Premier Field Engineer from Microsoft Philippines, through Skype. During the consultation session, we went through each item listed on Application Profile Survey. In the survey, as the developers of the app, we needed to answer the questions related to the user experience, user interface and performance of our app.
Through the PFE consultation session, we found out some of the mistakes we made in our app. With the suggestion given by Noemi, we were able to further improve our app which was later reviewed again in 16 August. After the second review, we were finally granted a token which allowed us to submit our Win8 app to the Windows Store. Hence, I decided to have this post to share the problems we encountered in our Win8 app development journey as well as some of the solutions we tried.
Network Connectivity Detection
As what Justin shared in his talk “HTML5 – The road to multi-platform serenity” during the Geekcamp.SG, it’s important to check for the network connection status of a mobile device and to make sure the mobile apps that we build can function properly even in an environment without the Internet access.
In order to have the event handler to be added to the NetworkStatusChanged event at the moment our app runs, we have the following code in our App.xaml.cs.
namespace EsplanadeGo
{
    public delegate void NetworkStatusKenaChangedEventHandler(object sender, NetworkStatusKenaChanged e);
    ...

    sealed partial class App : Application
    {
        public static event NetworkStatusKenaChangedEventHandler NetworkKenaChanged;
        public static bool registeredNetworkStatusNotif = false;
        ...

        public App()
        {
            ...
            if (!registeredNetworkStatusNotif)
            {
                NetworkInformation.NetworkStatusChanged += new NetworkStatusChangedEventHandler(OnNetworkStatusChange);
                registeredNetworkStatusNotif = true;
            }
    }

    public statis bool isConnected()
    {
        ConnectionProfile profile = NetworkInformation.GetInternetConnectionProfile();
        return (profile != null && profile.GetNetworkConnectivityLevel().Equals(NetworkConnectivityLevel.InternetAccess));
    }

    void OnNetworkStatusChange(object sender)
    {
        NetworkKenaChanged(this, new NetworkStatusKenaChanged(isConnected()));
    }

    ...
}
The reason why we have another event defined by us triggered when OnNetworkStatusChange event occurs is that we need to show a message to our user telling him/her that there is currently no Internet access. However, we cannot directly add the code in OnNetworkStatusChange() because a change to the UI through a non-GUI thread will raise an error: Element not found.
After doing some searching on the Internet, I found a solution suggested by invalidusername on StackOverflow. Although that is a Windows Phone 7 related discussion, his method works very well in our Win8 app. So, when App class receives a notification about the change of network connectivity status, it will trigger another event, NetworkKenaChanged, which is subscribed by all the pages in our app. As a result, no matter where the user enters our app, the user will always receive the notification about the change of network connectivity.
Here is what we have in our NetworkStatusKenaChanged class (By the way, “kena” is Singlish, which is served as the passive marker as “by” in English).
public class NetworkStatusKenaChanged:EventArgs
{
    bool isConnected = false;

    public NetworkStatusKenaChanged(bool isConnected):base()
    {
        this.isConnected = isConnected;
    }

    public book ConnectionStatus
    {
        get { return isConnected; }
    }
 }
Thus, in every single page in our app, after subscribing the event, what we need to do is just having the following code to show the message telling our user that there is no Internet connection.
private async void App_NetworkKenaChanged(object sender, NetworkStatusKenaChanged e)
{
    if(App.isConnected())
    {
        await Dispatcher.RunAsync(Windows.UI.Core.CoreDispatcherPrority.Normal,
            async() => { RetrieveItemInfoFromWeb(); });
    }
    else
    {
        await Dispatcher.RunAsync(Windows.UI.Core.CoreDispatcherPrority.Normal, async() =>
            {
                MessageDialog msg = new MessageDialog("There is no Internet connection.",
                    "No Internet Access");
                await msg.ShowAsync();
            });
    }
}
Since EsplanaGo! uses data from the Internet, so it’s important to inform the user if there is no Internet connection.
Local Storage
In the first design of our app, Esplanade web pages would be crawled each time when the app was launched. As suggested in the Application Profile Survey, unnecessary or repeated downloads should be minimized. Thus, now, our app will crawl one Esplanade web page only when a certain tile is clicked by the user.
In addition, since the data we use in our app is live data. So, we need to store the data in local storage so that our app is still usable under the environment without the Internet access.
There are nothing much to store in local storage for our app. What we are going to store is just be the info of the events, such as date, venue and description of the event. Since they are just texts, so we can easily do the local storing with ApplicationData.LocalSettings, as shown below.
// For storing local settings
Windows.Storage.ApplicationDataContainer localData = Windows.Storage.ApplicationData.Current.LocalSettings;
// Save event info to Local Settings
localData.Values["Title"] = individualEvent.Name;
localData.Values["Subtitle"] = individualEvent.DateTime;
localData.Values["ImagePath"] = individualEvent.ImagePath;
localData.Values["Description"] = individualEvent.Venue;
localData.Values["Content"] = synopsis.ToString();
To retrieve the information from local storage, we simply need to use the ApplicationDataContainer.Values property to access the setting in the localData container.
Cached Images Hide-and-Seek
Something that I did not find out before attending the second PFE consultation session is that how come the event thumbnails are cached without us doing anything in our code.
During the second consultation session, we spent about half an hour just to find out the place where the thumbnails were cached. It turns out that the cached thumbnails are actually located in “C:\Users\<UserName>\AppData\Local\Packages\<AppName>\AC\INetCache”. It is a hidden folder which “Hide protected operating system files (Recommended)” under the Folder Views needs to be unchecked first before it can be visible.
Allow to display protected OS files.The images are actually cached and stored in separate folders.
For the <AppName>, it can be found in the Windows App Certificate Kit Test (WACK) Results report.
The AppName can be found in the Windows App Certificate Kit (WACK) Test Results.
It is interesting to know that the caching of images used in the app is automatically handled without doing any programming. Thus, we only store the path to the image in the local settings without storing the image itself.
Besides, under the directory “C:\Users\<UserName>\AppData\Local\Packages\<AppName>\Settings”, there should be a file named settings.dat where values stored in local settings can be found.
Handle PLM State Appropriately
PLM stands for “Process Life-cycle Management”. As stated in the Application Profile Survey, handling PLM is “to allow your users to switch across apps and feel like they never left your app”.
One way of doing that is saving the application data when the app is being suspended. This helps the app to be resumed even if it is terminated by Windows. There is, in fact, a list of official guidelines for app suspend and resume available as well.
For our app, EsplanadeGo!, due to the fact that we already store the relevant information when the user clicks on a tile, so we do not need to write any code for the app suspend. What we do is actually just to have the following code in the App.xaml.cs to load the saved states of the app.
/// <summary>
/// Invoked when the application is launched normally by the end user. Other entry points
/// will be used when the application is launched to open a specific file, to display
/// search results, and so forth.
/// </summary>
/// <param name="args">Details about the launch request and process.</param>
protected override async void OnLaunched(LaunchActivatedEventArgs args)
{
    // Do not repeat app initialization when already running, just ensure that
    // the window is active
    if (args.PreviousExecutionState == ApplicationExecutionState.Running)
    {
        Window.Current.Activate();
        return;
    }
    // Create a Frame to act as the navigation context and associate it with
    // a SuspensionManager key
    var rootFrame = new CharmFrame { CharmContent = new CustomCharmFlyout() };
    SuspensionManager.RegisterFrame(rootFrame, "AppFrame");
    if (args.PreviousExecutionState == ApplicationExecutionState.Terminated)
    {
        // Restore the saved session state only when appropriate
        await SuspensionManager.RestoreAsync();
    }
    if (rootFrame.Content == null)
    {
        // When the navigation stack isn't restored navigate to the first page,
        // configuring the new page by passing required information as a navigation parameter
        if (!rootFrame.Navigate(typeof(ItemsPage), "AllGroups"))
        {
            throw new Exception("Failed to create initial page");
        }
    }
    // Place the frame in the current Window and ensure that it is active
    Window.Current.Content = rootFrame;
    Window.Current.Activate();
}
If you are using a template project offered by Visual Studio 2012, then all these are actually done for you already. Thanks nice guy Visual Studio. =P
So, when will the app terminated? According to MSDN on the topic of application life-cycle, “Windows may terminate your app after it has been suspended for a number of reasons. The user may manually close your app, or sign out, or the system may be running low on resources.” Thus, in the code above, there is this line which helps us to check if the app is terminated by Windows or not:
The capabilities of the app can be hidden through the Package.appxmanifest in Visual Studio.
Meanwhile, it is also important to not show permissions that are not even used in the app. For example, an app like our EsplanadeGo! which only display data should not have permission settings like Webcam, Microphone, Location and so on. All these can be managed under the Capabilities tab in Package.appxmanifest.
App Bar
In the second version of EsplanadeGo!, we introduce a Refresh function in the App Bar. The position of the button in App Bar is important. Based on and the UX design guidelines in MSDN and the official guidelines for commands in the App Bar, we should always places persistent and default commands on the right side of the App Bar and starts our commands on the right.
Refresh function is available in EsplanadeGo!.
The following is the XAML code to include a Refresh button in the App Bar.
Previously, we wrongly put a Share command in the App Bar to invoke sharing. This is, in fact, not a recommended way of using the App Bar, as specified in the guidelines for sharing content.
RenRen with Our App: Share Fun with Your Friends
The reason why we had a Share command in the App Bar is because we implemented Share Source Contract in our app. When I first heard about Sharing Charm two month ago, I had always wanted to tried it out once myself.
To have this feature, I use DataTransferManager in our app. The following code is what I have in one of our pages to allow user to share an event info, such as event name and description to other app (RenRen HD, Mail, etc.).
DataTransferManager dataTransferManager;
protected override void OnNavigatedTo(NavigationEventArgs e)
{
    base.OnNavigatedTo(e);
    // Register this page as a share source.
    this.dataTransferManager = DataTransferManager.GetForCurrentView();
    this.dataTransferManager.DataRequested += new TypedEventHandler<DataTransferManager, DataRequestedEventArgs>(this.DataRequested);
}
protected override void OnNavigatedFrom(NavigationEventArgs e)
{
    base.OnNavigatedFrom(e);
    // Unregister this page as a share source.
    this.dataTransferManager.DataRequested -= new TypedEventHandler<DataTransferManager, DataRequestedEventArgs>(this.DataRequested);
}
private void DataRequested(DataTransferManager sender, DataRequestedEventArgs e)
{
    var selectedItem = (SampleDataItem)this.itemsViewSource.View.CurrentItem;
    if (selectedItem != null)
    {
        DataRequest request = e.Request;
        request.Data.Properties.Title = selectedItem.Title != null ? selectedItem.Title : "";
        request.Data.Properties.Description = selectedItem.Subtitle != null ? selectedItem.Subtitle : "";
        request.Data.SetText(selectedItem.Content);
    }
}
Sharing event info with RenRen friends.
Here, I need to apologize to my friends on RenRen because I spammed their wall when I was testing this feature. =P
Logos: Design Is Important Also
During our first PFE consultation session, we were asked to have a better design for our app logo. To give the users a better experience when they are using our app, we were advised to have the same logo used for Wide Logo, Small Logo and Splash Screen.
EsplanadeGo! Logo on Start MenuEspanadeGo! Small Logo now uses the same logo as the Wide Logo.
In addition, it is important not to have app name appeared on both logo and the tile at the same time. Hence, it there is already a word “Esplanade” as part of the logo, then we should hide the app name”EsplanadeGo!” on the tile on Start page.
ProgressRing, Not Onion Ring: The App Is Still Loading!
Back in the old days, we have only things like progress bar to show the loading speed of tasks. Now, in Windows 8, we have a cooler control known as the Progress Ring. I love how a progress ring can be added to the GUI easily with just one line in XAML.
To implement that look-and-feel, I modified the sample code generated by Visual Studio in SampleDataSource.cs as follows.
namespace EsplanadeGo.Data
{
    public interface IResizable
    {
        int Width { get; set; }
        int Height { get; set; }
    }

/// <summary>
/// Base class for <see cref="SampleDataItem"/> and <see cref="SampleDataGroup"/> that
/// defines properties common to both.
/// </summary>
[Windows.Foundation.Metadata.WebHostHidden]
public abstract class SampleDataCommon : HelloWorldSplit.Common.BindableBase, IResizable
{
    ...
    public SampleDataCommon(String uniqueId, String title, String subtitle, String imagePath, String description, int width, int height)
    {
        ...
        this._width = width;
        this._height = height;
    }

    ...
    private int _width = 0;
    public int Width
    {
        get { return this._width; }
        set { this.SetProperty(ref this._width, value); }
    }
    private int _height = 0;
    public int Height
    {
        get { return this._height; }
        set { this.SetProperty(ref this._height, value); }
    }
}
The latest version of EsplanadeGo! homepage design with VariableSizedWrapGrid.
Having Dinner with EsplanadeGo!
In the last few weeks, I went to Bugis Junction and some other restaurants with Internet access to have dinner so that I can work on our EsplanadeGo! project after work. Although my daily work is already all about C# and ASP.NET and I have only my dinner time to work on this project, it is still quite fun to work on EsplanadeGo! (Imagine, coding with nice food in a comfortable environment. How fun is that? =P).
Thanks to this project, I get to try many new stuff that I haven’t seen before and share the new technology with my colleagues and my boss. Yup, they all love it very much and would like to learn more about Windows 8 app development. Who knows? Maybe one day our company will have our first mobile app on Surface. =P