I like to explore interesting new technologies. I also love to learn more from the materials available on Microsoft Virtual Academy, Google Developers channel, and several other tech/dev events.
Riza Marhaban is sharing his SmartSuggestion algorithm to the audience during the community meetup. (Photo Credit: Singapore .NET Developers Community)
I find his program to be very interesting. In fact, I did a similar task when I was working in Easibook as well. By calculating the Levenshtein Distance of user input and the records in database, the small JavaScript code I wrote is able to suggest the places even user keys in the place name wrongly.
Soon after Riza’s talk about his SmartSuggestion, I read the announcement of general availability of Azure Search from Microsoft team.
Azure Search is generally available!
Azure Search
Azure Search is a fully managed search-as-a-service in Microsoft Azure. It offers scalable full-text search for the program. Hence, with its help, developers do not need to re-invent the text-searching capability in their programs and websites.
Azure Search currently provides two ways of querying text. One is using Simple Query Syntax where user can do keywords searching, phrase searching, suffix searching, etc. AND/OR/NOT operator is also available for use.
Another way of querying will be Lucene Query Parser. What interests me the most in Lucene Query Syntax is the use of Damerau–Levenshtein Distance in its Fuzzy Search, which does more than the Levenshtein Distance that only allows insertion, deletion, and substitution operations.
Try It Out!
In order to try out this feature, I have decided to create a demo program to test its functionality.
In this program, I use the event data from the .NET Developers Community Singapore to demonstrate how Azure Search works. To do this, I have to integrate with the Meetup APIs in this program.
Currently, this demo application covers the following features in Azure Search.
Create Azure Search index;
Data upload;
Keywords query in both Simple Query Syntax and Lucene Query Syntax.
Here are some of the screenshots of querying using Azure Search.
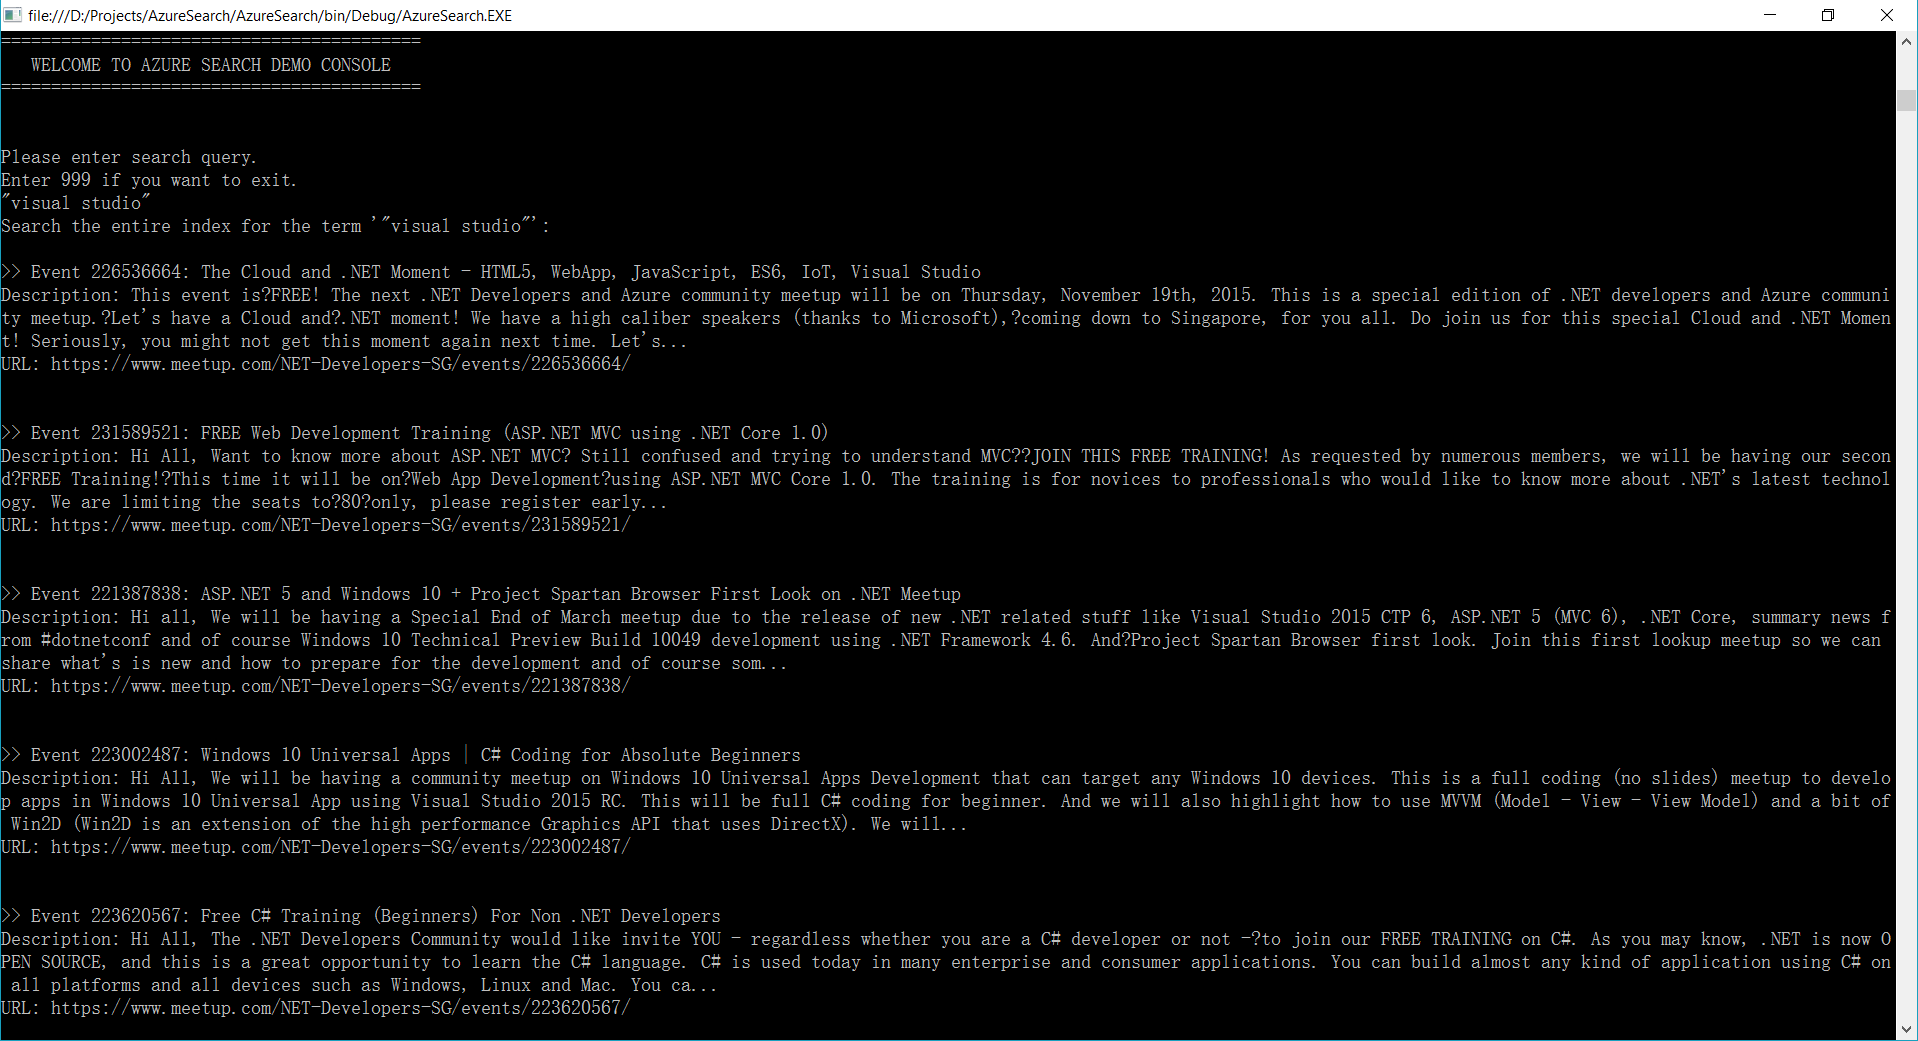
For example, if I’d like to find out what the talks covering topic about Visual Studio are, I can just simply search by “visual studio” as a phrase, as shown in the following screenshot.
Phrase Searching in Azure Search
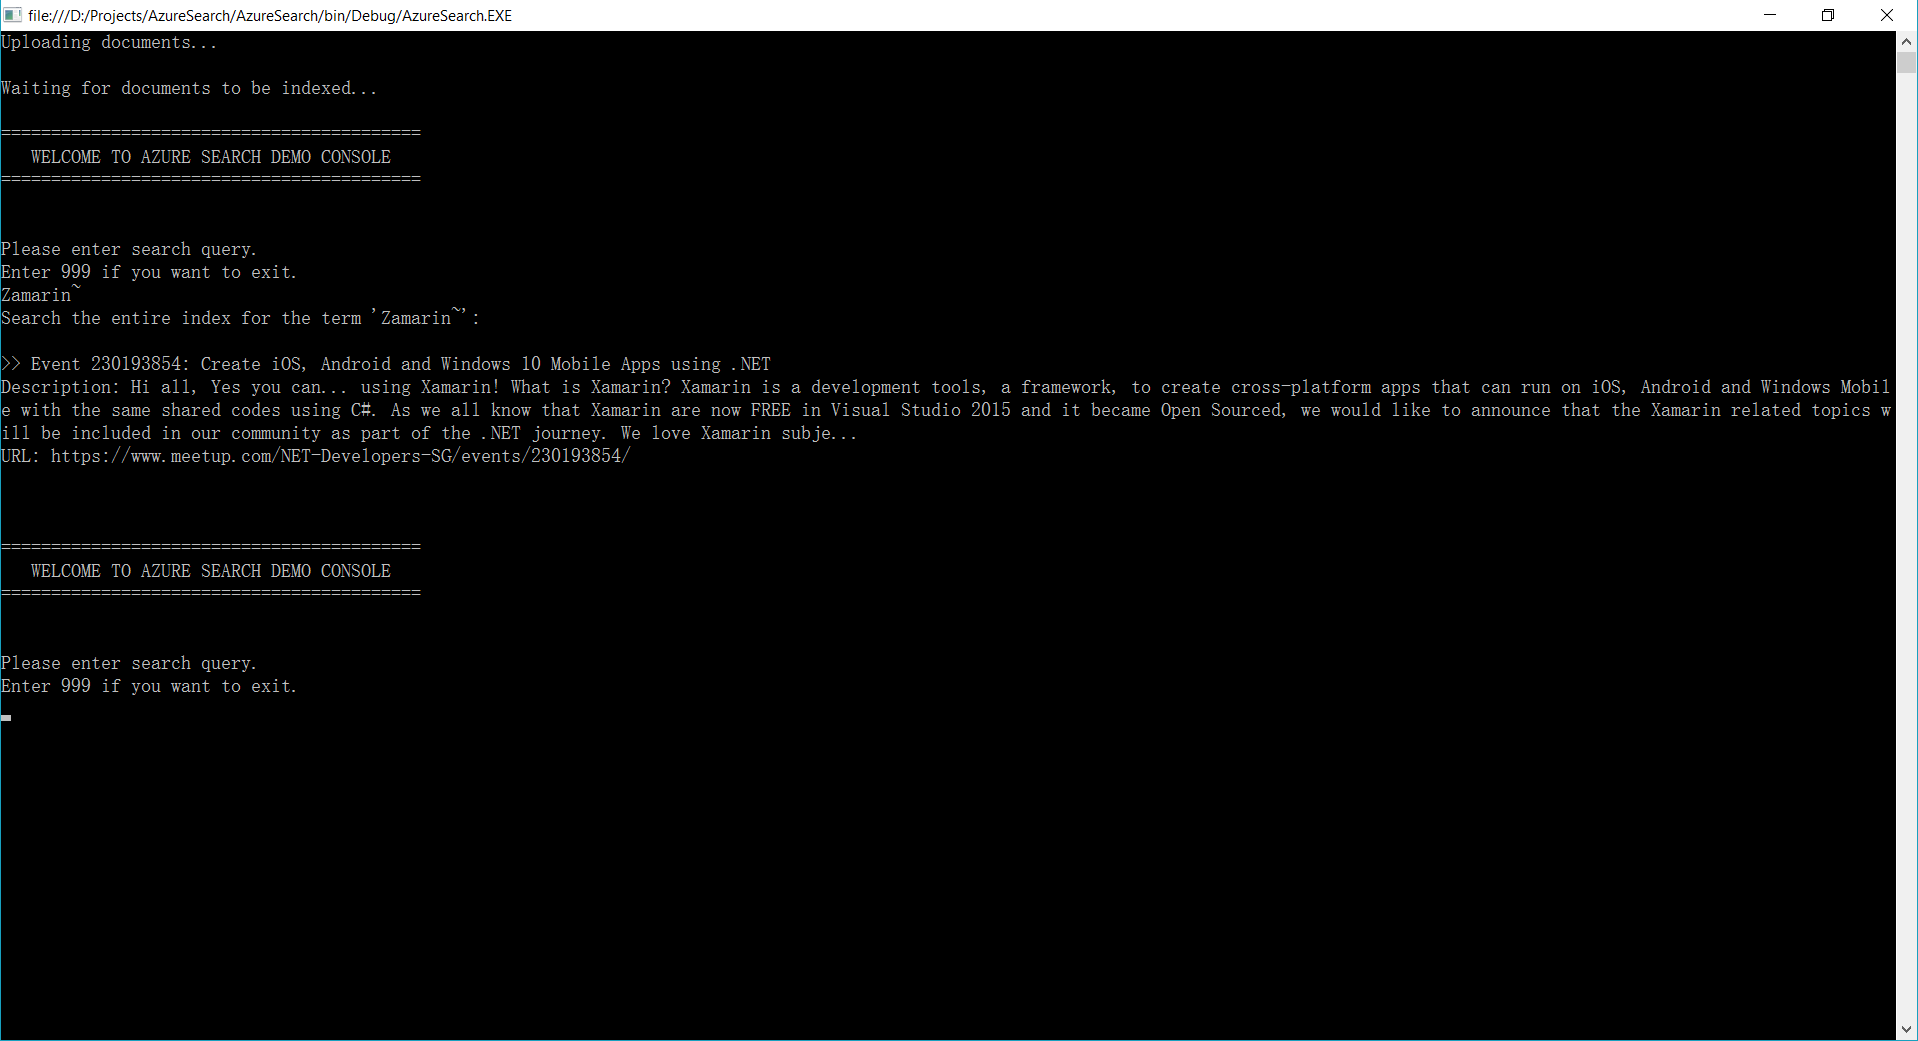
Or let’s say a user wants to search the meetup events about “Xamarin” but he doesn’t know its correct spelling is either Xamarin or Zamarin. So he can do a Fuzzy Search by keying in “Zamarin~”. Take note of the tilde “~” symbol at the end of the word. It means the search of the word will be done using Fuzzy Search.
Fuzzy Search in Azure Search
Holiday and Coding
Christmas is a public holiday in Singapore. Since Christmas is on Sunday, I get a day off on Monday. So besides taking a rest in my room, I did a quick research on Azure Search. It’s kind of fun because it helps me to learn new things which I don’t have chance to explore during work.
With Azure Search, we can now search with our minds at east. (Image Credit: Re:Zero Kara Hajimeru Isekai Seikatsu, KissAnime)
As a web developer, I don’t have many chances to play with mobile app projects. So rather than limit myself to just one field, I love to explore other technologies, especially mobile app development.
Burger Project: My First Xamarin App
Last month, I attended a Xamarin talk at Microsoft Singapore office with my colleague. The talk was about authentication and authorization with social networks such as Facebook and Twitter via Azure App Service: Mobile App.
Ben Ishiyama-Levy is talking about how Xamarin and Microsoft Azure works together.
The speaker is Ben Ishiyama-Levy, a Xamarin evangelist. His talk inspired me to further explore how I could retrieve user info from social network after authenticating the users.
Because I am geek-first and I really want to find out more, so I continue to read more about this topic. With the help from my colleague, I developed a simple Xamarin.Android app to demonstrate the Authentication and logged-in user’s info retrieval.
In this project, it’s also the first time I apply Reflection in my personal project. It helps me easily get the according social network login class with a neat and organized code.
The day is the first time Microsoft CEO Satya Nadella comes to Singapore. It’s also my first time learn about the powerful Cognitive Services and LUIS (Language Understanding Intelligence Service) in Microsoft Azure in Riza’s talk.
Riza’s presentation about Microsoft Cognitive APIs during Microsoft Developer Day.
Challenges in Cheese Project
Everyday, it takes about one hour for me to reach home from office. Hence, I will only have two to three hours every night to work on personal projects and learning. During weekends, when people are having fun out there, I will spend time on researching about some exciting new technologies.
There are many advance topics in LUIS. I still remember that when I was learning how LUIS works, my friend was actually playing the Rise of the Tomb Raider beside me. So while he was there phew-phew-phew, I was doing data training on LUIS web interface.
Microsoft LUIS (Language Understanding Intelligence Service) and Intents
Currently, I only worked on some simple intents, such as returning me current date and time as well as understanding which language I want to translate to.
My first idea in Cheese project is to build an Android app such that if I say “Please translate blah-blah to xxx language”, the app will understand and do the translation accordingly. This can be quite easily done with the help of both LUIS and Google Translate.
After showing this app to my colleagues, we realized one problem in the app. It’s too troublesome for users to keep saying “Please translate blah-blah to xxx language” every time they need to translate something. Hence, recently I have changed it to use GUI to provide language selection. This, however, reduces the role played by LUIS in this project.
VoiceText provides a range of speakers and voices with emotions!
To make the project even more fun, I implemented the VoiceText Web API from Japanese in the Android app. The cool thing about this TTS (Text-To-Speech) API is that it allows developers to specify the mood and characteristic of the voice. The challenge, of course, is to read the API written in Japanese. =P
Oh ya, this is the link to my Cheese repository on Github: https://github.com/goh-chunlin/Cheese. I will continue to work on this project while exploring more about LUIS. Stay tuned.
After-Work Personal Projects
There are still more things in mobile app development for me to learn. Even though most of the time I feel exhausted after long work day, working on new and exciting technologies helps me getting energized again in the evening.
I’m not as hardworking as my friends who are willing to sacrifice their sleep for their hobby projects and learning, hence the progress of my personal project development is kind of slow. Oh well, at least now I have my little app to help me talking to people when I travel to Hong Kong and Japan next year!
I don’t know why people like to call software developers as hackers. Even though calling them hackers is way better than using other names like ninjas or code monkeys, I think it’s still not appropriate to call developers hackers. So, I find it quite weird when I met someone who is Growth Hacker. Err… Hack what?
a hybrid of marketer and coder, one who looks at the traditional question of “How do I get customers for my product?” and answers with A/B tests, landing pages, viral factor, email deliverability, and Open Graph.
A growth hacker is someone who has thrown out the playbook of traditional marketing and replaced it with only what is testable, trackable, and scalable. Their tools are e-mails, pay-per-click ads, blogs, and platform APIs instead of commercials, publicity, and money.
(Holiday, Ryan. 2013.Growth Hacker Marketing. New York : Penguin Group, 2013)
Hence, growth hacker plays an important role in startup or SME which has little to no resources. Growth hacker needs to make use of their programming skills to provide more scientifically way of understanding who customers are and where they are.
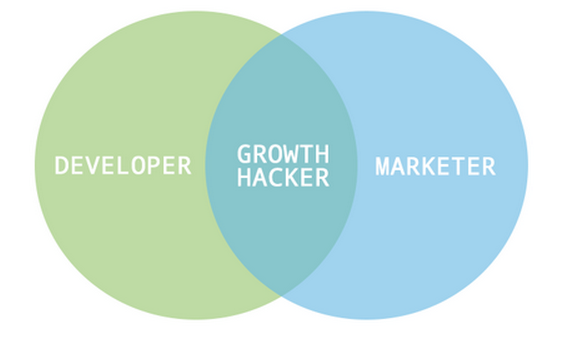
Developer + Marketer = Growth Hacker
Growth hacking highlights the importance of Product Market Fit. Instead of expecting marketers to show a product that nobody wants, company with growth hacking mindset will now spend time on trying different way of improving product based on customer feedback.
Growth hacker tests the ideas by letting customers to try our different version of the product and then ask the customers what they like about the product. One way to receive feedback is by looking at conversion rate or by the number of Facebook likes received. Hence, this helps the company to publish a product which is worth marketing and has majority of its customers love to use.
Different Stages in Growth Hacking
I’m glad to have talked to people who are experienced in growth hacking. They recommended me two books to read. One is the Growth Hacker Marketing by Ryan Holiday.
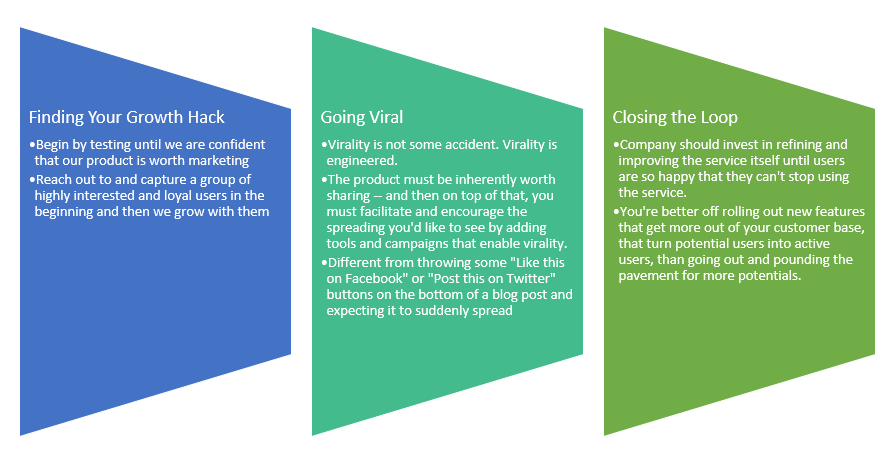
In Ryan Holiday’s book, growth hacking basically has 3 stages as follows.
Finding your growth hack;
Going viral;
Closing the loop: Retention and optimization.
3 stages in Growth Hacker Marketing.
Growth Hacking Tactics
Another book which is recommended to me to read is Growth Hacking Handbook written by Jon Yongfook. The book suggested 100 growth tactics which many startups have successfully applied over the last 2 decades.
I am not going to list all the 100 items here. So, I will just highlight some of them which I find to be interesting.
Tactic 01: The We Can’t Go Back Jack Hack
On the signup page or checkout page, disable or remove all navigational elements that would enable a user to go back to the previous page. This includes disabling your site logo, which is often linked to the homepage.
The reason of having this tactic is because preventing users from leaving a process is sometimes good enough to force them to complete the entire signup/booking process.
In the Amazon checkout page, user can’t go back to the homepage by clicking on the logo. Instead they have to click on the tiny link at the bottom.
I don’t really like this idea because it’s sort of locking customers in your shop and then telling the customers that they can’t leave your shop until they make the payment. It creates a bad user experience.
Growth Hacking: Shut the door, release the dog and then lock the customers in our shop!
Tactic 02: The Pre-filled Form Hack
Instead of forcing customers to buy our goods before leaving our shop, why don’t we just create a fast signup/checkout process?
One way of doing that is to make the form short and pre-fill form fields with information if we already have it, such as customer’s email address.
For example the checkout form below will scare customers away not because it’s too long but it also requests too much personal information from the customers without giving any explanation why the information is needed.
Booking ferry tickets from Singapore to Batam on Easybook requires you to enter every single passenger’s name, gender, DOB, nationality, passport, and passport expiry date. On top of that, the system also requires you to manually specify the number of adults and children even though DOB of each passenger is already given.
Tactic 03: The As Seen On TV Hack
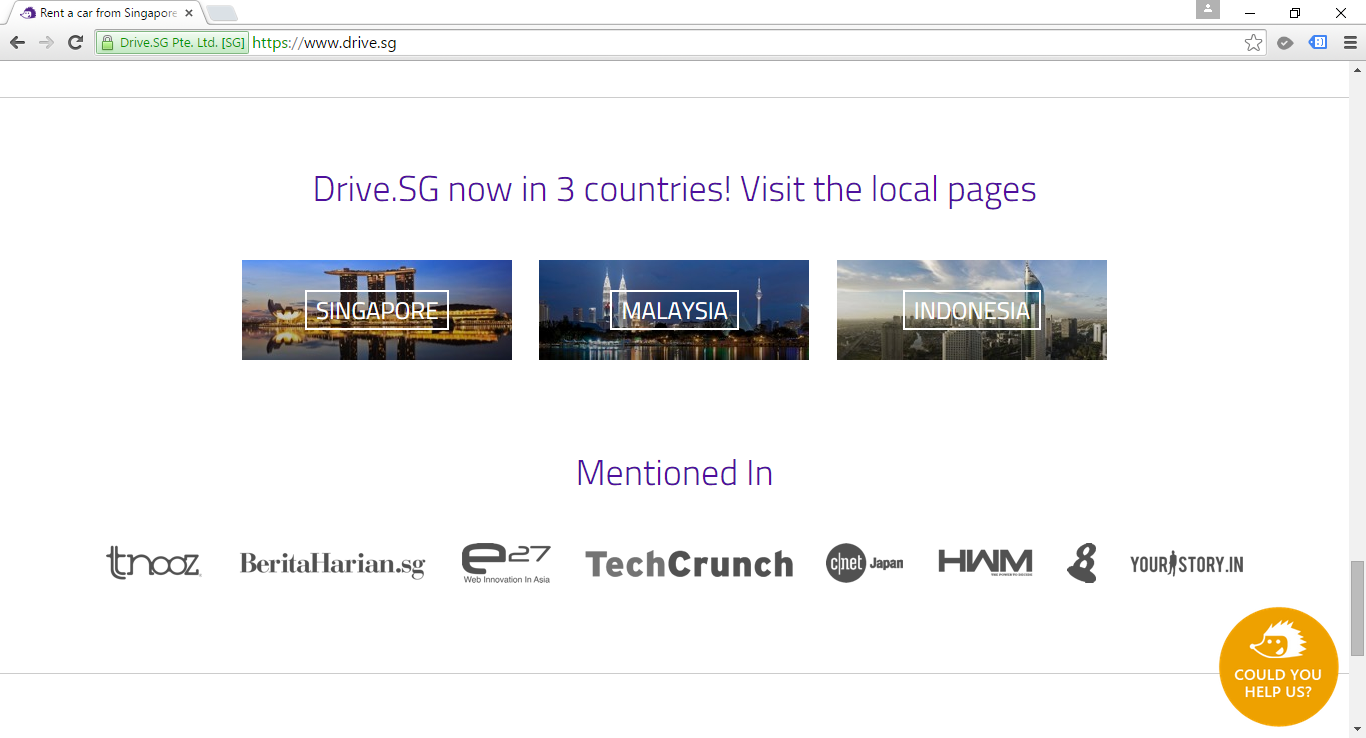
Users feel more comfortable when they know the products they are using now are something that other famous people have already used it. So having logos of media outlets who have mentioned about our product on our homepage is another form of social proof.
This tactic is also quite straightforward. It basically means giving the option to post the website content to other social networks with just one click. That will help to push our product to a wider network via social networks.
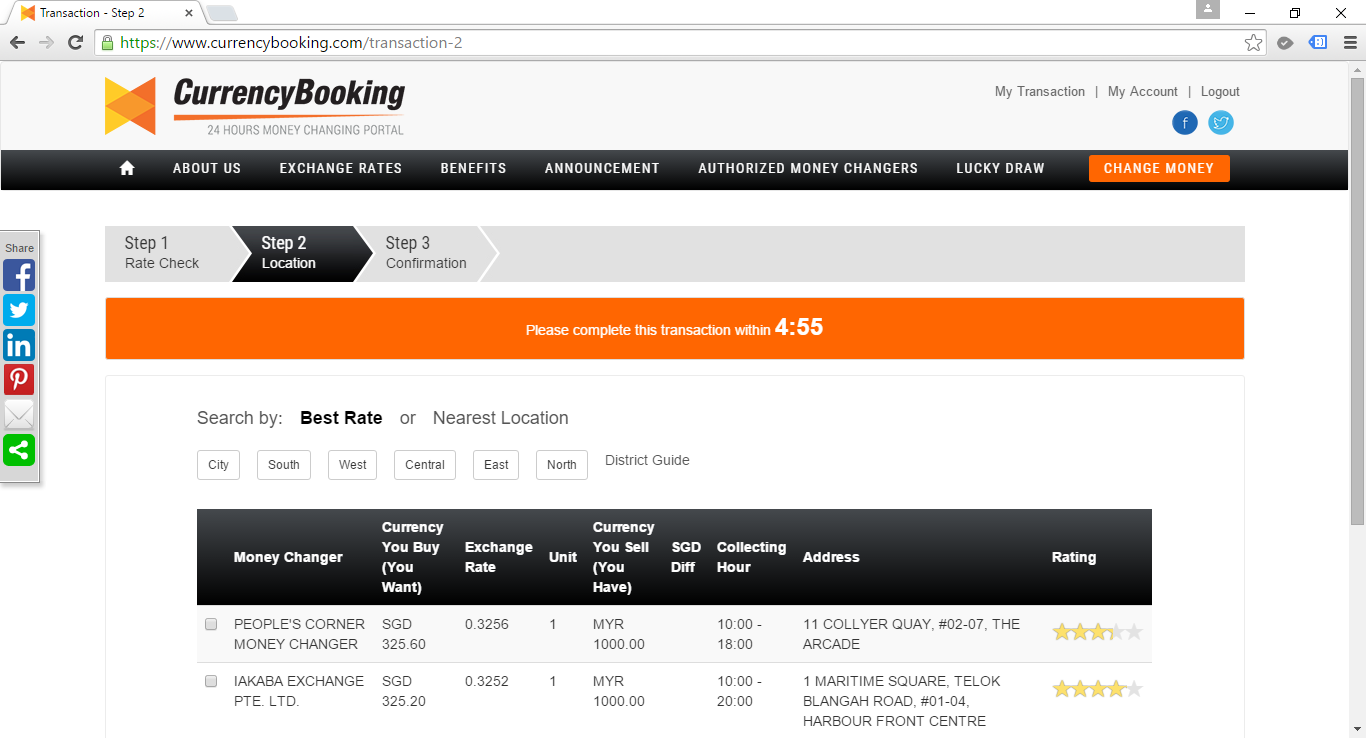
Tactic 05: The Timebomb Hack
This is a pressure tactic where a time limit is set when a user is making critical decision such as a purchase. I don’t like to use this tactic in my ecommerce website because as a consumer, I prefer to choose what to buy without any pressure. I normally just quit the website when it forces me to finish a task in a very little time.
Customers needs to complete their transaction within 5 minutes on CurrencyBooking, a money changing platform.
Tactic 06: The Winback Hack and the Negative Follow Up Hack
These two tactics are quite similar. The goal is to get feedback from users who are inactive and having incomplete transactions and incentivize them to return to the website.
A simple winback campaign can be automatically sending highly personalized email to those users who have not logged in for past 30 days. Normally, a winback campaign is our last chance at communicating with our users before they unsubscribe from us.
Sending email to customers who have signed up but do not buy any of our product is also important. That will help us to better understand why some customers do not want to buy from us (and sometimes it could be because of having bugs in the payment module).
The following is an email I received after subscribing an online service.
Hi Chun Lin,
I noticed you recently added our product to your cart but did not submit the order – wondering if you have any questions about our platform or pricing?
We’re always here to help so please do not hesitate to contact me! You can find my contact info, including my direct number, in the email signature below.
Direct number and contact info! Wow!
I don’t sign up with them in the end because I don’t really need their product at that moment. However, I’m still very impressed by their friendly email.
Tactic 07: The Intro Video Hack
If a picture is worth a thousand words, then a video is worth a million. Most people will find video content more interesting than standard text content. Hence, video content is useful to attract a significant number of inbound links and social shares for our website.
Recently, Google Search results page also displays Rich Snippet which contains information about the video embedded on the page. Hence, the Rich Snippet helps our web page to stand out from the other search results on the page. Therefore, users will be more inclined to click on the link pointing to our website.
Tactic 08: The Register to Save Hack
Instead of getting users to sign up first, we can choose to only ask users for their email after they have gone through some steps. This is to encourage users to try our product first to understand about the product better so that the eventual conversion to signup is easy.
Singapore Real Estate Exchange allows users to freely search, then requires login/signup when users want to shortlist the property.
Tactic 09: The Widget Hack and The Affiliate Program Hack
Instead of asking users to share our website via a link in text, why not giving them an embeddable widget to our product which can be easily added to any other website or blog? Then from there we can get those who embed our widget on their websites/blogs to participate in our affiliate program so that people are motivated to refer customers to our website.
With different challenges emerging every other day, startups nowadays have to innovate and operate rapidly in order to achieve exponential growth in a short period of time. Hence, my friends working in startups always complain about the abuse of 4-letter word “asap”. Every task they receive always come with one requirement: It must be done asap. However, as pointed out in the book Rework by Jason Fried from Basecamp, when everything is expected to be done asap, nothing in fact can be really asap. So, how are startups going to monetize their ideas fast enough?
To answer the question, this year IBM Connect Singapore highlighted two cloud platforms, SoftLayer and Bluemix, which help to assist startups to build and launch their products at speed.
IBM Connect 2015 at Singapore Resorts World Sentosa
William Lim sharing story about Global Private Network.
What excites me during the event is the concept of Bare Metal Server. With Microsoft Azure and Amazon Web Services (AWS), users do not get predictable and consistent performance especially for I/O intensive tasks when their applications are running on virtual-machine based hosting. In order to handle I/O intensive workloads, IBM SoftLayer offers their users a new type of server, Bare Metal Server.
A Bare Metal Server is a physical server which is fully dedicated to one single user. Bare Metal Server can be setup with cutting-edge Intel server-grade processors which can then maximize the server processing power. Hence, for those startups that would like to build Big Data applications, they can make use of Bare Metal Server from SoftLayer to perform data-intensive functions without worrying about latency and overhead delays.
Bluemix, PaaS from IBM
As a user of Microsoft Azure Cloud Service (PaaS), I am very glad to see the Bluemix, PaaS developed by IBM, is also being introduced in the IBM Connect event.
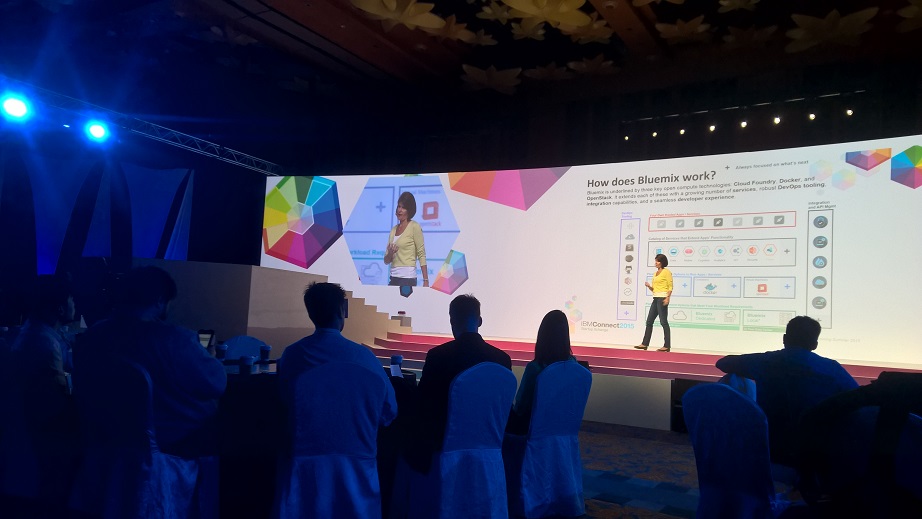
Amelia Johasky, IBM Cloud Leader (ASEAN), sharing how Bluemix works together with three key open compute technologies: Cloud Foundry, Docker, and OpenStack.
One of the reasons why I prefer PaaS over IaaS is because in a startup environment, developers always have too many todos and too little time. Hence, it is not a good idea to add the burden of managing servers to the developers. Instead, developers should just focus on innovation and development. In the world of PaaS, tons of useful libraries are made available and packaged nicely which allows developers to code, test, and deploy easily without worrying too much about the server configuration, database administration, and load balancing. (You can read about my pain of hosting web applications on Azure IaaS virtual machines here.)
After the IBM Connect event, I decide to try out Bluemix to see how it’s different from Azure Cloud Service.
The registration process is pretty straightforward. I started with the Web Application Template. In Bluemix, there are many programming languages supported, including the latest ASP .NET 5, the new open-source and cross-platform framework from Microsoft team!
Many web development platforms are available on Bluemix!
I like how Bluemix is integrated with Git. It allows us to create a hosted Git repository that deploys to Bluemix automatically. The entire Git setup process is also very simple with just one click of the “Git” button. So every time after I push my commits to the repository, my app will be automatically updated on the server as well. Cool!
Bluemix enables us to deploy our web apps with Git.
You can click on the button below to try out my simple YouTube related web app deployed on Bluemix.
Bluemix is underlined by three key open compute technologies, i.e. Cloud Foundry, Docker, and OpenStack. What I have played with is just the Cloud Foundry part. In Bluemix, there is also an option to enable developers to deploy virtual machines. However, this option is currently beta and users can only have access to it if they are invited by IBM. Hence, I haven’t tried their VM option.