Data analysing is not about reporting. While reporting gives data, data analytics gives answers to the whys. Data analytics is the practice of using data and information to make informed decisions.
When I was in a startup, I was assigned a task by the CEO to work on analytical processing on transaction data. In the early days of the startup, the number of transactions was low, so simple data processing using stored procedures on MS SQL databases was sufficient. However, based on my past experience in SMEs, without investing in data workflow early, it will be challenging for the team to use the data to make informed decisions later. Imagine five years down the road, the team requires to do analysis on the huge amount of data collected in the past five years with just Excel.

Hence, in this article, we will be focusing on how we can do analytical data processing with Google BigQuery and then visualise the data using Google Data Studio.
Analytical Data Processing
There are two main categories when we talk about data processing, i.e. Transactional Processing and Analytical Processing.
For example, in my previous startup team, we had an Order Management Support (OMS) team that focused on tracking and processing the orders on time. What the OMS team does is transactional processing. Then we also had another Data Analyse (DA) team to analyse sales data to find out about monthly revenue, for example. So the DA team is basically performing analytical data processing.
Hence, the DA team needs to analyse large batch of data. As the business grows, the data the team needs to access will be going back months, or even years. Also, when there are more sales channels introduced in the business, the DA team may need to access multiple data sources as well. So, let’s see how we can use data warehouse to help dealing with the big data the DA team has.
Why Google BigQuery?
There are many data warehouse solutions out there.
The reason why we choose Google BigQuery is because it is a data warehouse that is very similar to the RDBMS which we have been very familiar with. Another good news is that Google BigQuery now supports the standard SQL which is ANSI:2011 compliant. Hence, the DA team can move to Google BigQuery seamlessly.
In addition, Google BigQuery can handle complex analytical queries which will be essential to the businesses and the data stored in it can easily scale to petabytes as the businesses grow.
The fast real-time access to our data is also another advantage of Google BigQuery. So within a few seconds, the DA team can retrieve the results from processing the huge amount of data.
Finally, Google BigQuery is serverless. So we don’t have to instantiate compute nodes like we do in AWS Redshift.

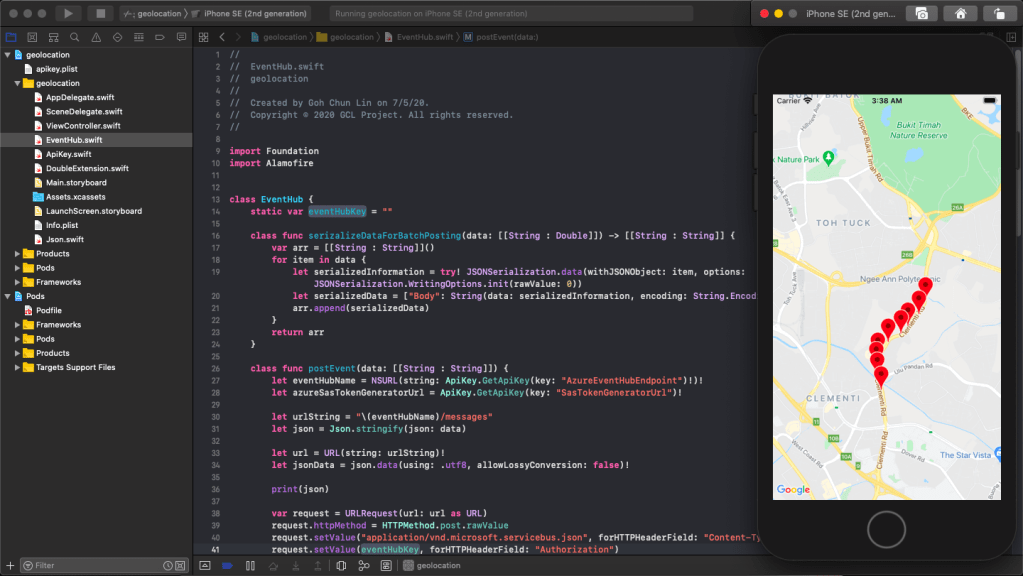
Importing Data to Google BigQuery
The transaction data of the previous month will normally be double checked and verified by the relevant teams monthly. Once it is done, we can then download the transaction report of the month into a CSV file.
The reason why we choose CSV file is because it’s one of the three file types accepted by Google BigQuery. The other two are JSON and AVRO. Yes, AVRO! We talked about it in our previous article about Azure Event Hub.
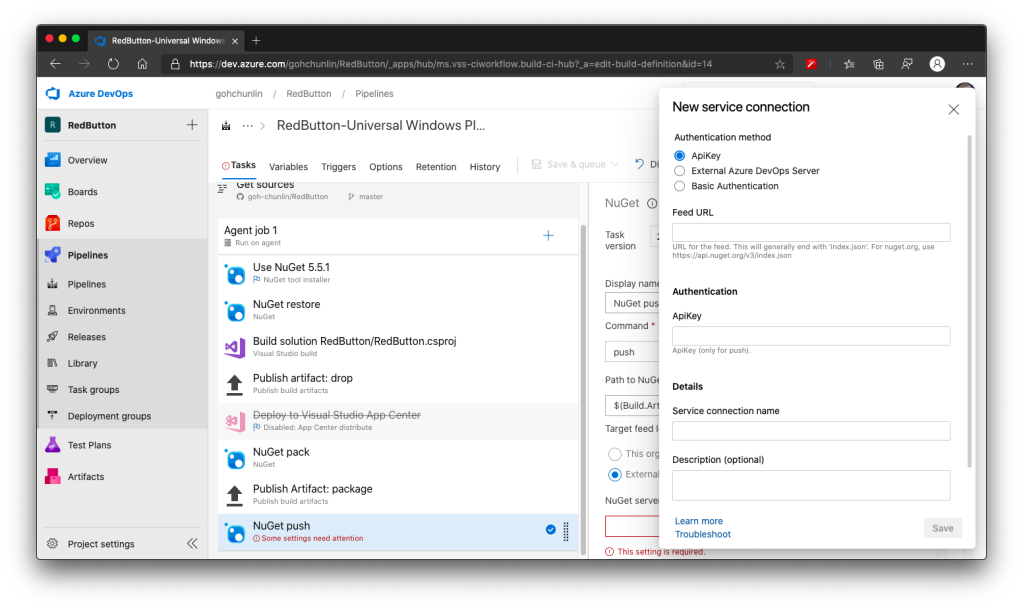
Here, we will use Google Cloud Storage to store the CSV files because it is one of the accepted data source for Google BigQuery.

So after the monthly transaction data has been uploaded to the storage, we can then proceed to create a new dataset (a concept which can be treated as database in RDBMS). Then in the dataset, we can start to create new table based on the monthly transaction data.
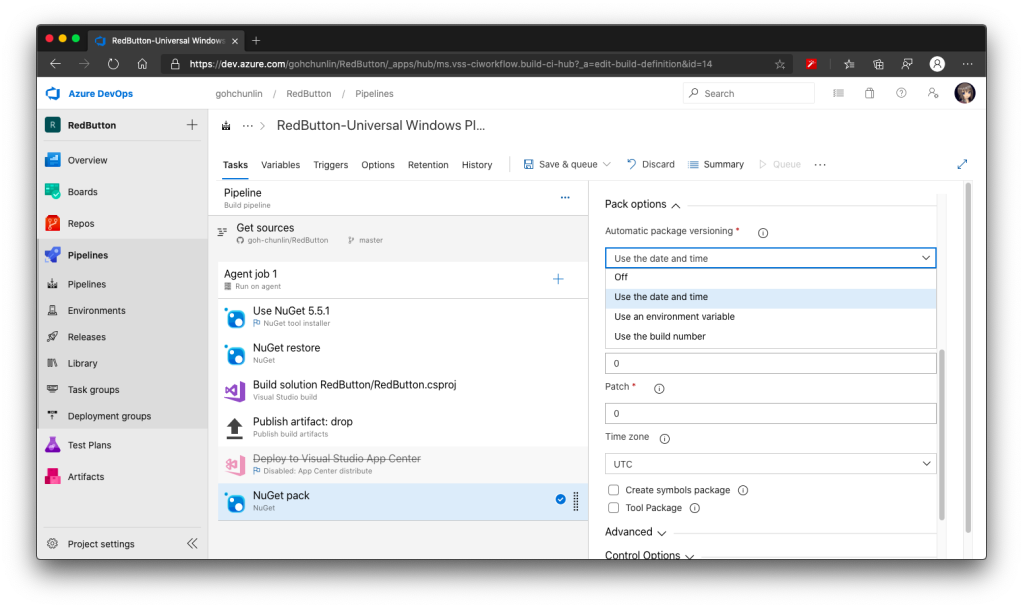
There are a few ways on how to create the table in the dataset. It seems like merging data from all months into one table is easier for maintenance. However, I decide to go for the way where we have one table for every month. This way actually allows me to delete and upload monthly data whenever I need to.

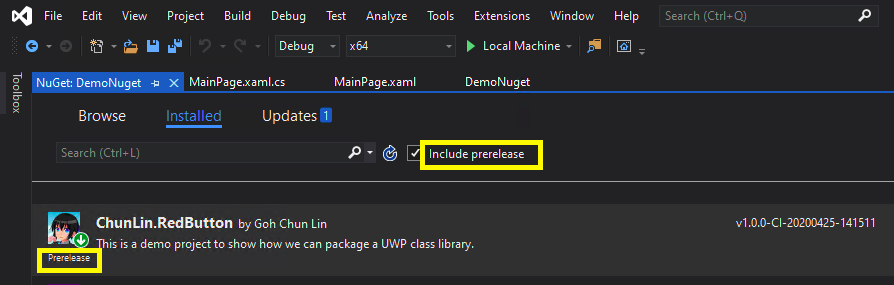
After that, we need to make sure to remove the header row(s) in our CSV file, if any, as shown in the following screenshot. If we don’t do this, the header row may be wrongly included into the dataset. The reason why we don’t need header here is also because the schema has been auto-detected by the Google BigQuery (or defined differently by the person who is uploading the data) in the previous step.

Sometimes, there might be some data corruption in the CSV file. For example, a column which is expected to contain only number suddenly has a non-numerical value. Then Google BigQuery will complain to us, as shown in the screenshot below..

Once the data is imported successfully to the table, we can then preview the data in the table.
This preview function is a very user-friendly feature. Do you still remember about the query price we mentioned earlier? If we explore the data in the table with the “SELECT *” statement, we will be charged and our usage quota may be affected. However, the preview function allows us to get a rough idea about the data in the table for free (and quota not affected)!

Views and Queries
Now we have seen both dataset and table, we need to introduce third concept in Google BigQuery called View. The view is actually a virtual table defined by a SQL query. Unlike the table which actually holds the records, the view will display the data in the related tables by executing its view-query.
Just now, I split the monthly transaction data into different tables. Actually I sort of regretting it after doing so because I can’t have an overview of the yearly report. Fortunately, with view, I can come up with a virtual table that holds essential data for the months in a year from all the tables using UNION in the query.

The query is easy to write as long as we are familiar with the standard SQL. For example, we can have a view which will show the driver who has the highest cost of jobs in each month with the query which uses LIMIT and UNION ALL shown in the following screenshot.

Visualisation using Data Studio
Dashboard building and reporting are very important in almost all the businesses because they make it easy to translate messages, retain information, and gather insights from the data. In short, that’s a way of data storytelling.
Similar as Power BI, Google Data Studio comes with interactive dashboards and beautiful reports that inspire smarter business decisions. The Data Studio has connectors to Google Cloud Platform (GCP) services, including Google BigQuery, and data stores. So, we will see how we can make use of it to visualise our data.
In the Data Studio, we first need to search for the BigQuery connector first.

After that, we need to locate the table or view which will provide the necessary data for the data visualisation, as shown in the following screenshot.

We then can draw a table with bars to show the driver with highest cost in their jobs for each month, as shown in the image below.


However, we notice that the month is actually not ordered properly and it makes us hard to analyse the data. Why is it so? It turns out that the data type of the Month field is actually now recognised as “Text” which is indicated as “ABC” in the right menu.
To correct it, we need to click on the “ABC” beside the “Month” field and change its type to “Date”. The format we will use YYYYMM because that is how the year and month are formatted in the data source.

We will then see the “Month” column in the table will be shown in date format. The funny thing is even though the format we choose is YYYYMM, when the Data Studio displays the months, they will be displayed as, for example, April 2018 instead of 201804.
What we’re now left to do is just sort the table according to the month in ascending order.

So, congratulation to Mr Heng Swee Ren for being the only driver having the highest cost for two months!
In the Data Studio, we can also further customise the style of our report, such as changing the colours, to make the report to be more engaging to the readers.

Conclusion
This is not the end of the journey. It’s actually just the beginning. For example, the line chart shown above actually has a limitation of showing only 10 series, as discussed over here. If there are more than 10 series, some of them will be grouped as “Others” in the chart and the visualisation will no longer make sense.
Anyway, this is my proposal of how we should do analytical data processing with data warehouse tool, such as Google BigQuery. Through this article, I also hope that businesses, especially startups and SMEs, can start to look into building common business reports using Power BI or Google Data Studio which will avoid wasting programmers’ time on coming up in-house dashboard and reports which are not highly customisable.