AWSome Day – Learning AWS from Experts and IAM

AWS + IAM

It’s fortunate to work in a company which encourages employees to attend courses, workshops, and training to expand their skill set. Last month, when I told my boss about AWSome Day, a training event hold by AWS expert technical instructors, my boss immediately gave me one day leave (without deducting my annual leave) to attend the event. In addition, I’m glad to have awesome teammates who helped me to handle my work on that day so that I could concentrate during the event. Thus, I would like to write a series of blog posts to share about what I’ve learnt in AWSome Day.

Amazon AWSome Day

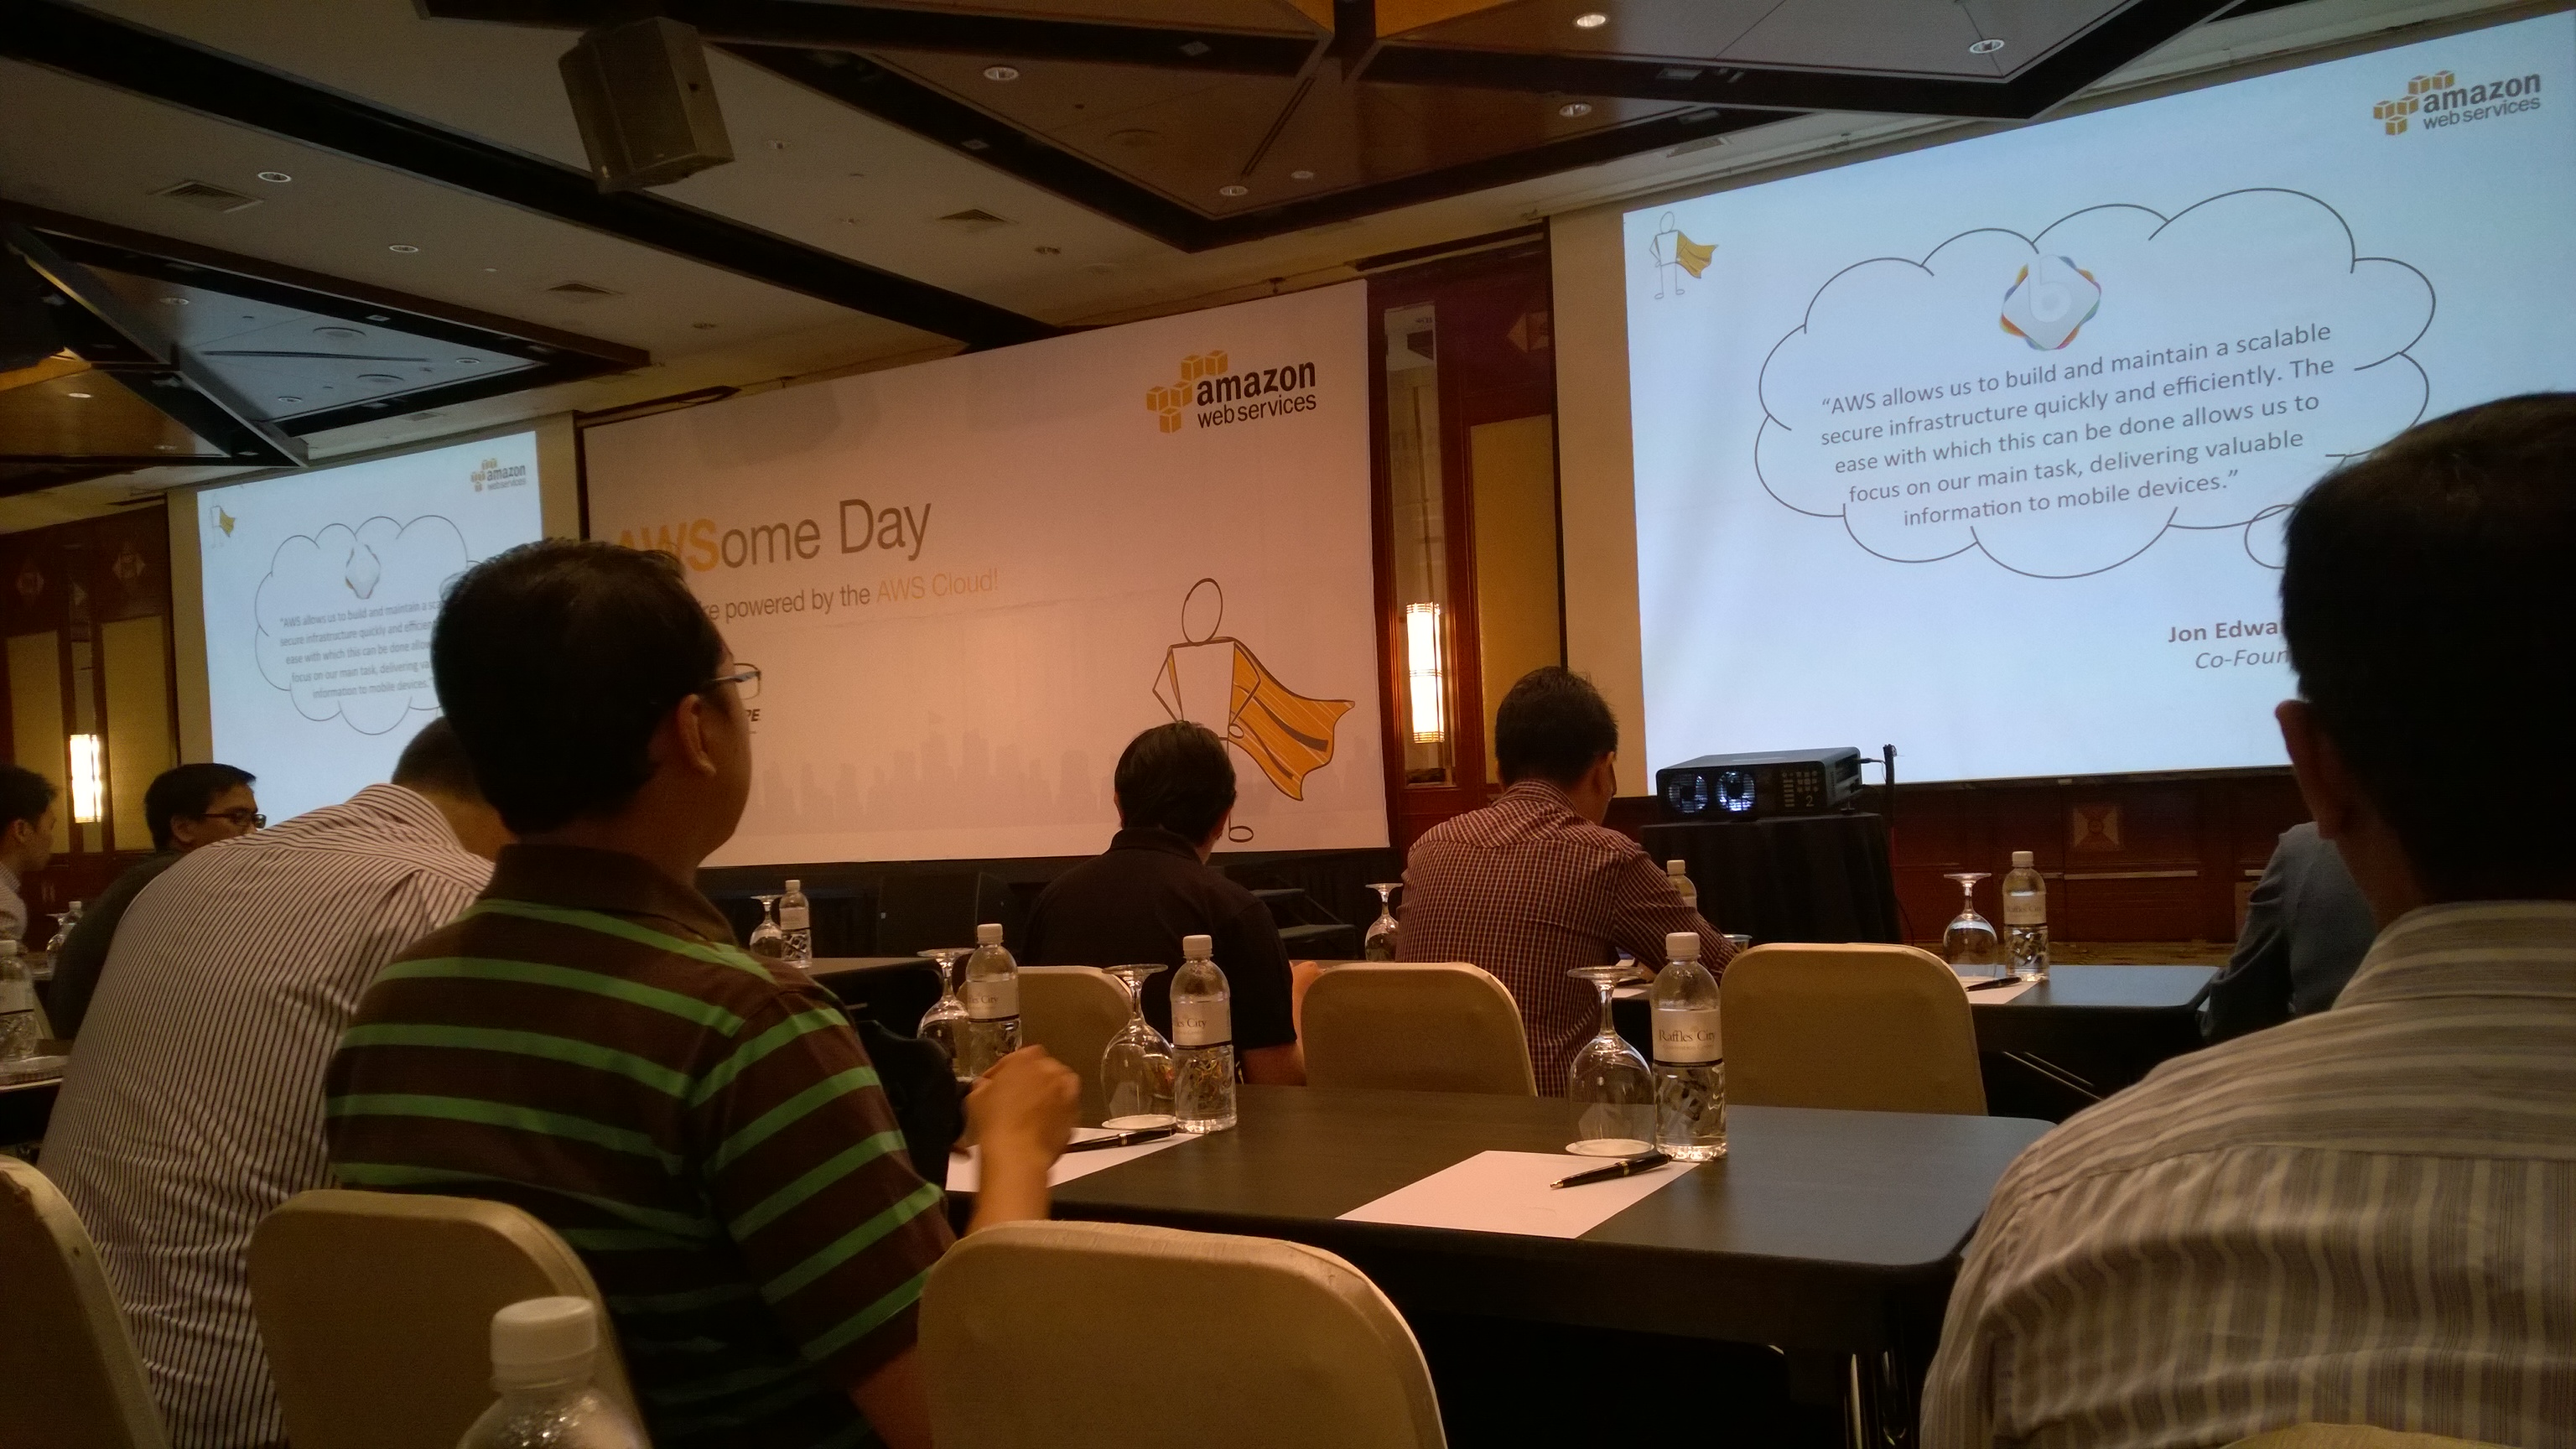
This is the second time the AWSome Day was organized in Singapore. Based on last year AWS Summit attendees, a lot of them were looking for more professional training from AWS, and thus AWSome Day once again came to Singapore. This year, the event is at Raffles City Convention Centre, which is just a 5-minute walk from my office. Oh my tian, that is so convenient!

AWSome Day, Awesome Place - Raffles City Convention Centre
AWSome Day, Awesome Place – Raffles City Convention Centre

The registration started at 8am. After that, Richard Harshman, the Head of AWS ASEAN, gave an opening keynote. He shared with us how AWS had removed barrier of entry to start a business online and to increase innovation. My friend who worked in MNC once told me that he was given access to powerful servers to do crazy stuff. I am not as lucky as him. I am working in a startup which does not have sufficient financial capability for that. Hence, I agreed with Richard that AWS (and other cloud computing services as well) does reduce the cost of innovation and experimentation.

Richard also shared with us a story how with the help of AWS, some startup in Malaysia managed to get a few million of visits monthly without an in-house system admin. Yup, our company also does not have a sysadmin. Normally, the work of sysadmin is done by the developers. Hence, we are always looking for a way to reduce the time used on sysadmin tasks so that developers have more time to focus on improving the applications to serve our customers better. So, cloud computing infrastructure with board and deep services to support online workload helps high volume and low margin businesses like ours.

Currently, our company is using both AWS and Microsoft Azure. So, when Richard shared a graph how both AWS and Microsoft are now leaders in cloud computing service, I was glad that we made a right choice to use services from both of them.

After the opening keynote, we had a short coffee break and then we began the 6-hour journey of AWS training which was done by Denny Daniel, Technical Trainer at AWS. Since the training covers many interesting topics, I will not blog all of them here because most of the readers will just tl;dr. I will only write what I learnt and I found useful in my career. So, if you are interested in the event, why not join the future training offered by AWS Singapore? =)

Episode 01: Who am I? I am, I am… I am Identity and Access Management (IAM)!

One of the main concerns about hosting our applications on clouds is security. One of the security tools provided by AWS is called Identity and Access Management, or IAM. It enables the system admin to manage users and their access rights in AWS. Hence, in AWS, each user accessing AWS will have their own security credentials and individual permissions to each AWS service and resource.

Create User
Create User

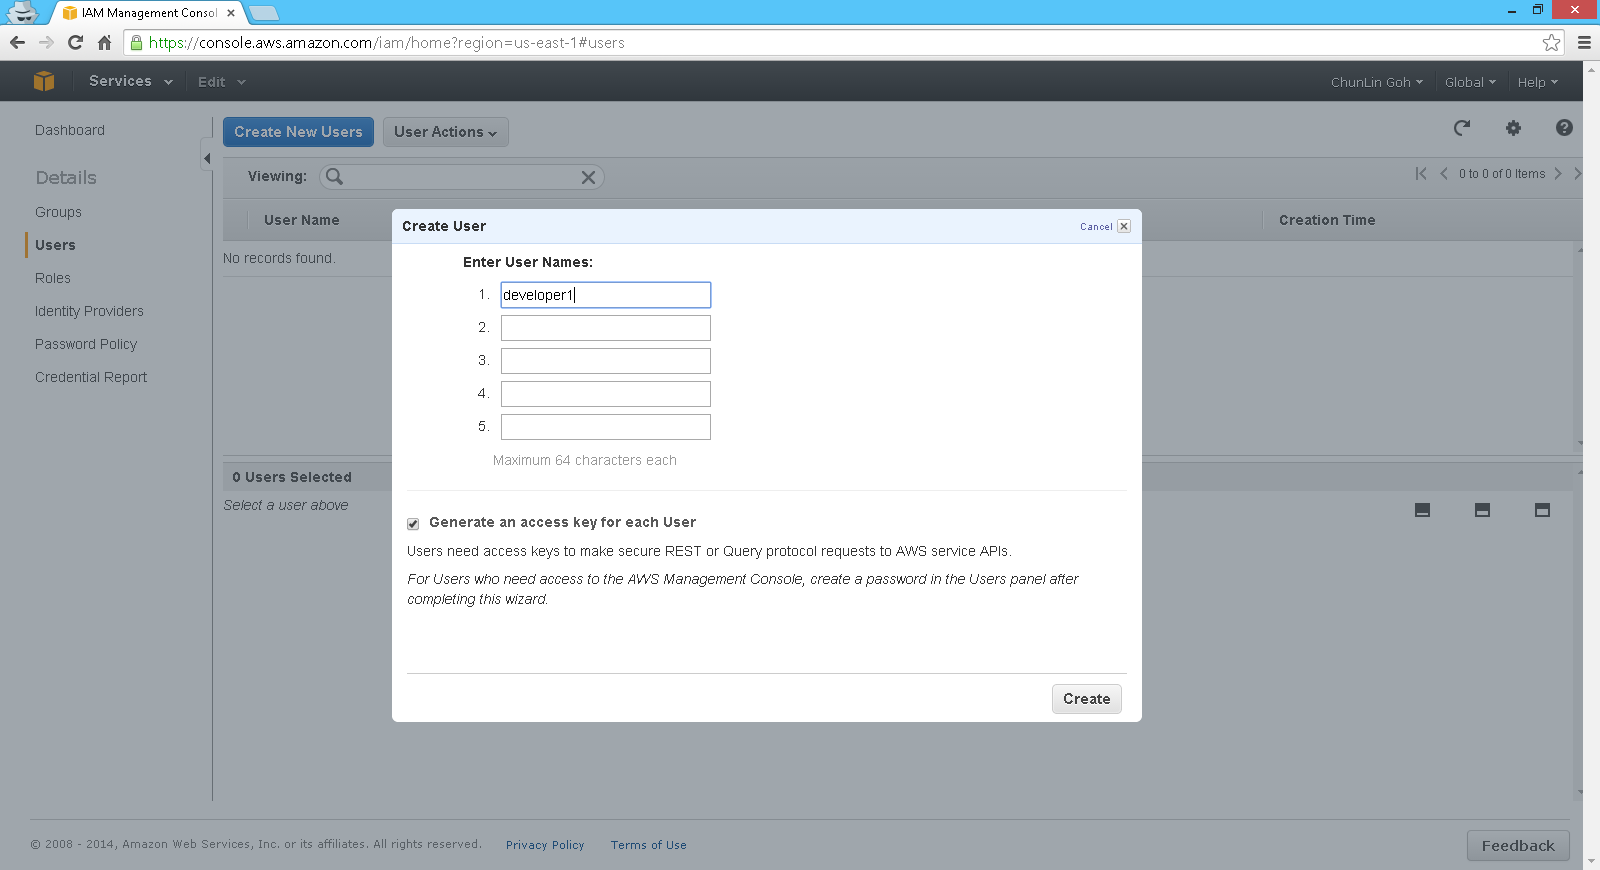
After users have been created, we will be given a one-time opportunity to download and keep the user security credentials (Access Key ID and Secret Access Key). Since the keys are displayed only for one time, once the secret key is lost, we must delete the access key and then create a new key.

IAM is secured by default. It means that, by default, IAM users do not have permission to create or modify Amazon EC2 resources. Hence, an IAM policy, which is just a JSON document specifying the rules, is needed.

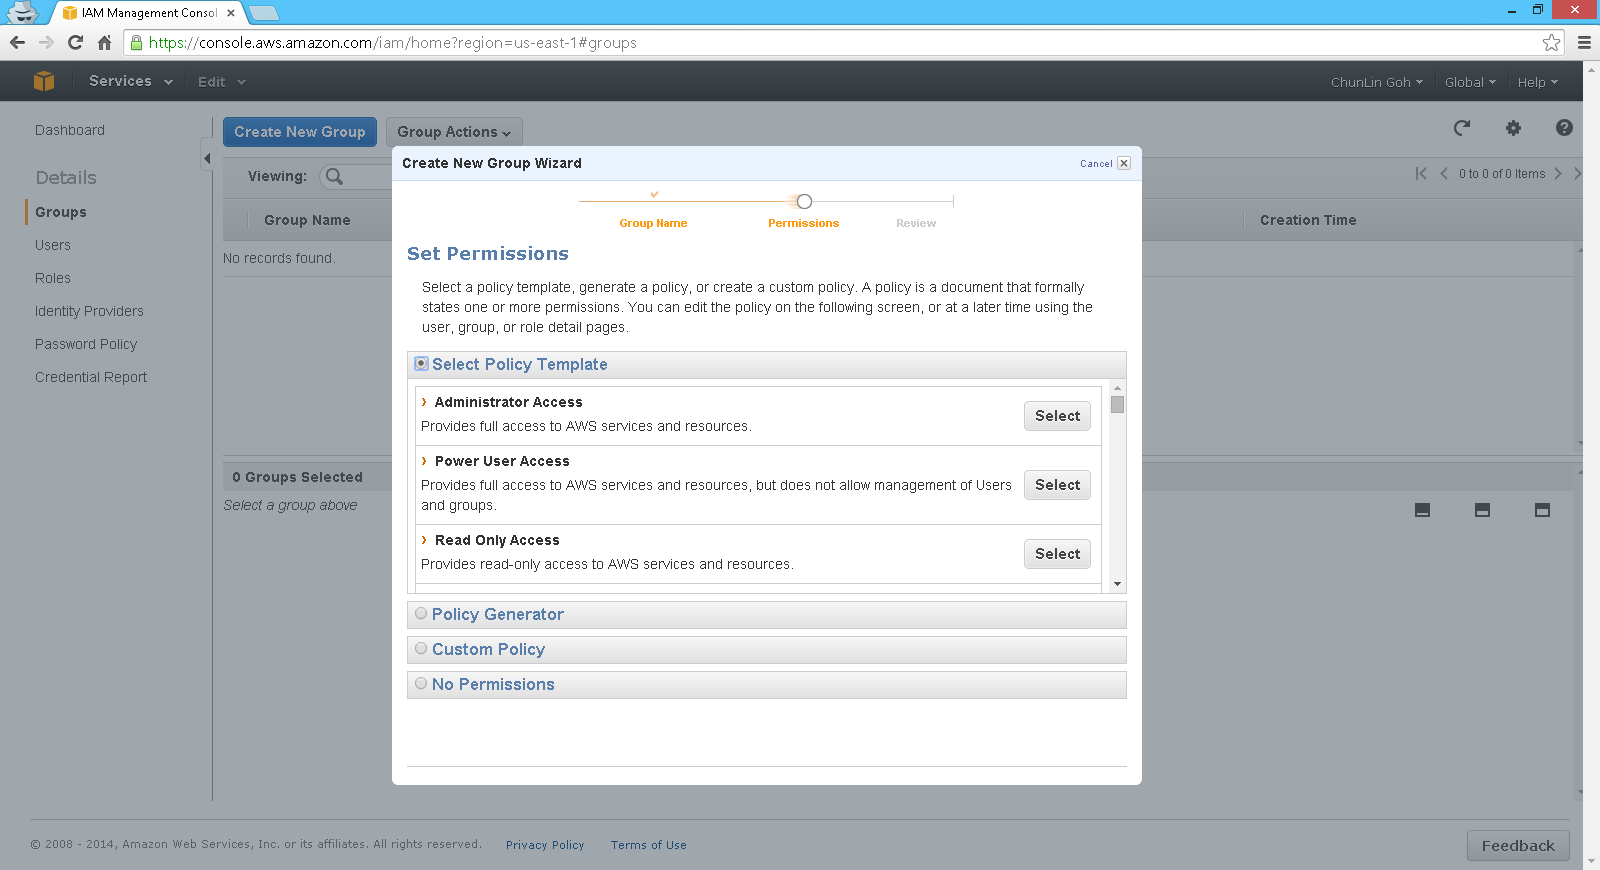
Besides creating users, we are able to create groups. Thus, instead of assigning each similar user a same set of access control policies, we can also assign the users to a group and then bind the access control policies to the group. This undoubtedly eases the user management. In addition, AWS even allows us to customize the permissions based on a given template!

There are many, many permission templates available when creating a user group.

Another thing that I find interesting is how IAM works with tags.

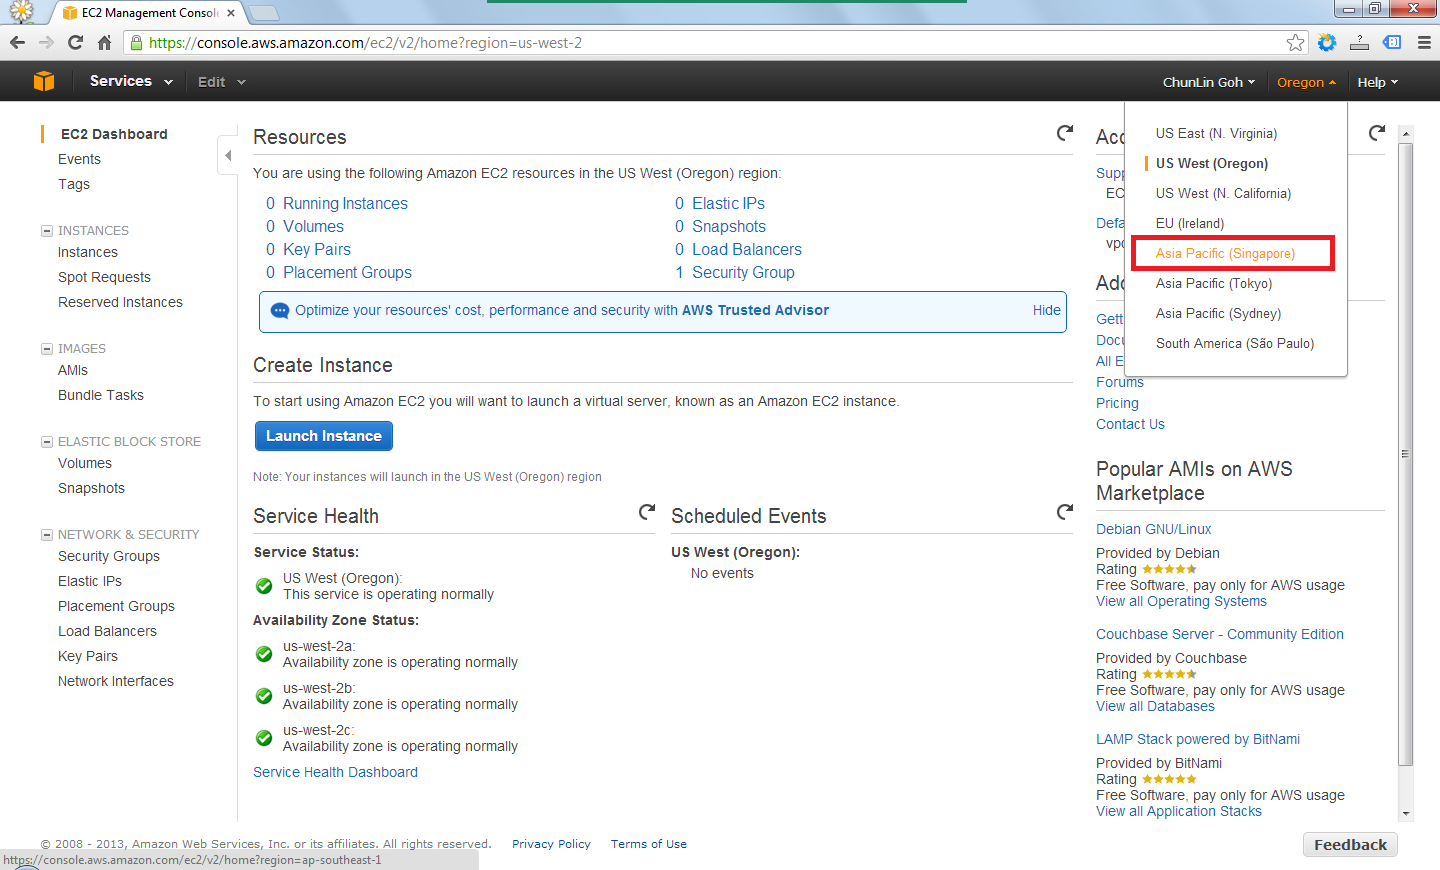
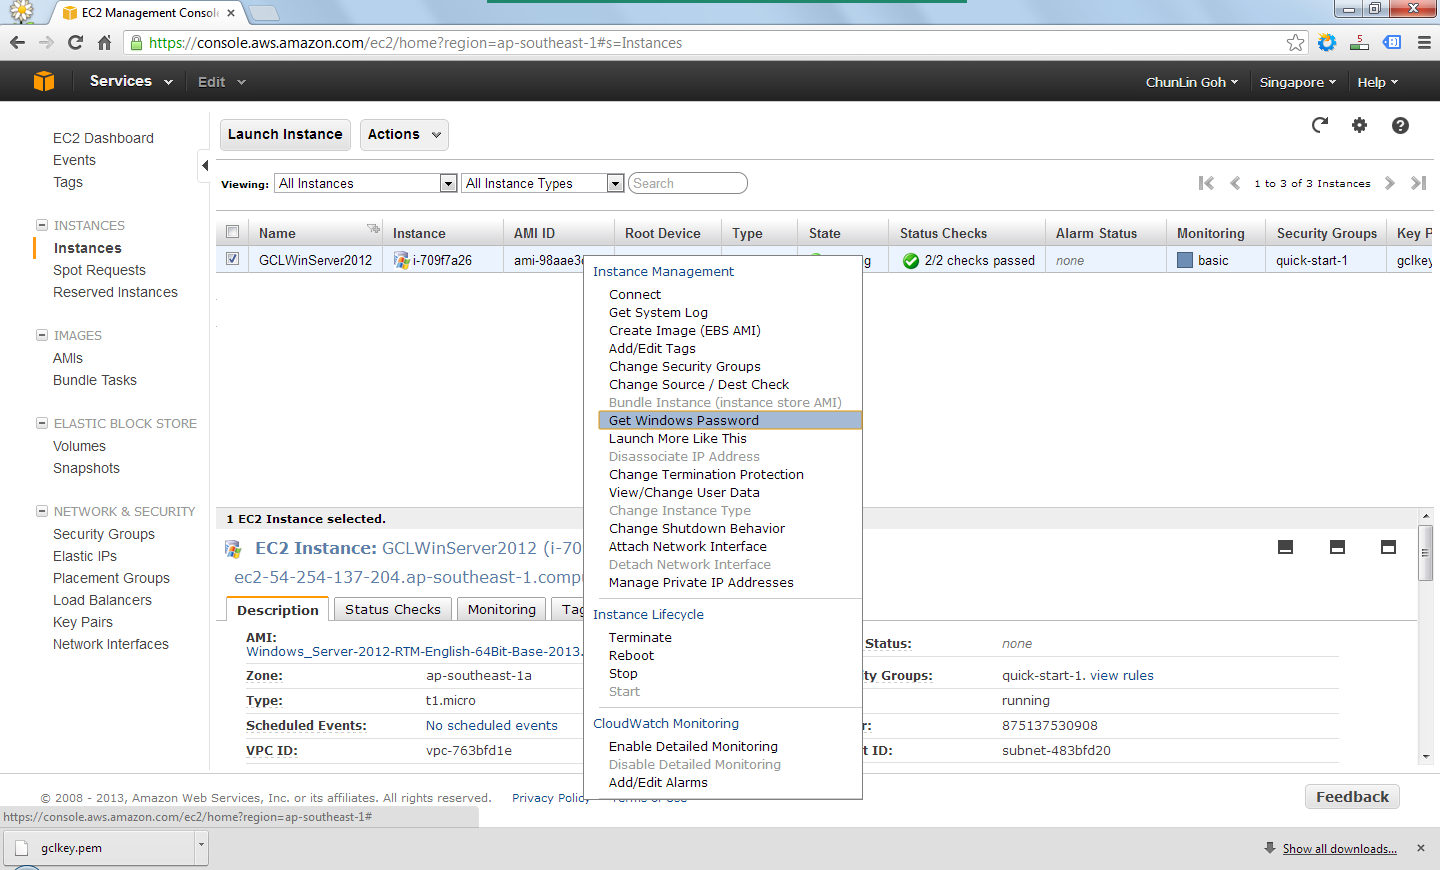
In order to  manage Amazon EC2 resources effectively, we can now tag the resources ourselves with a combination of a key and a value. For example, we can tag our instances in EC2 by owner. So, we can have one instance tagged with “Environment=Production” and another instance tagged with “Environment=Test”. After that, we then can grant IAM user permission to the instances by using the tag with condition key ec2:ResourceTag/Environment.

Finally, in the event, Denny also shared with us a YouTube video about the best practices of using IAM. I am not sure if I got the one he was referring to. Anyway, the following video is what I found on YouTube.

The video is a bit long. So for those who say tl;dw, I summarize the 10 tips below.

  1. Create individual users. Do not just use root credential. Do not have one user account where everybody in the team uses to do everything;
  2. Manage permissions with groups so that only one change needed to update permissions for multiple users. Even now you only have one user in the team, it’s encourage to create a group for that user because at some point there will be new users who are going to need the same permissions;
  3. Grant leas privilege. Only grant the permissions that are required by the users to do their jobs. Less chance of people making mistakes. Avoid assigning asterisk (*) policy for permissions which means full access unless the account is for admin;
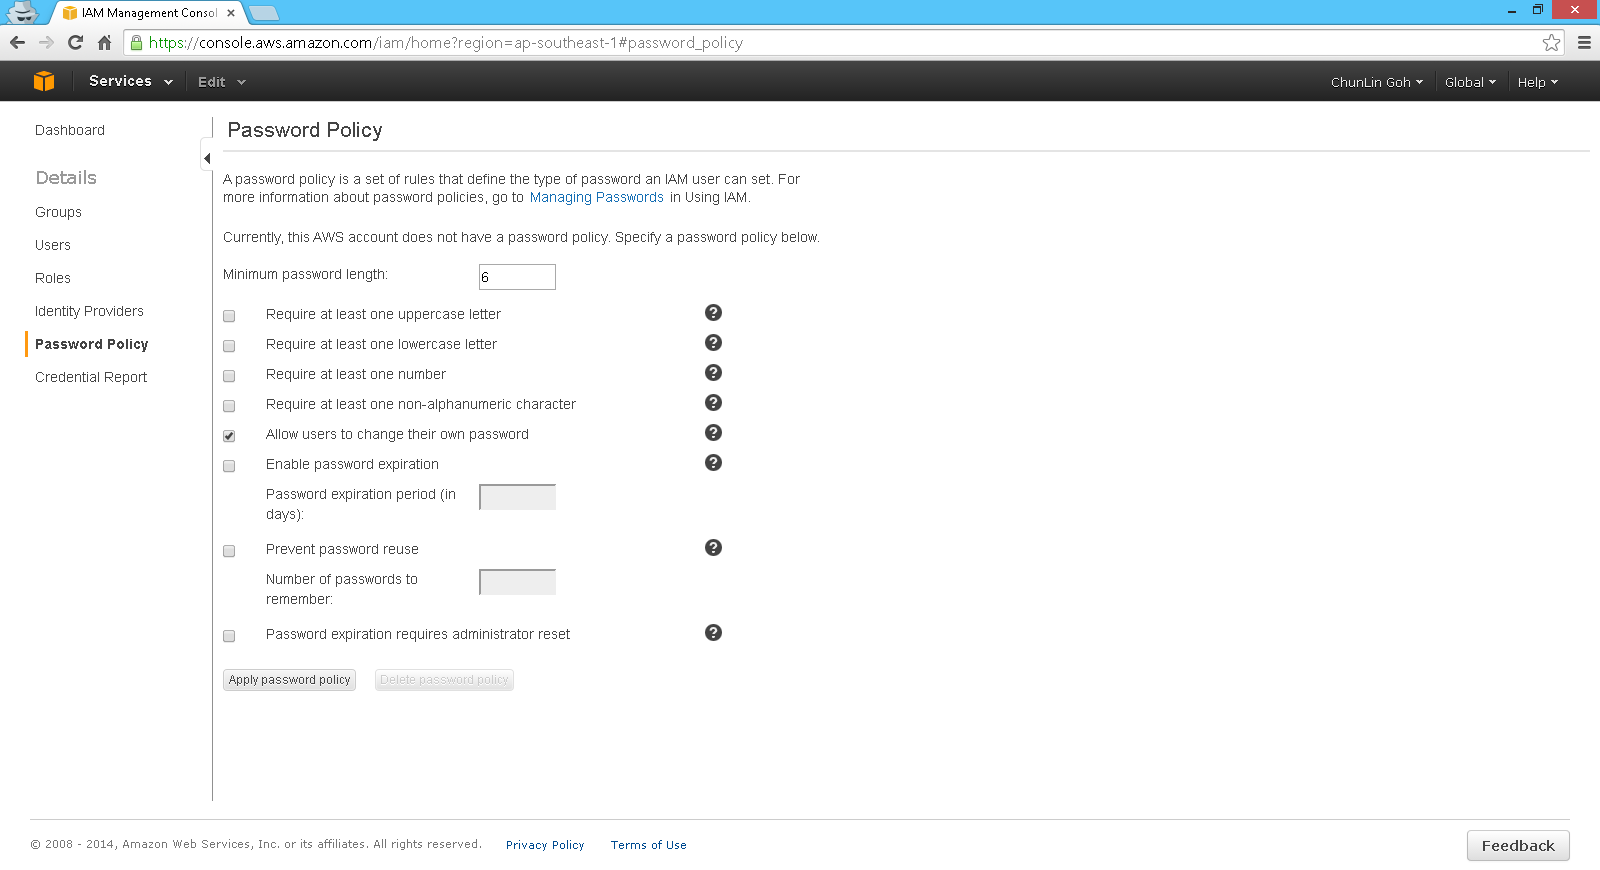
  4. Use a policy to force users having a strong password;
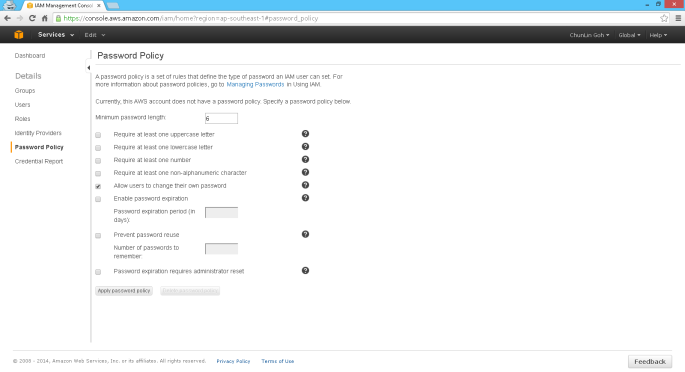
    Password Policy
    Password Policy
  5. Enable Multi-Factor Authentication (MFA) for privileged users;
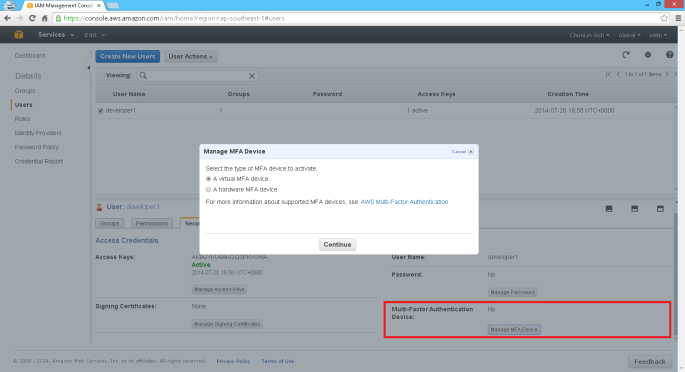
    Enable MFA.
    Enable MFA.
  6. Use IAM roles for Amazon EC2 instances;
  7. Use IAM roles to share access without the need to share security credentials;
  8. Rotate security credentials regularly. Access keys need to be rotated. Make sure the old access keys have been deleted after the rotation;
  9. Restrict privileged access further with conditions. There are 2 types of conditions. One is AWS common condition, such as date, time, MFA, secure transport (allow traffic coming over SSL only), source of IP, etc. Another one is service-specified condition. Some services provide hundreds of conditions that we can control;
  10. Reduce or remove the use of root account.
"What? You are always using root credential?" The best practice of all: Don't use root access.
“What? You are always using root credential?” The best practice of all: Don’t use root access. (Image Credit: Is the Order a Rabbit?)

Next Episode

There are many topics about AWS covered during the event. IAM is just a small part of it. However, with just IAM alone, I already feel that there are too many areas in IAM waiting for me to discover. Hence, I will continue to write more about what I’ve learned in the future blog posts.

Also, due to the fact that I am new to AWS, if you spot anything wrong in my posts, feel free to correct me in the comment section below. =)

Using Amazon SES SMTP to Send Email

In December 2011, Amazon Web Services added a new feature to help sending email in a easy and cost saving way through the Amazon SES (Simple Email Service). They provided the SMTP interface to allow users to directly use their existing SMTP to do mass emailing without the need to change the users’ existing programs. So, I decided to try it out.

SES: Email sending service from Amazon

Amazon SES can be found in the AWS Management Console. If this is the first use, there will be message saying the SES account currently only had “sandbox” access. Although full access to the Amazon SES API is available in the sandbox mode, only 200 emails, at most, to be sent out each day. Also, the email addresses of sender and recipients can only be those from the verified email addresses and domains. Thus, there is a need to request a production access to the Amazon SES.

To apply for the production access, we need to submit a registration form to Amazon. After that, their team will review the application before approving it. For my previous application, they approved it the day after I submitted the form. Thus, the reviewing process is actually very fast. The registration form is simple. We only need to provide some user information as well as the types of emails that will be sent using Amazon SES, such as marketing, subscription, transactional, and system notifications.

After the application is approved, we have to create SMTP credentials to start sending emails. The credentials will be used when we connect to the Amazon SES SMTP interface later. To do so, just click on the “SMTP Settings” tab located at the left hand side of the web page. The SMTP credentials created can all be found in the AWS Identity and Access Management (IAM) page.

After all these have been done, we just need to use the SMTP credential in our existing programs to send emails.

Create SMTP Credentials

The good thing about Amazon SES is that the sending quota is 10,000 for each day. In addition, Amazon SES will automatically increase the sending limits as we continue to send greater quantities of email. The maximum of message size is 10MB per message, including the attachments in the email. Unfortunately, the maximum number of recipients per email is only 50, unlike Google Apps for Business allowing up to 99 addresses in To, Cc, and Bcc fields of a single email. For more details about the sending limits in Amazon SES, please visit its official documentation page.

Finally, there are graphs available to understand the statistics regarding the number of emails that are sent successfully, rejected, bounced back or marked as complaints. There is a thing that needs to be taken note is that if there are too many bounces and complaints, our Amazon SES account would be terminated. Thus, it is necessary to keep monitoring the bounce and complaint rates and keep them as low as possible. Currently, the average bounce rate of one of my SES accounts is around 0.5% and the average complaint rate is less than 0.5%. It should still be fine, I guess?

Bounces and Complaints Graphs

So, why are there bounces and complaints? As stated on Amazon SES FAQs, bounces are usually caused by attempting to send a nonexistent recipient. For complaints, they arise when our emails go into recipients’ spam box. That means the recipients indicate that they do not want to receive our message. Normally, a notification email will be sent from Amazon (complaints@email-abuse.amazonses.com) to tell us to look into the problem and recommend us to stop emailing to those email accounts.

Yup, this concludes what I have learnt so far about the Amazon SES. Besides smtp.gmail.com, now there is another option to choose to use as SMTP.

Long Weekend Activity #3: Moving to the Cloud above Amazon

One day before the end of my long weekend, I decided to learn setting up Windows Server 2012 instance on Amazon EC2. Also, I noted down the setup steps for my future reference.

After signing up at Amazon Web Service website, I visited the EC2 Dashboard from the AWS Management Console. Since I’d like to setup one instance in Singapore, I had to choose the region from the drop-down list at the top-right corner of the website.

Choosing region for the instance.

After the region was chosen, I clicked on the blue “Launch Instance” button located at the middle of the web page to launch my first virtual server on EC2. Normally I chose the Classic Wizard so that some configurations could be changed before the setup.

Create a new instance.

The following step would be choosing an Amazon Machine Image (AMI). Somehow the Root Device Size was 0 GB which I had no idea why so. Due to the fact that I only wanted to try out AWS, I chose the one with Free Usage Tier, i.e. the Microsoft Windows Server 2012 Base.

Choose an AMI.
Choose an AMI.

In the following steps, there were options for me to set the number of instances required, instance type (set to Micro to enjoy free usage tier), subnet, network interfaces, etc. After all these, there would be a section to set the root volume size. By default, it’s 0 GB. So the instance wouldn’t be launched if the value was left default. I set it to 35 GB.

Set the volume size of the root to be 35GB.

After providing the instance details, the next step would be creating key pair which would be used to decrypt the RDP password in the later stage. Thus, the key pair needed to be downloaded and stored safely on the computer.

Create a key pair.
Create a key pair.

There was also another section to set which ports would be open/blocked on the instance.

Set up security group to determine whether a network port is open or blocked on the instance.

Finally, after reviewing all the details, I just clicked on the “Launch” button to launch the instance.

Review the information provided earlier before the launch of the instance.

Right after the button was clicked, there was a new record added to the Instances table and its State immediately changed to “running”.

The new instance is successfully added.

By right-clicking on the instance and choosing the item “Get Windows Password”, I received the default Windows Administrator password which would be used to access the instance remotely via RDP.

Retrieve the Windows Administrator password.

Yup, finally I can start playing with Windows Server 2012. =D

Yesh, successfully access the new Windows Server 2012!