Let’s assume now we want to dockerise a new ASP .NET Core 6.0 web app project that we have locally.
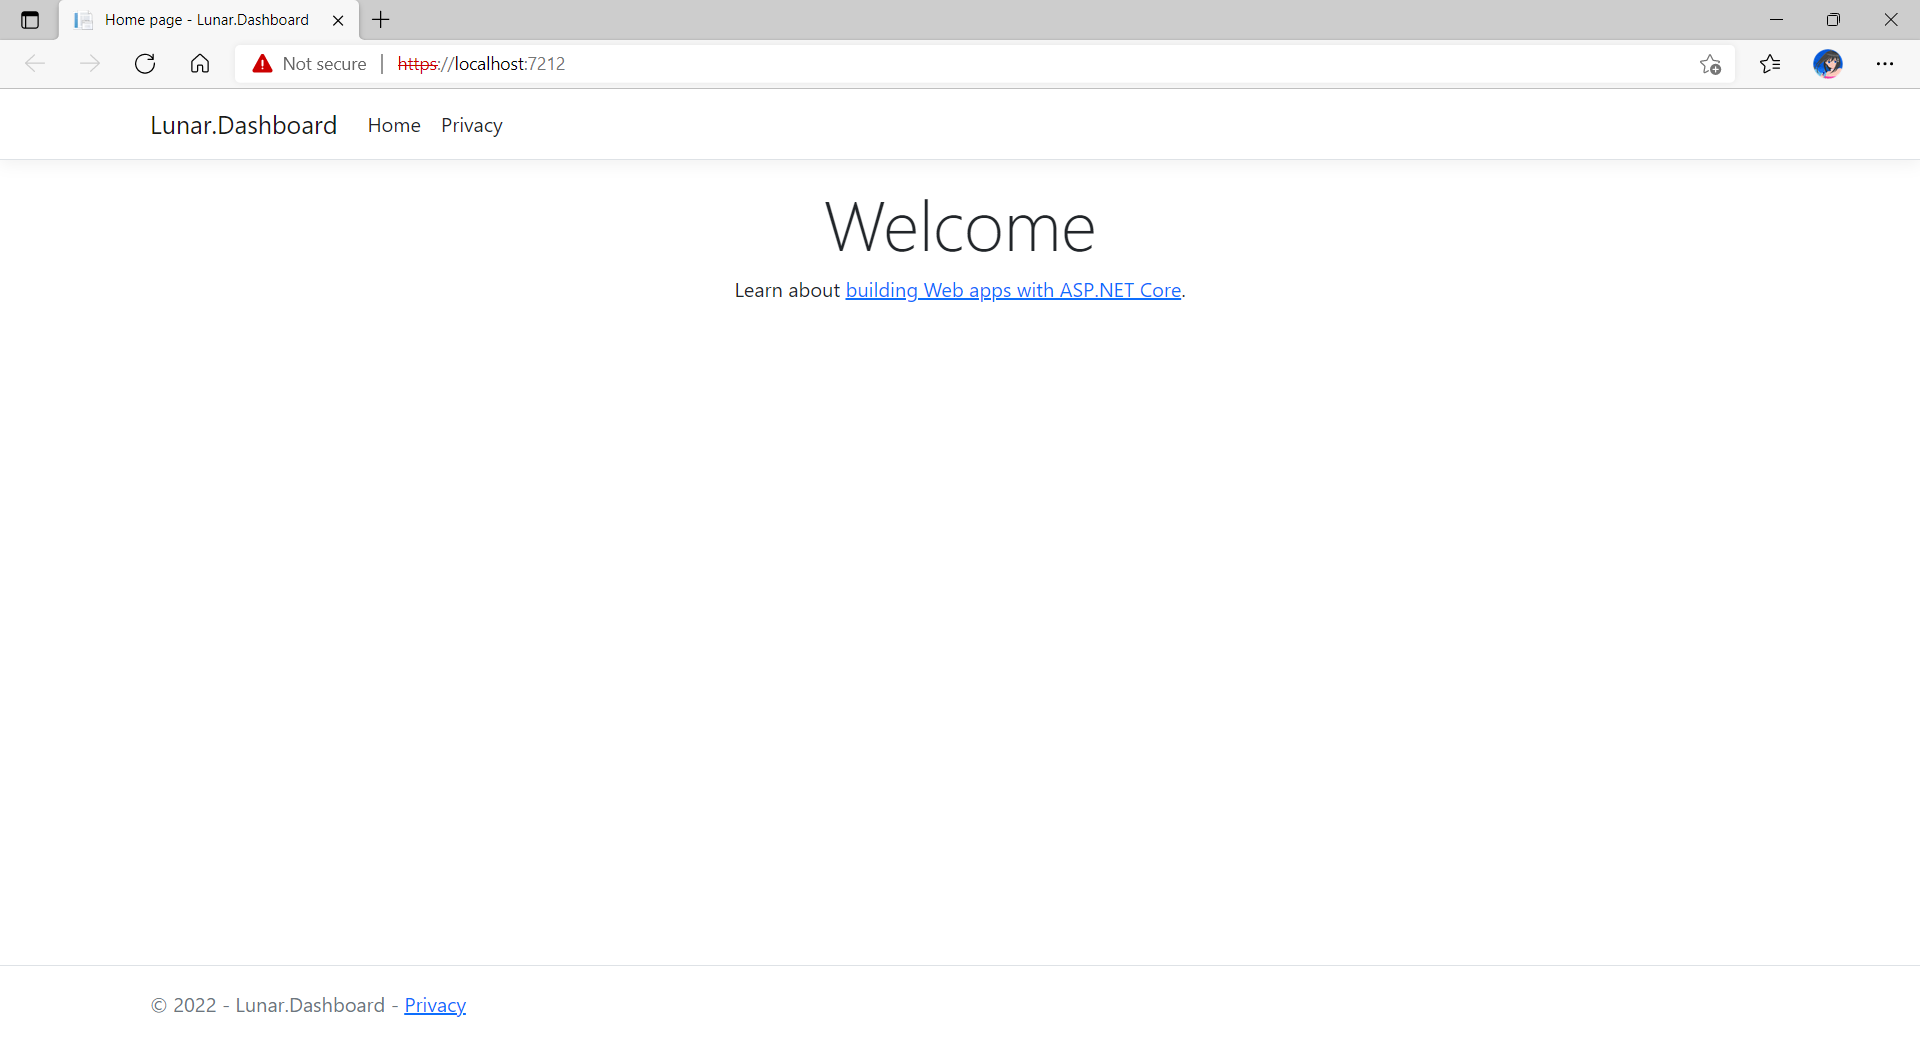
Now, when we build and run the project, we should be able to view it on localhost as shown below.
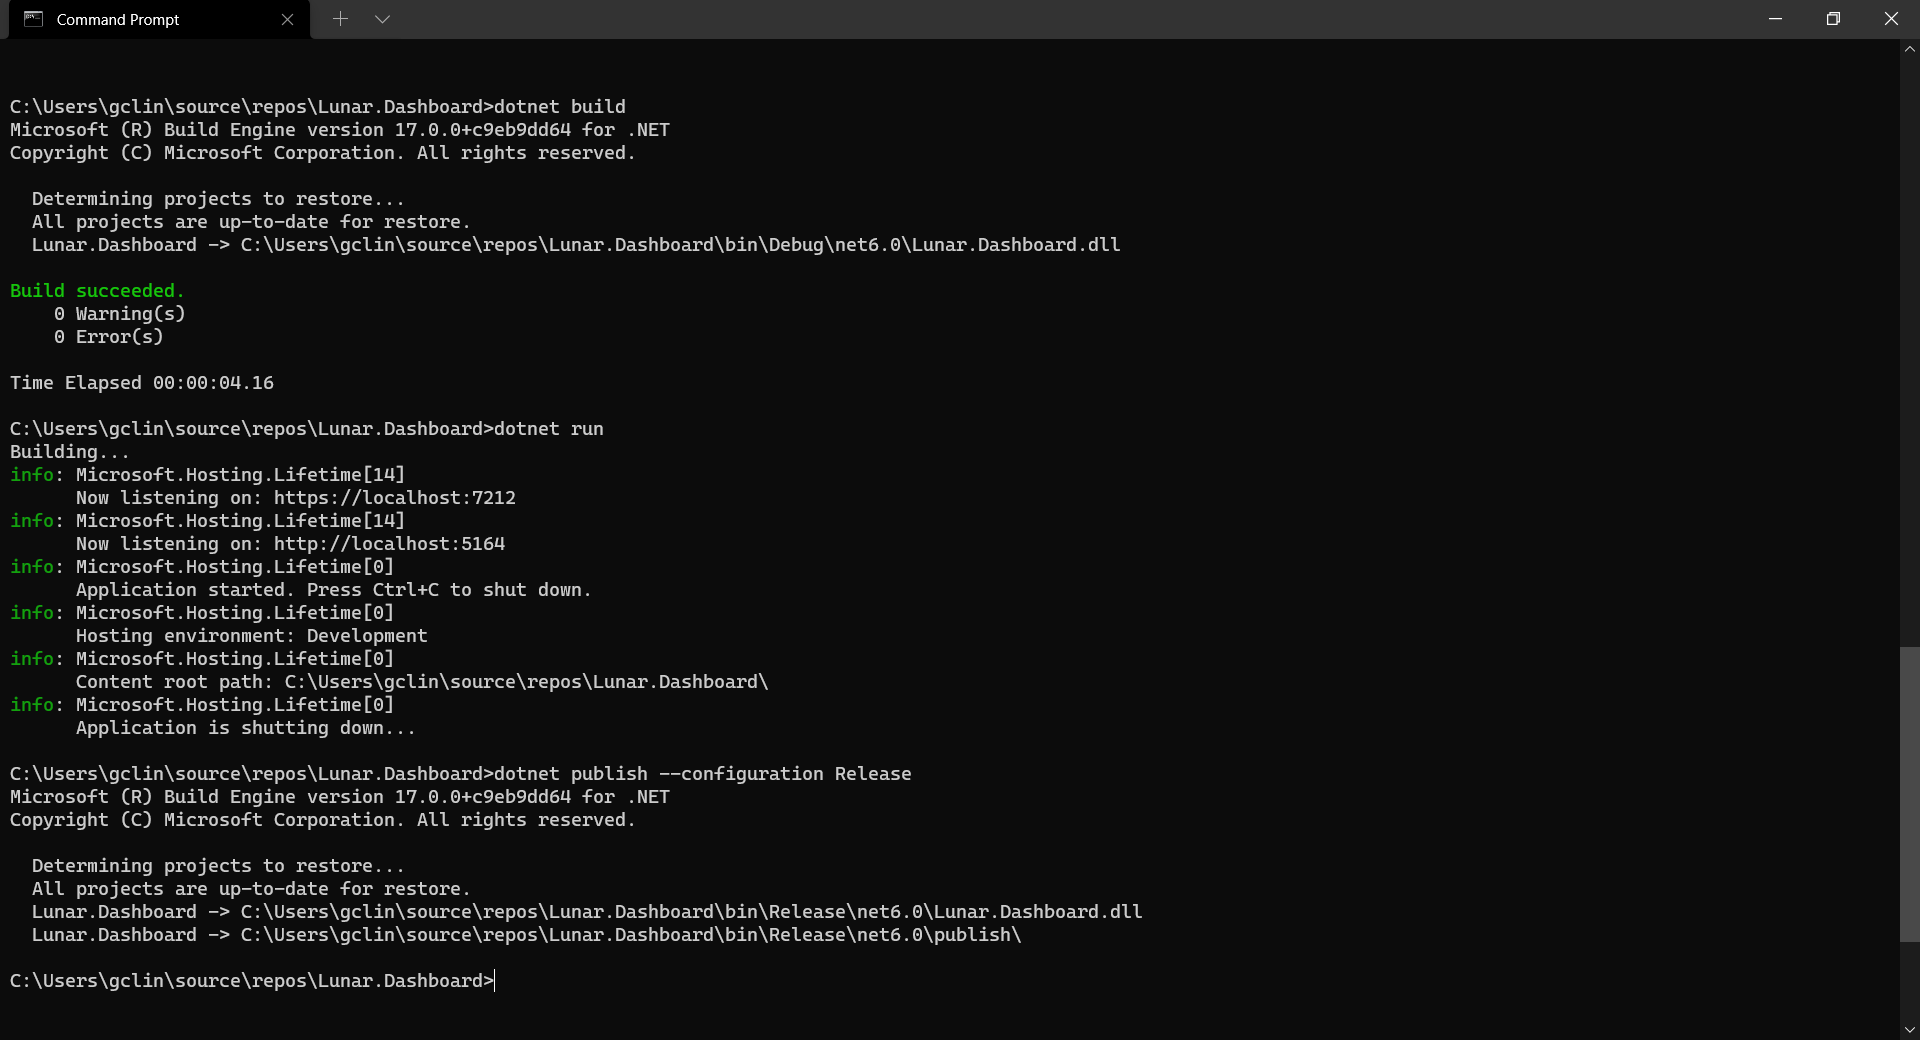
Before adding the .NET app to the Docker image, first it must be published with the following command.
dotnet publish --configuration Release
Create the Dockerfile
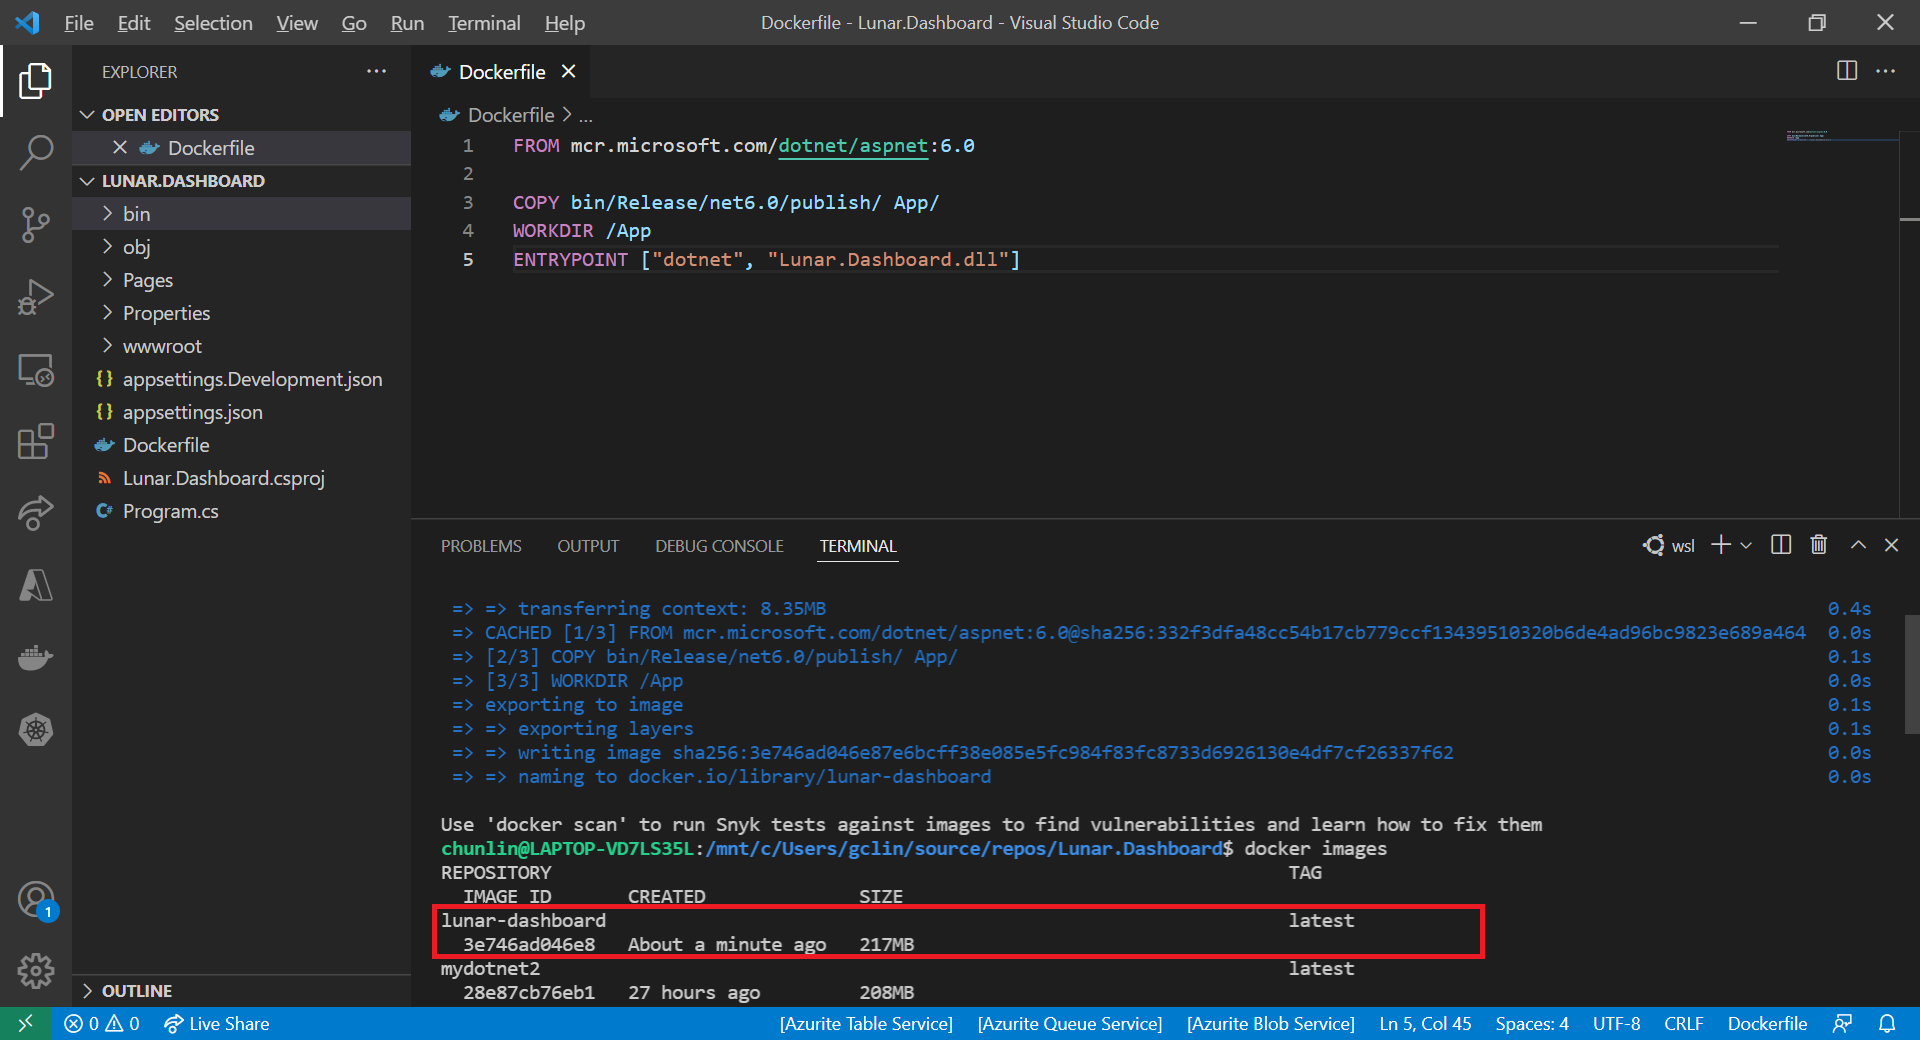
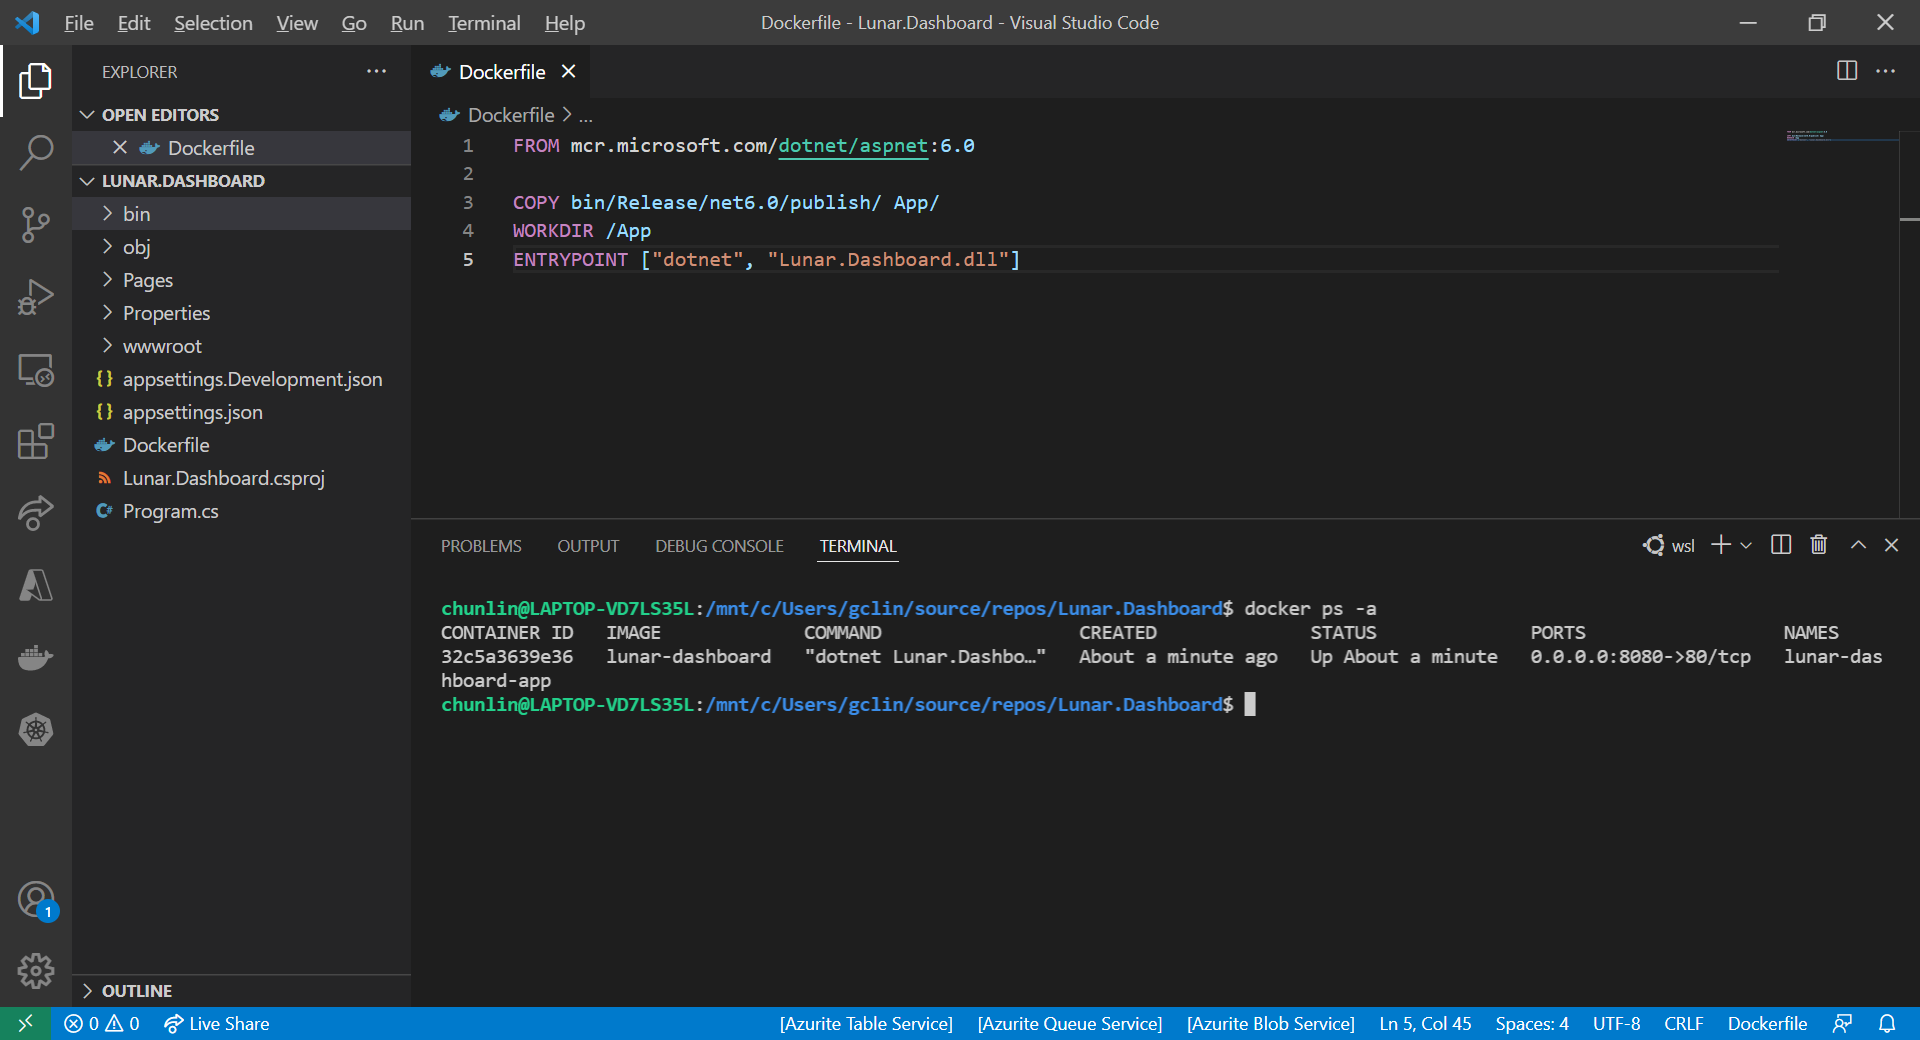
Now, we will create a file named Dockerfile in directory containing the .csproj and open it in VS Code. The content of the Dockerfile is as follows.
FROM mcr.microsoft.com/dotnet/aspnet:6.0

COPY bin/Release/net6.0/publish/ App/
WORKDIR /App
ENTRYPOINT ["dotnet", "Lunar.Dashboard.dll"]
A Dockerfile must begin with a FROM instruction. It specifies the parent image from which we are building. Here, we are using mcr.microsoft.com/dotnet/aspnet:6.0, an image contains the ASP.NET Core 6.0 and .NET 6.0 runtimes for running ASP.NET Core web apps.
The COPY command tells Docker to copy the publish folder from our computer to the App folder in the container. Then the current directory inside of the container is changed to App with the WORKDIR command.
Finally, the ENTRYPOINT command tells Docker to configure the container to run as an executable.
Docker Build
Now that we have the Dockerfile, we can build an image from it.
In order to perform docker build, we first need to navigate the our project root folder and issue the docker build command, as shown below.
docker build -t lunar-dashboard -f Dockerfile .
We assign a tag lunar-dashboard to the image name using -t. We then specify the name of the Dockerfile using -f. The . in the command tells Docker to use the current folder, i.e. our project root folder, as the context.
Once the build is successful, we can locate the newly created image with the docker images command, as highlighted in the screenshot below.
docker images command will show all top level images.Create a Container
Now that we have an image lunar-dashboard that contains our ASP .NET Core web app, we can create a container with the docker run command.
docker run -d -p 8080:80 --name lunar-dashboard-app lunar-dashboard
When we start a container, we must decide if it should be run in a detached mode, i.e. background mode, or in a foreground mode. By default the container will be running in foreground.
In the foreground mode, the console that we are using to execute docker run will be attached to standard input, output and error. This is not what we want. What we want is after we start up the container, we can still use the console for other commands. Hence, the container needs to be in detached mode. To do so, we use the -d option which will start the container in detached mode.
We then publish a port of the container to the host with -p 8080:80, where 8080 is the host port and 80 is the container port.
Finally, we name our container lunar-dashboard-app with the --name option. If we do not assign a container name with the --name option, then the daemon will generate a random string name for us. Most of the time, the auto-generated name is quite hard to remember, so it’s better for us to give a meaningful name to the container so we can easily refer the container later.
After we run the docker run command, we should be able to find our newly created container lunar-dashboard with the docker ps command, as shown in the following screenshot. The option -a is to show all containers because by default docker ps will show only containers which are running.
Now, if we visit the localhost at port 8080, we shall be able to see our web app running smoothly.

Running Docker on Windows 11 Home
You may notice that I am using WSL (Windows Subsystem for Linux). This is because to install Docker Desktop, which includes the Docker Engine that builds and containerise our apps, on Windows, we need to have Hyper-V feature enabled. However, Hyper-V is available only on Windows 10/11 Pro, Enterprise, and Education.
Hence, I have no choice but to use WSL, which runs a Linux kernel inside of a lightweight utility VM. WSL provides a mechanism for running Docker (with Linux containers) on the Windows machine.
For those who are interested to read more about this, please refer to a very detailed online tutorial about how to run Docker with WSL, written by Padok SRE Baptiste Guerin.
References
- Introduction to Containers and Docker;
- How to install and run Docker natively on Windows 10 Home;
- Dockerize an ASP.NET Core application;
- Tutorial: Containerize a .NET app;
- docker build;
- Docker run reference;
- Docker Detached Mode;
- docker ps.
KOSD, or Kopi-O Siew Dai, is a type of Singapore coffee that I enjoy. It is basically a cup of coffee with a little bit of sugar. This series is meant to blog about technical knowledge that I gained while having a small cup of Kopi-O Siew Dai.
