
As I shared in my talk in Boston Golang Community early this month, I had been using OneDrive since its early days when it was still known as SkyDrive. At that time, there was no official API for accessing SkyDrive. After that, Microsoft rebranded the product to be part of Microsoft Live family and OneDrive finally could be accessible through the Live SDK.
PROJECT GITHUB REPOSITORY
The complete source code of this project can be found at https://github.com/goh-chunlin/go-onedrive.
Motivation
In November 2018, Live SDK officially went offline and gave way to the new standard, the Microsoft Graph. Similar to the capabilities of Live SDK, Microsoft Graph allows us to access multiple Microsoft services such as People, Outlook, OneDrive, Calendar, Teams, etc. Microsoft Graph also offers client libraries for many platforms that can integrate with our application similar to Live SDK, as shown in the screenshot below.
Golang is not in the list. Since I need to access OneDrive in my other Golang applications, I decided to build a OneDrive Golang client library myself.
Project Structure
There is one project go-github from Google about building a Golang client library for accessing the GitHub API. It is similar to what I’d like to achieve so I use the project as a reference.
In the early stage of the project, the project structure is exactly the same as go-github, as shown in the screenshot below.
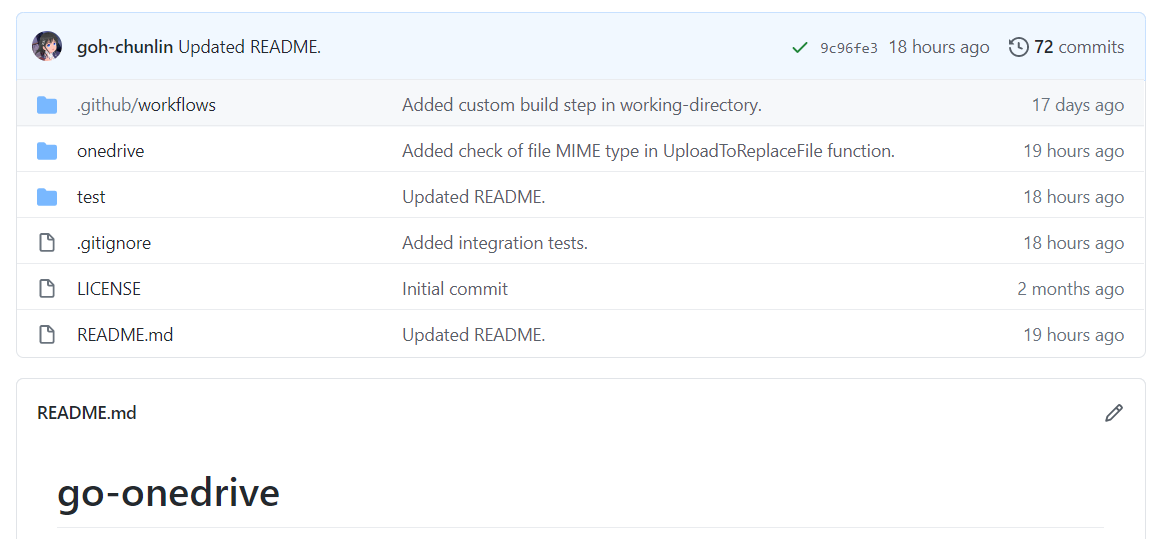
The onedrive folder consists of the main codes and unit tests for the library and test folder contains additional test suite which will talk to the actual OneDrive account over network and is beyond the unit tests.
Communication with Microsoft Graph
All the communication in the library is done via a client with Base URL pointing to graph.microsoft.com. I like how go-github designs its client so that while it has many services, it still can reuse one single struct for each service on the heap.

The go-onedrive library does not directly handle authentication. Instead, when creating a new onedrive.Client, we need to pass an http.Client that can handle authentication. The easiest and recommended way to do so is using the oauth2 library.
For every request to the Microsoft Graph, we need to have a relative URL in which case it is resolved relative to the Base URL of the onedrive.Client.
This works for most of the cases in the OneDrive scenario. However, there is a moment when the client should not be reused, for example, monitoring the asynchronous job status on OneDrive. This is because of the following two reasons
- Base URL for job monitoring API needs to use api.onedrive.com as domain instead of pointing to Microsoft Graph;
- We should not pass the user authentication information to the job monitoring API because the request will be rejected.
To solve this problem, I introduce a flag, isUsingPlainHttpClient, to specify whether the is a need to use another new http.Client to send the API request, as shown in the screenshot below.

HTTP 202 and HTTP 204
There are some operations on OneDrive, such as copying drive items, will take a while to complete. That’s where the asynchronous job, as discussed above, comes into picture. So, when we send an API request to copy-and-paste the drive items, the Microsoft Graph will return us HTTP 202 Accepted instead of HTTP 200 OK. The HTTP 202 status code means that our request has been accepted for processing, but the processing has not been completed.
In the example of copy-and-pasting drive items, the response body is empty. It only provides a job monitoring URL (which is pointing to the OneDrive endpoint instead of Microsoft Graph) in the Location response header. Hence, to get this information, I have added in the following piece of codes.
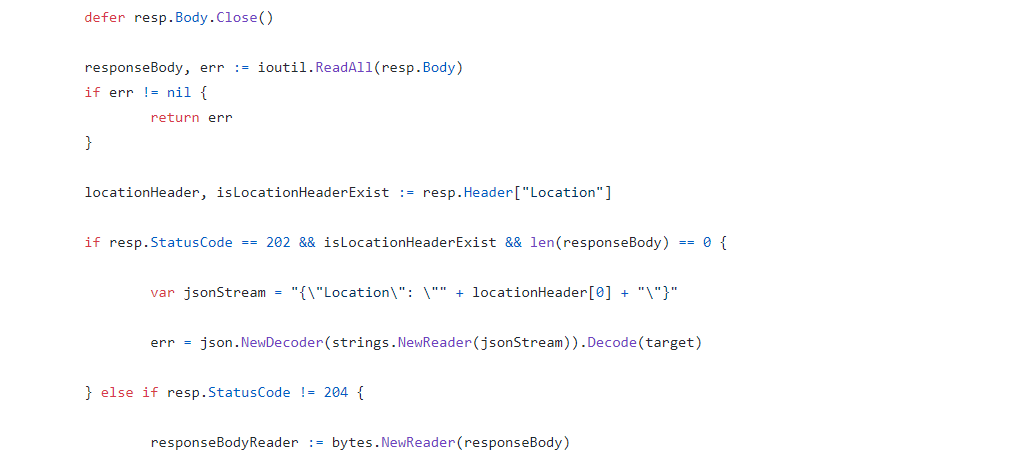
By doing so, now I can easily retrieve the job monitoring URL from the JSON and pass it to the OneDrive API.
In the codes above, I also check for HTTP 204 No Content because this status code is intended to describe a response with no body. Hence, the onedrive.Client only needs to read the body content if the response code is not 204.
Error Handling
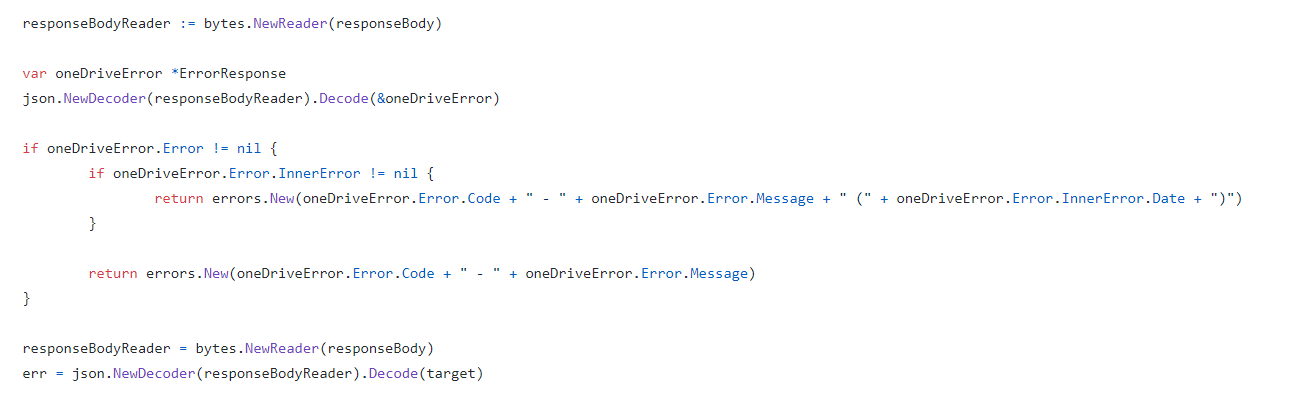
When there is an error, Microsoft Graph will return error information in JSON format. Hence, the onedrive.Client will first check whether the returned JSON object is an error. If yes, it will return the error accordingly. Otherwise, it will continue to decode the response body to a struct, as shown in the following screenshot.
Unit Testing and Integration Testing
I also learned from go-github on how the unit test cases are written.
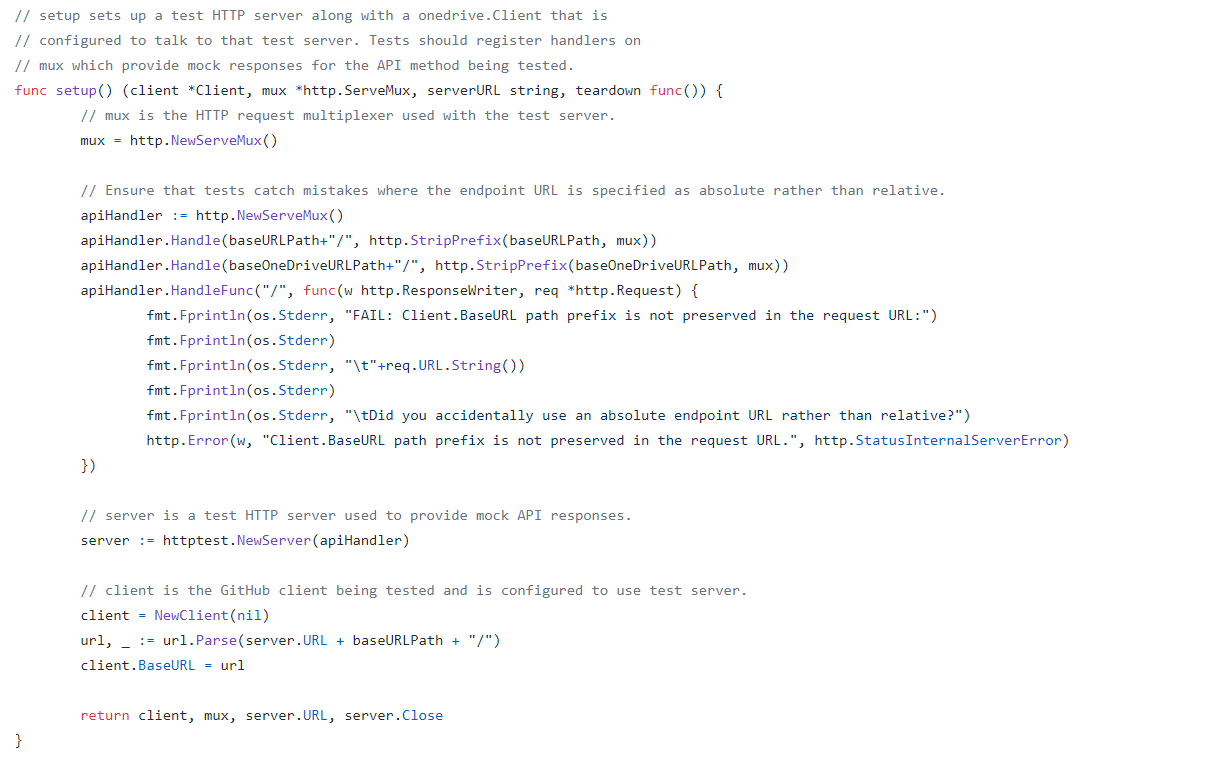
Firstly, we have a test HTTP server setup along with a onedrive.Client that is configured to talk to that test server.
Secondly, in the HTTP request multiplexer used in the test server, since we are providing relative URL for every request, we will also need to ensure tests catch mistakes where the endpoint URL is specified as absolute rather than relative.
Thirdly, we also need to have a HTTP handler in the test server to take care of OneDrive API test which is not based on the Microsoft Graph endpoint.
With all these requirement, we will have the following setup.
Same as the go-github project, I have also prepared a set of integration tests.
The integration tests will exercise the entire go-onedrive library against the live Microsoft Graph and OneDrive API. These tests will verify that the library is properly coded against the actual behavior of the API, and will fail upon any incompatible change in the API.
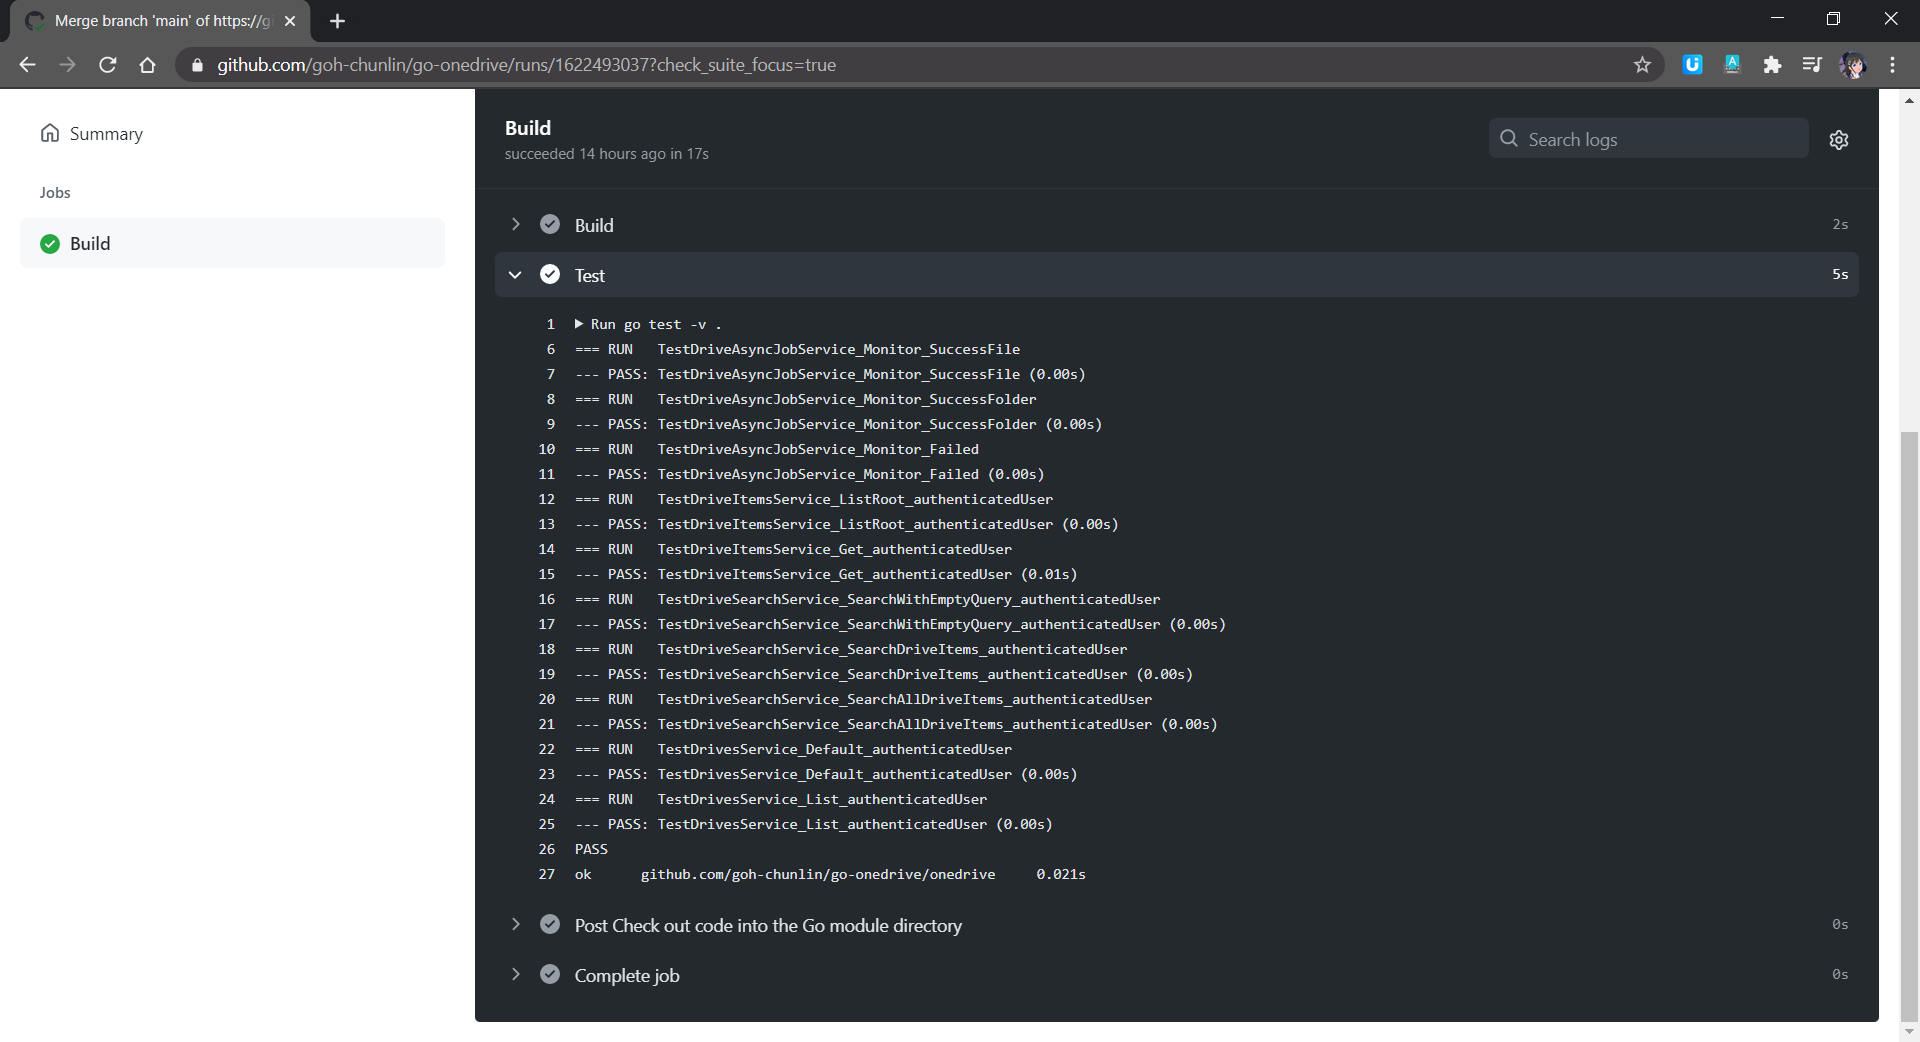
Unlike unit tests which will be run automatically on GitHub Actions, the integration tests are meant to be run manually because it will interact and change the actual OneDrive account.
Module AND Publishing
Starting from Go 1.11, a new concept called modules is introduced. Using modules, developers are not only no longer confined to working inside GOPATH, but also get to experience the new Go dependency management system that makes dependency version information explicit and easier to manage.
A module is basically a collection of Go packages stored in a file tree with a go.mod file at its root. Hence, if we want to transform our project to a module, we will need to make a small change to our project structure, as shown in the following screenshot.
The approach I took is similar to how Google does for their Google API Go Client project. We need to have a new file called doc.go. This file contains only introductory documentation as comments and a package clause.
After that we make the root of project as the root of the new module with the following command.
go mod init github.com/goh-chunlin/go-onedrive
A go.mod file will be generated with the following content.

Next, we use the following command to tidy up the dependencies. A go.sum file will be also generated at the same time.
go mod tidy
Now we can proceed to publish our module by first creating a Release of it on the GitHub.
However, there is an important question that must be addressed first: subsequently after we upgrade our go-onedrive module, how do our users upgrade dependency of the go-onedrive module to the latest version?
Dependency UPGrade
Before we upgrade the dependencies, we first need to check available dependency upgrades using the following command.
go list -u -m all
The -u flag adds information about available upgrades. The -m flag is to list modules instead of packages. Hence, with the command above, if there is a new version for go-onedrive available, it will show as follows.
github.com/goh-chunlin/go-onedrive v1.0.8 [v1.0.9]
The line above means that the v1.0.8 is being used in the application but there is now a v1.0.9 available. Now we can proceed to download the latest version of dependencies with the following command.
go get -u github.com/goh-chunlin/go-onedrive
Then it will show that the latest version is downloaded.
go: github.com/goh-chunlin/go-onedrive upgrade => v1.0.9
go: downloading github.com/goh-chunlin/go-onedrive v1.0.9
Interestingly, I also found out that the pkg.go.dev website doesn’t reflect the availability of new package immediately after the release of the new version. I waited for the v1.0.9 to be available on the pkg.go.dev website for around 15 minutes.
Another interesting finding is that the “go list” command above actually reflects the latest version about 5-minute faster than the pkg.go.dev website.
About doc.go
The way we structure our project also forces us to have a Go file like doc.go. This is because without doc.go, the only two places we have our codes are onedrive and test folders. Both of them are subdirectories. This will give us two troubles.
Firstly, somehow it could not work. The package onedrive which is in the subdirectory cannot be located, as shown in the screenshot below.
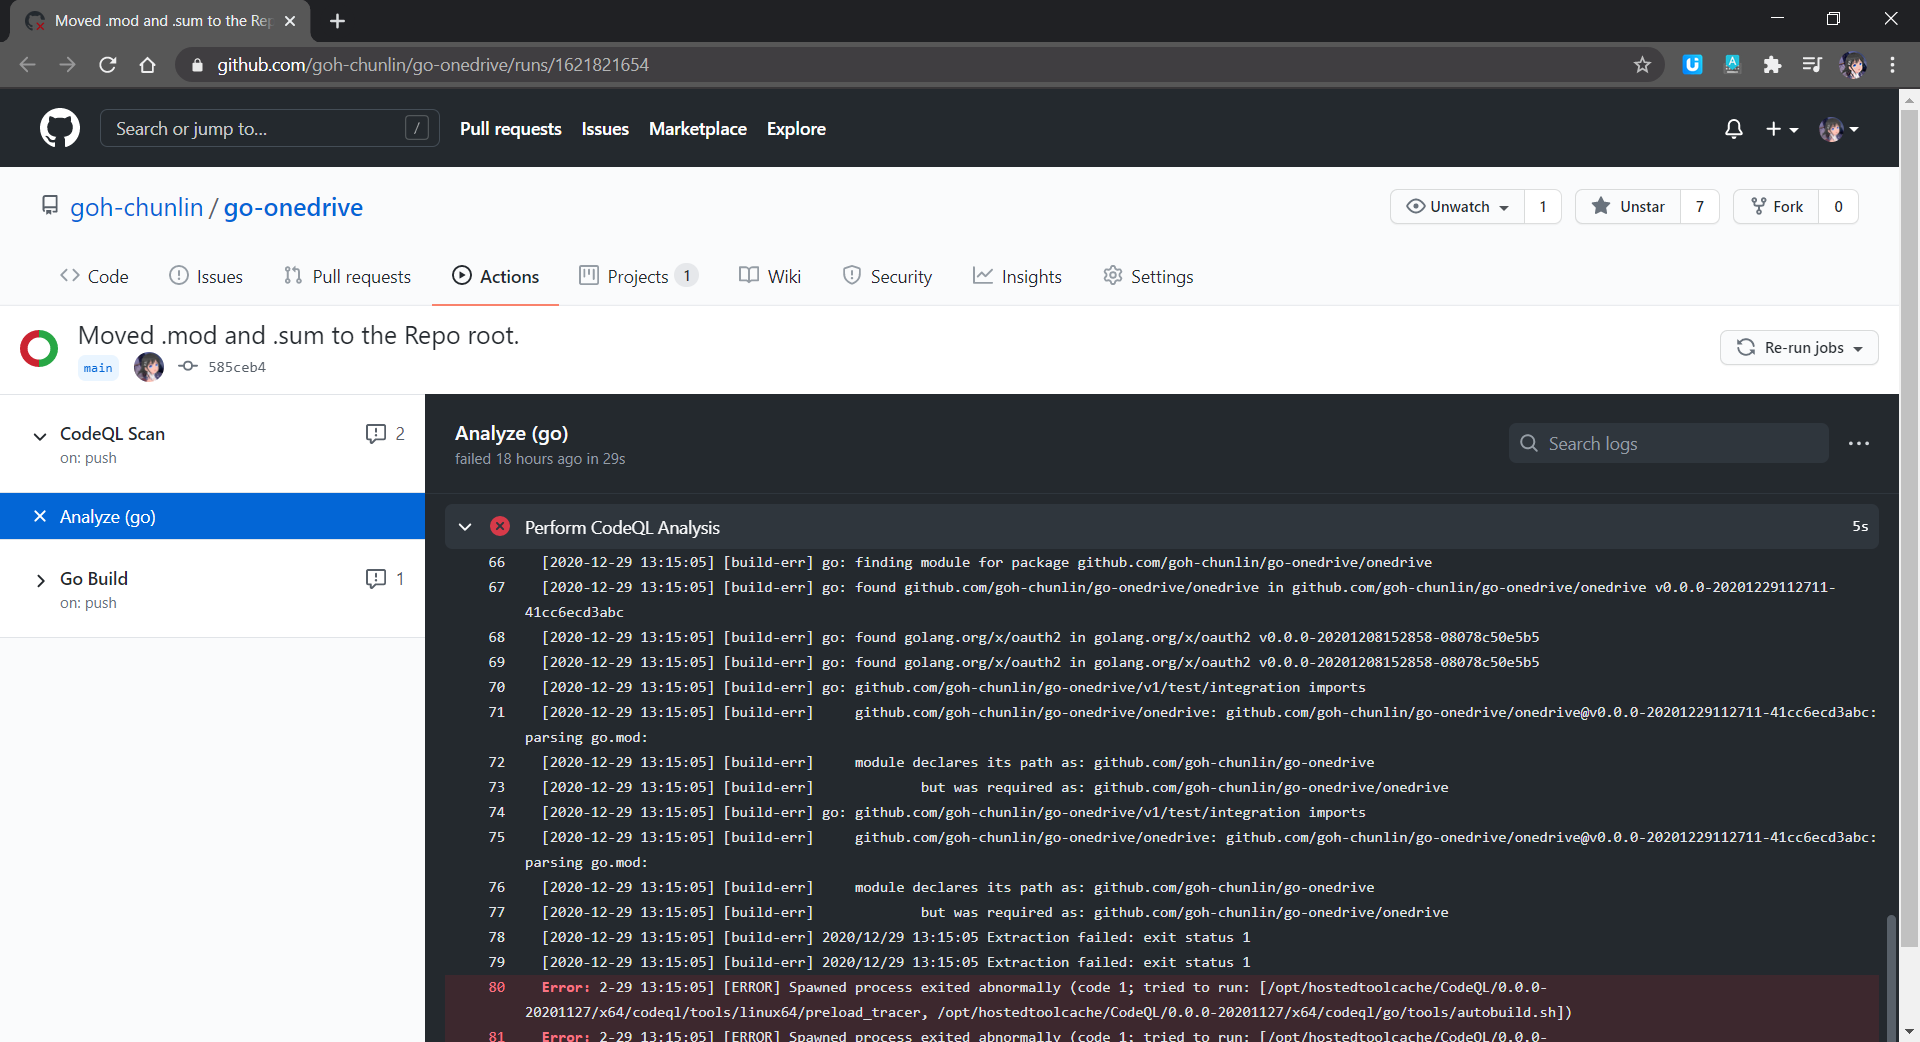
Secondly, when we tag the release with version number, only the version of go-onedrive as a module and test/integration as package is updated, but not the version of onedrive.
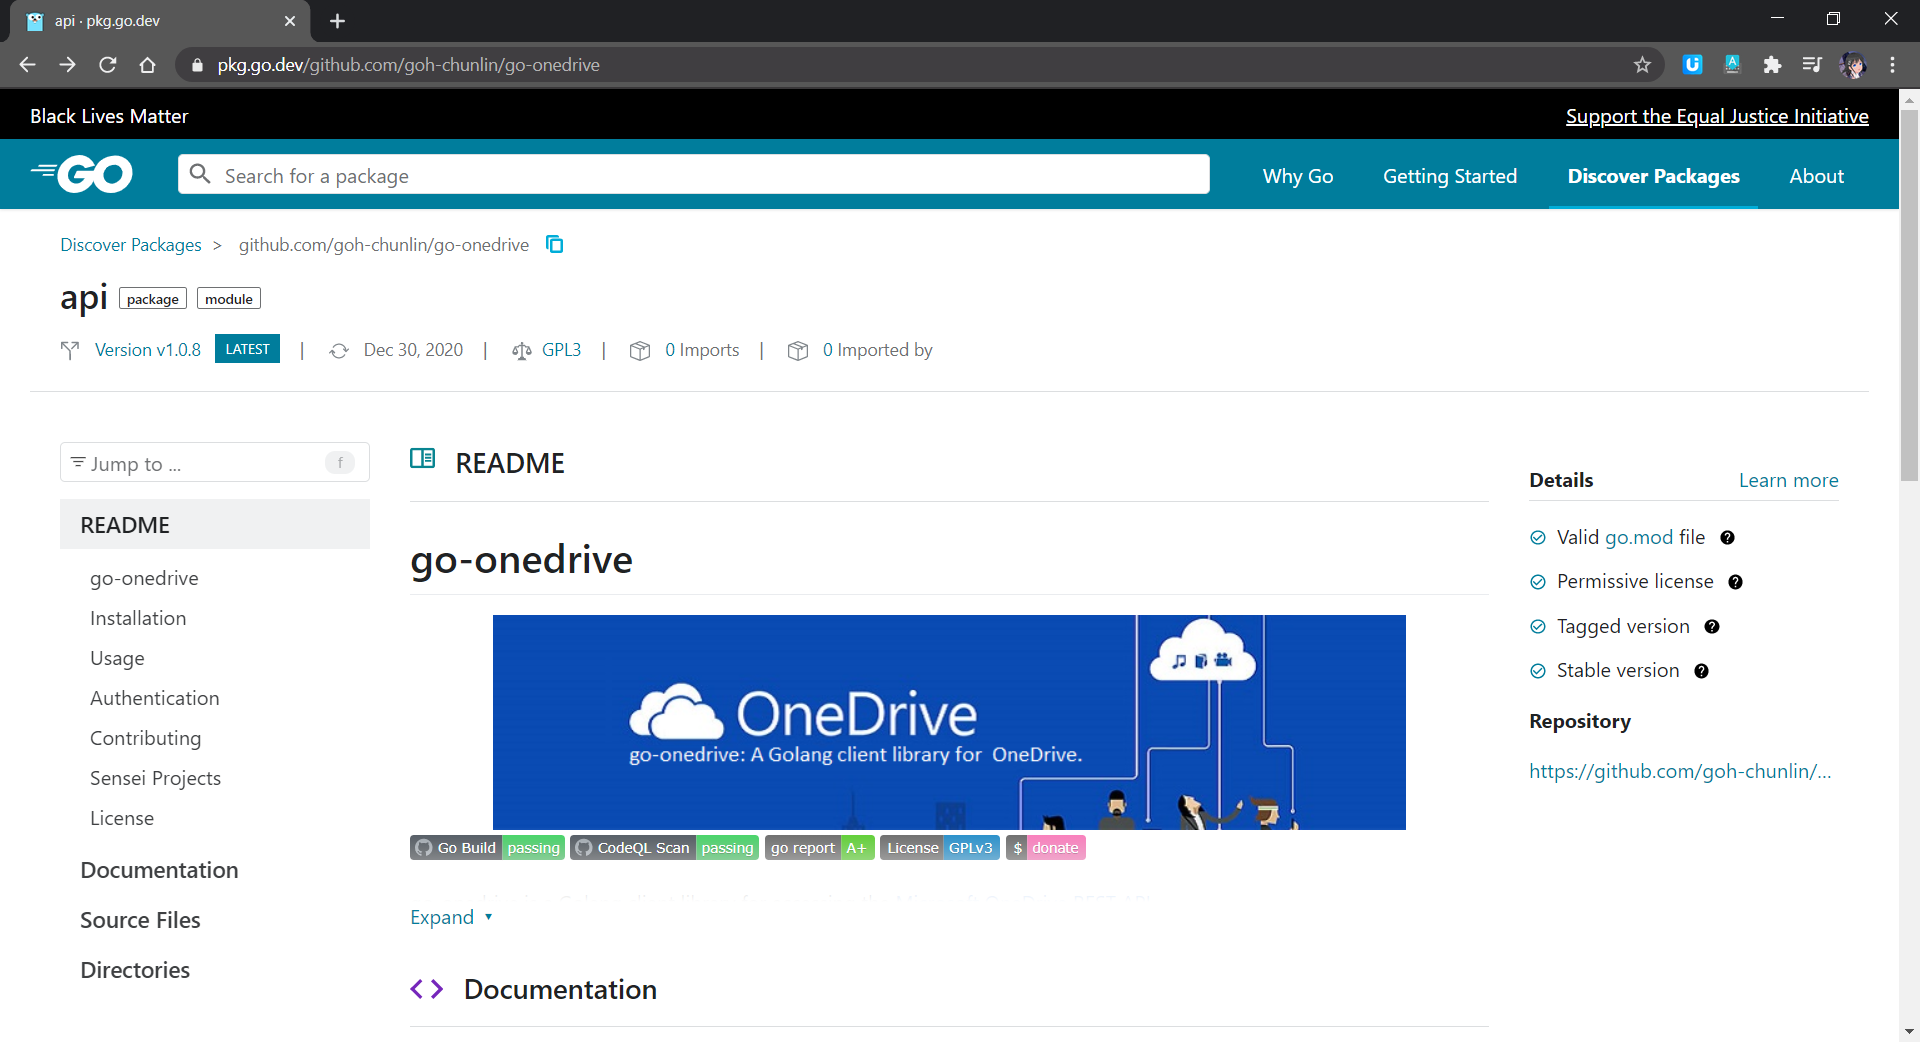
These two troubles went away only after I added in the doc.go in the root. The module of go-onedrive is now also nicely shown on the pkg.go.dev website with 4 checks, as shown in the screenshot below.
Conclusion
This is just the very first step of me writing a library in Golang and publish it as a module on the pkg.go.dev website. I started this project as one of my after-work projects in October 2020. I only successfully publish its first release in December 2020. This project has been a great learning journey for me. So, I hope my sharing in this article can be somewhat useful to you as well.

Feel free to let me know if there is a better alternative or improvement needed. I’m always happy to hear from you all.
References
- Using Go Modules;
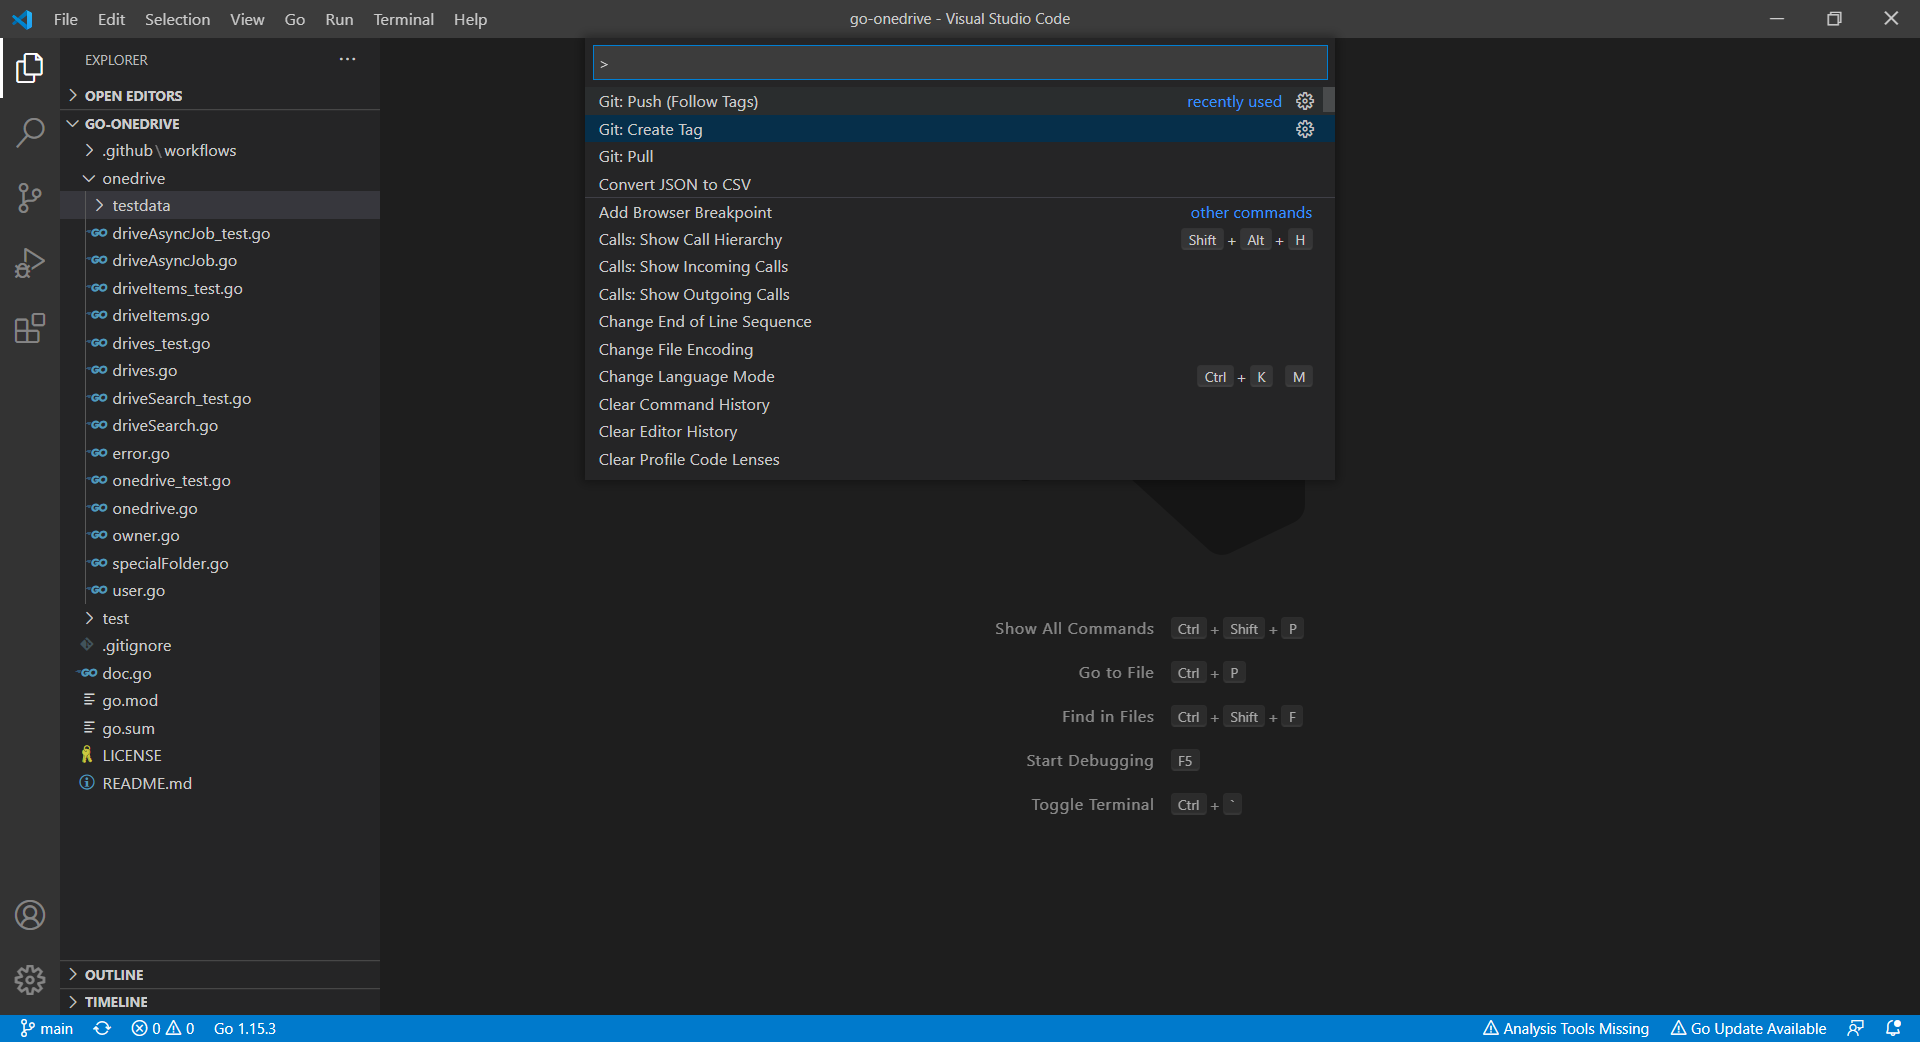
- [Stack Overflow] Tag commit in VSCode;
- How To Upgrade Golang Dependencies;
- [Stack Overflow] Package name containing hyphen;
- [Stack Overflow] How to release updated packages for Go Mod / pkg.go.dev consumers?;
- [GitHub] go.dev: allow force-refresh of package just like on godoc.org;
- Understanding go.sum and go.mod file in Go (Golang);
- [GitHub] go get does not install new packages/binaries when GO111MODULE=on.
The code of the OneDrive client library described in this article can be found in my GitHub repository: https://github.com/goh-chunlin/go-onedrive.


