Almost two years ago, I was hospitalised in Malaysia for nearly two weeks. After I returned to Singapore, I was then sent to another hospital for medical checkup which took about two months. So I got to experience the hospital operations in two different countries. Since then I always wondered how patient data was exchanged within the healthcare ecosystem.
Globally, there is an organisation which is in charge of coming up with the standards for the exchange, integration, sharing, and retrieval of electronic health information among the healthcare services. The organisation is known as Health Level Seven International, or HL7, which is founded in 1987.
One of the HL7 standards that we will be discussing in this article is called the FHIR® (Fast Health Interop Resources), an interoperability standard intended to facilitate the exchange of healthcare information between organisations.
In Microsoft Azure, there is a PaaS which is called Azure API for FHIR. With the API, it makes it easier for anyone working with health data to ingest, manage, and persist Protected Health Information in the cloud.

Synthea(TM): A Patient Simulator
Before we deploy the Azure API for FHIR, we need to take care of an important part of the system, i.e. the data source. Of course, we must not use real patient data in our system to demo. Fortunately, with a mock patient data generator, called Synthea(TM), we are able to generate synthetic, realistic patient data.
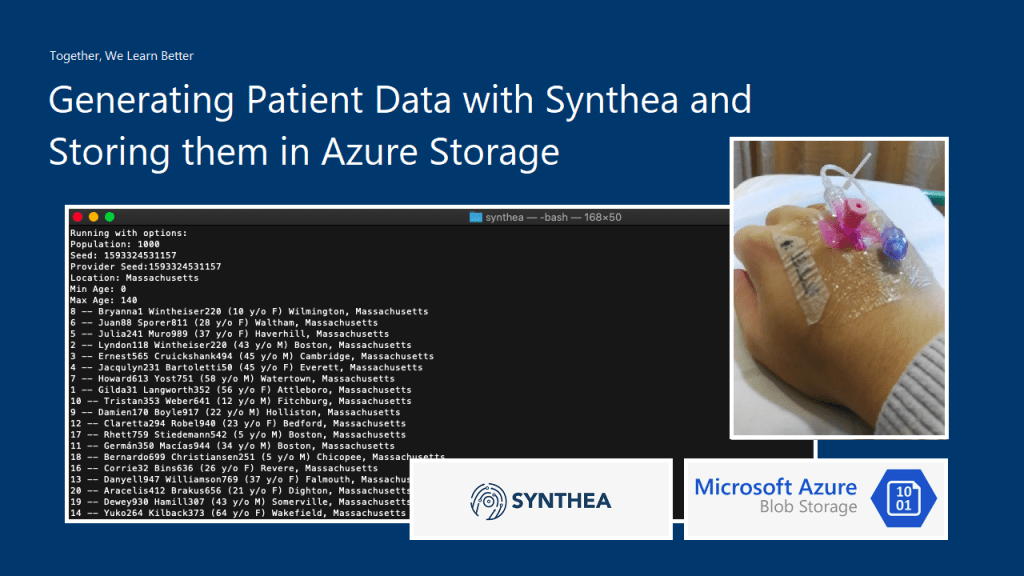
There is a very simple command with different parameters, we can generate those patient data.

The following is part of the results when I executed the command with parameter -p 1000.

Azure Storage Setup
With the patient data generated locally, we now can proceed to upload it to the Azure Storage so that the data can later be input to the Azure API for FHIR.
Here, we will be using the Blob Storage where Blob stands for Binary Large Object. A blob can be any type of file, even virtual machine disks. The blob storage is optimised for storing massive amount of data. Hence, it is suitable to store the JSON files that Synthea(TM) generates.
There are two main default access tiers for StorageV2 Azure Storage, i.e. Hot and Cold. Hot Tier is for storage accounts expected to have frequent data access, while Cold Tier is the opposite of it. Hence, Hot Tier will have lower data access cost as compared to the Cold Tier while Hot Tier will have the highest storage cost.
Since the data stored in our Storage account here is mainly to input into the Azure API for FHIR eventually and we will not keep the data long in the Storage account, we will choose the Hot Tier here.

For the Replication, it’s important to take note that the data in our Storage account is always replicated in the primary data centre to ensure durability and high availability. We will go with the LRS option, which is the Locally Redundant Storage.
With the LRS option, our data is replicated within a collection of racks of storage nodes within a single data center in the region. This will save our data when the failure only happens on a single rack. We choose this option not only because it is the cheapest Replication but also the lifespan of our data is very short in the Storage account.
Azure Storage – Security and Access Rights
Let’s imagine we need people from different clinics and hospitals, for example, to upload their patient data to our Azure Storage account. Without building them any custom client, would we able to do the job by just setting the correct access rights?

Yes, we can. We can further control the access to our blob container in the Storage account. For example, in the container importdata where all the JSON files generated by Synthea(TM) will be uploaded to, we can create a Stored Access Policy for that container which allows only Create and List, as shown in the screenshot below.

With this Stored Access Policy, we then can create a Shared Access Signature (SAS). A SAS is a string that contains a security token, and it can be attached to an URL to an Azure resource. Even though here we will use it for our Storage account, but in fact, SAS is available to other Azure services as well. If you remember my previous article about Azure Event Hub, we’re using SAS token too in our mobile app.
I will demo with Microsoft Azure Storage Explorer instead because I can’t do the similar thing on the Azure Portal.

There will be a URI generated after the SAS is created. This is the URI that we will share with those who have the patient data to upload.
With the SAS URI, they can choose to connect to Azure Storage with that URI, as shown in the screenshot below.

Once the SAS URI is correctly provided, they can then connect to the Azure Storage.

Now the other parties can continue to upload the patient data to the Azure Storage. Since we already make sure the actions that they can do are only Create and List, they cannot delete files or overwrite the existing file, as shown in the following screenshot.

At this point of time, I suddenly realised that, I could not upload new file too. Why is it so? Isn’t Create access right has been already given?
It turns out that, we need to also allow Read access right to allow the uploading of file. This is because during the upload process, Azure Storage will need to check the existence of the file. Without Read access right, it can’t do so, according to the log file downloaded from the Azure Storage Explorer. This actually surprised me because I thought List should do the job, not Read.

Hence, eventually, our Shared Access Policy for the container above is as follows. For the detailed explanation of each permission, please refer to the official documentation at https://docs.microsoft.com/en-us/rest/api/storageservices/create-service-sas.

Azure Storage: Monitoring and Alerting
In Azure Storage, some of the collected metrics are the amount of capacity used as well as transaction metrics about the number of transactions and the amount of time taken for those transactions. In order to proactively monitor our Storage account and investigate problems, we can also set alerts on those metrics.
Metrics are enabled by default and sent to the Azure Monitor where the data will be kept for 3 months (93 days).
In Azure Monitor, the Insights section provides an overview of the health of our Storage accounts, as shown below.

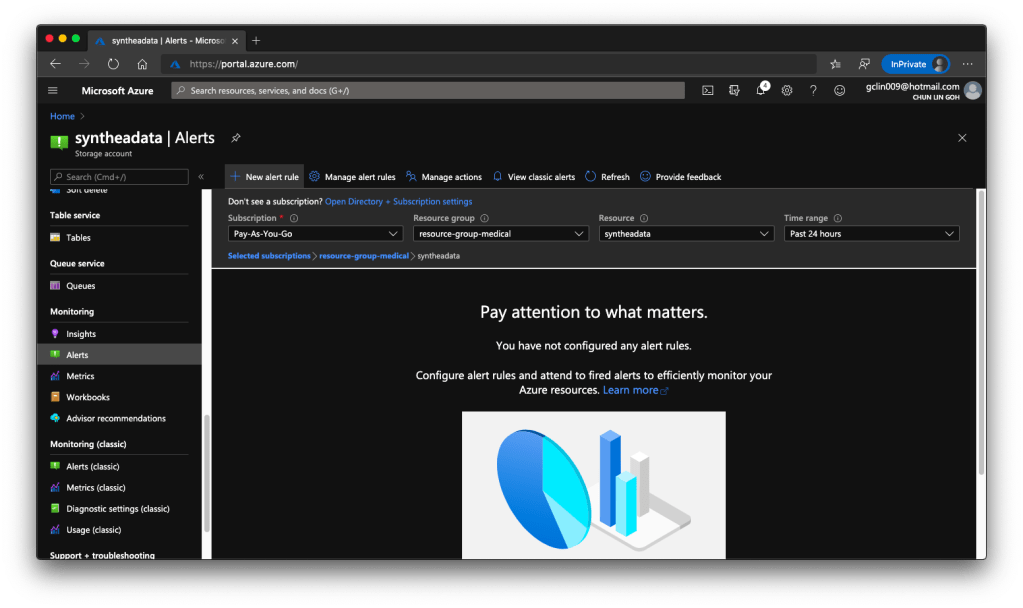
Finally, to create Alerts, we just need to head back to the Monitoring section of the corresponding Storage account. Currently, besides the classic version of the Monitoring, there is a new one, as shown in the following screenshot.
With this, we can setup alerts such as informing us whenever the used capacity is over a certain threshold over a certain period of time. However, how would we receive the Alerts? Well, there are quite a few ways that we can choose under the Action Group.

Next Step
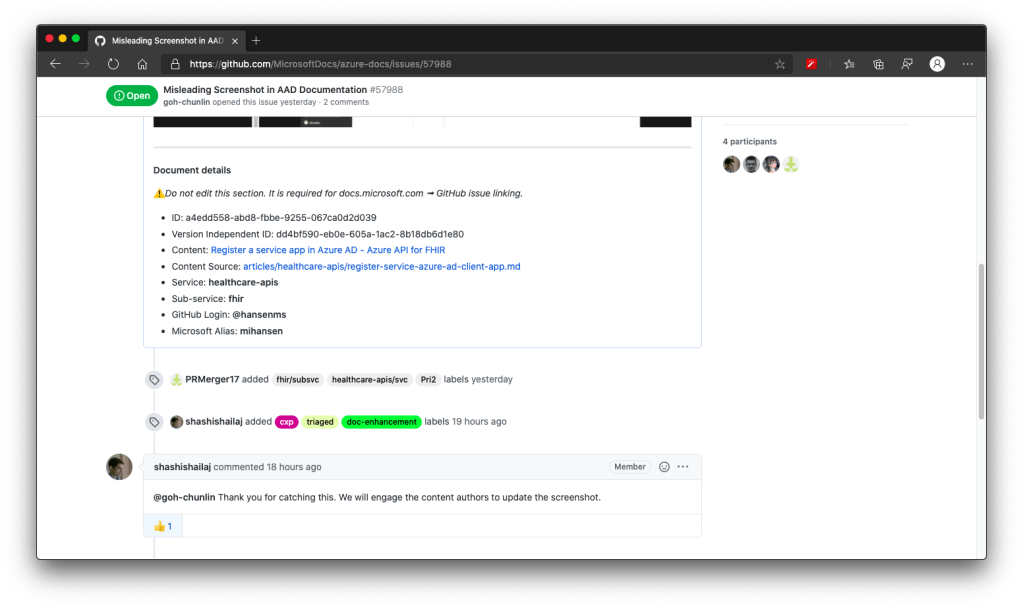
That’s all for the setup of input storage for our Azure API for FHIR. Currently, the official documentation of Azure API for FHIR has certain issues. I have reported to Microsoft on GitHub. Once the issues are fixed, we will proceed to see how we can import the data into the Azure API for FHIR.

One thought on “Generating Patient Data with Synthea and Storing them in Azure Storage”