
Often, we need to specify the resources users in our web application are allowed to access. For example, the sales report can only be seen by managers. The control panel can only be accessed by admin of the company.
Individual User Account
In Visual Studio 2013, when we first create an ASP .NET MVC5 project, we will always have the option to choose authentication mode. One of the available modes is Individual User Account.
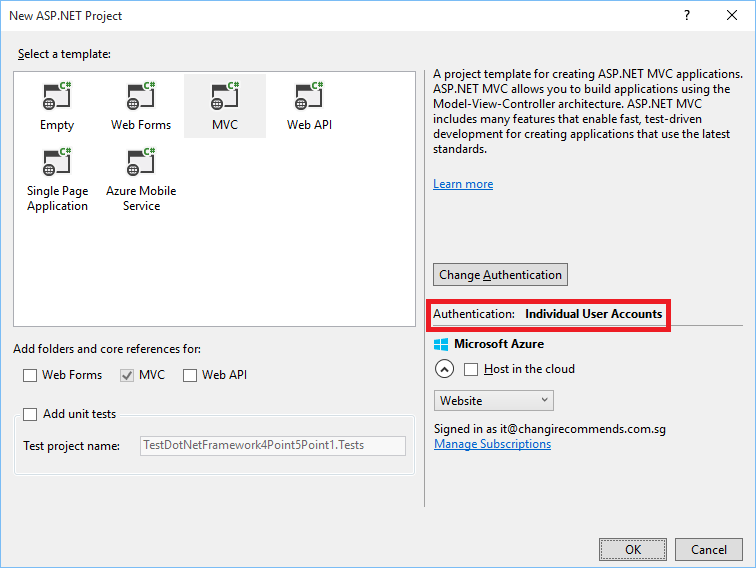
Individual User Account offers two channels for users to log in.
Firstly, user can register on the web application by entering email and password. The application will then create an account with the password hashed and stored in the database. Next time, the user can just log in with email and password which will be verified by the ASP .NET Identity.
Secondly, user can also register and log in with external service, such as Facebook, Twitter, and Google+. Interestingly, no password will be stored in our database for this method. Instead, the user will be authenticated by signing in to the external service.
Identity and Entity Framework 6 Code First
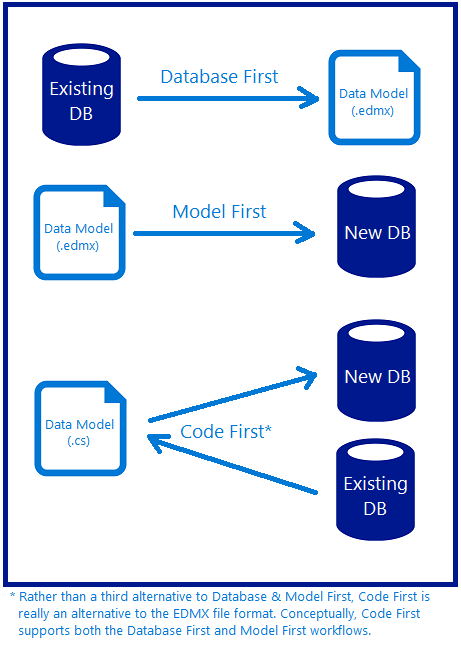
Code First APIs will create new database if no existing database attached to the web application. Code First will map our entity classes with the database using default conventions. Hence, with the Code First approach, the developers can focus on the domain design and later have the database tables created according to the entity classes.
Because of Code First, in the first run of the application which has no database attached to it, EF6 will automatically create a database. If we have attempted to access any Identity functionality, there will be following 5 tables created automatically.
- AspNetRoles
- AspNetUserClaims
- AspNetUserLogins
- AspNetUserRoles
- AspNetUsers
Role Based Security
Besides AspNetUserClaims table, the other four tables will be used in the role based security in our ASP .NET web application.
AspNetUsers table stores the profile information of a user, such as Email, Password, and Phone Number. To add more fields to the table, simply add the new fields in ApplicationUser class in IdentityModels.cs.
public class ApplicationUser : IdentityUser
{
    ...

    public string FirstName { get; set; }
    public string LastName { get; set; }
    public DateTime DateOfBirth { get; set; }
}
To create new role, we can do the following in the Seed() method in Configuration.cs, as suggested in an online tutorial about ASP .NET Identity.
using Microsoft.AspNet.Identity;
using Microsoft.AspNet.Identity.EntityFramework;
...

internal sealed class Configuration : DbMigrationsConfiguration<ApplicationDbContext>
{
    ...

    protected override void Seed(ApplicationDbContext context)
    {
        var roleManager =
            new RoleManager<IdentityRole>(new RoleStore<IdentityRole>(context));

        //Create Role Admin if it does not exist
        if (!roleManager.RoleExists("Admin"))
        {
            roleManager.Create(new IdentityRole("Admin"));
        }
    }
}
To add a user to one or many roles, we can do the following. Hence, we can assign roles to new user upon registration.
var roleManager =
    new RoleManager<IdentityRole>(new RoleStore<IdentityRole>(context));
var roles = roleManager.Roles.ToList();

foreach(var role in roles) {
    var isInRole = await UserManager.IsInRoleAsync(userId, role);
    if(!isInRole)
    {
         await UserManager.AddToRoleAsync(userId, role);
    }
}
So, when user is accessing a page which is allowed for members having a certain role, we first need to check if the user is logging in with the following code.
if (Request.IsAuthenticated)
{
    ...
}
Inside the IF statement, we can continue to check if the user is having a certain role, as shown in the following code.
if (Request.IsAuthenticated && User.IsInRole("Admin"))
{
    ...
}
Alternatively, if we only allow the page to be accessed by Admin user, then we can use AuthorizeAttribute.
[Authorize(Roles="Admin")]
public ActionResult Report()
{
    . . .
}
Facebook OAuth2 Authentication
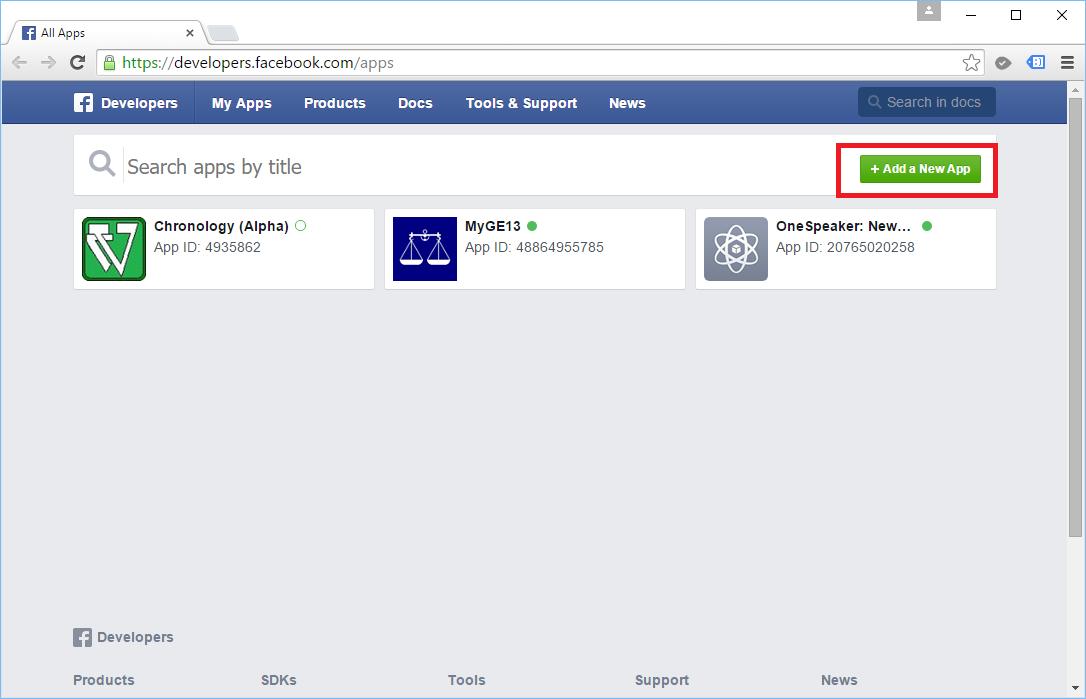
As said earlier, Individual User Account allows user to log in to the web application via external service, such as Facebook, as well. Before we can use the Facebook OAuth2 authentication, we need to register as a Facebook developer (Instruction here). I have already registered as a Facebook developer few years ago, so I just start directly from the Facebook Developers page.
First of all, we will click on the “Add a New App” button to begin. Then we will choose “Website” as our platform.
Secondly, we will key in name of our web application before we can create a new Facebook App ID. After that, we will select a category for our app.
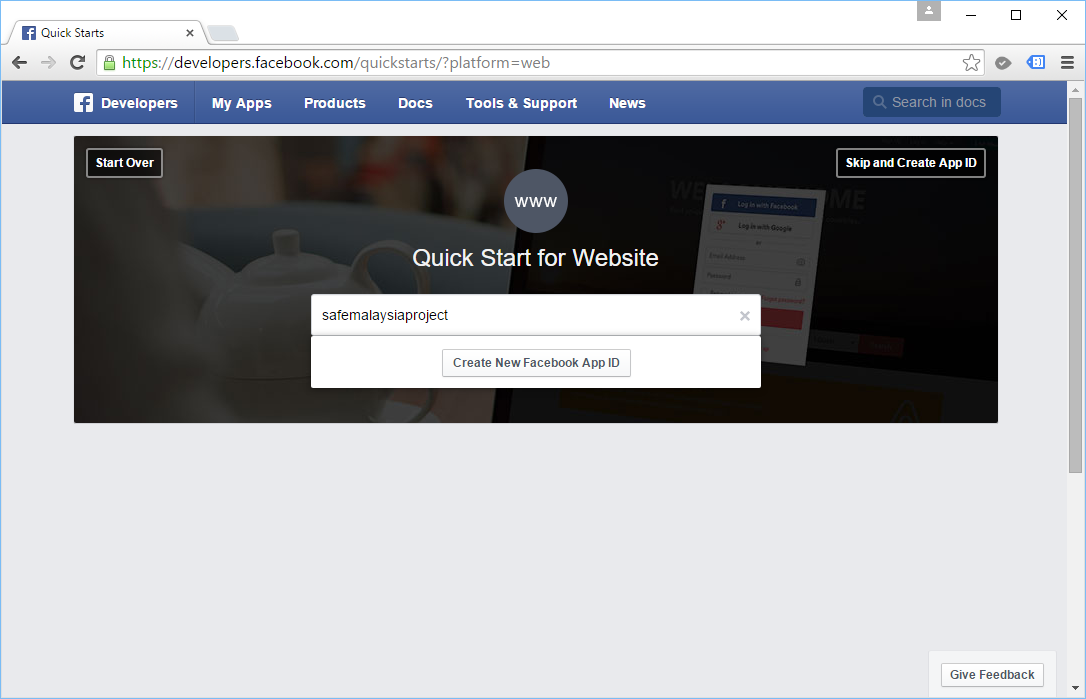
Thirdly, we have to provide the URL of our website. Fortunately, Facebook allows us to key in non-https localhost URL. =)

After that, we just scroll up to the top of the page and then click on the “Skip Quick Start” button. It will then bring us to a page with more details about the new Facebook App that we have just created.
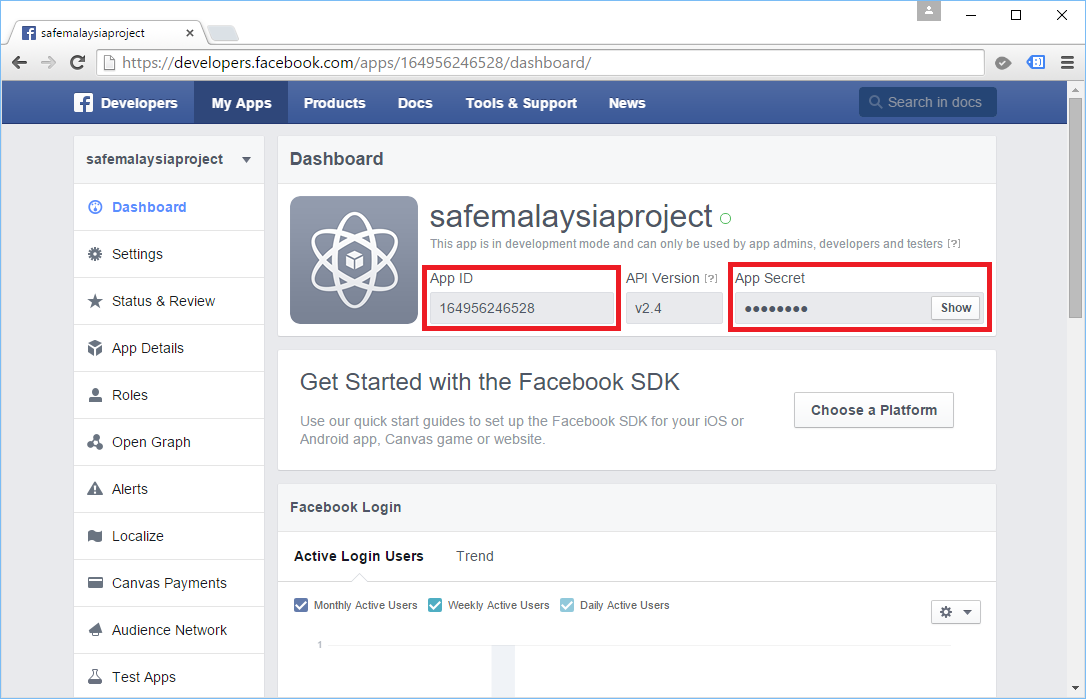
With the App ID and App Secret, we can now put in these values to the sample codes in Startup.Auth.cs to activate Facebook login. Yup, now user can just log in to our web application with their Facebook account!
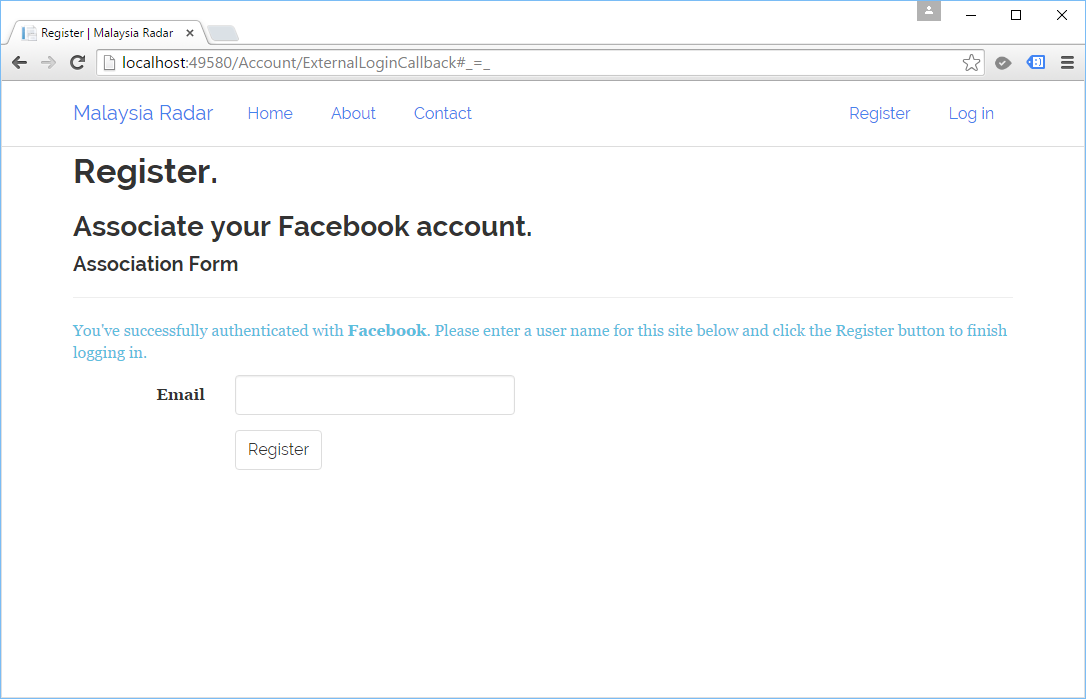
After logging in, user still need to enter their email address in order to finish the new user registration process on our website. Without doing this step, both the AspNetUserLogins and AspNetUsers tables in our database will have no record of this user.
Once the user finishes the registration, we will be able to see their info in both of the tables mentioned above. The AspNetUserLogins table will keep data such as Login Provider (Facebook), Provider Key (a reference key to Facebook users table), and UserId (which is a reference key to AspNetUsers table).
Interestingly, as Facebook says, “(The web app) may still have the data you share with them” even though we unlink the app from our Facebook account.
Link with Google
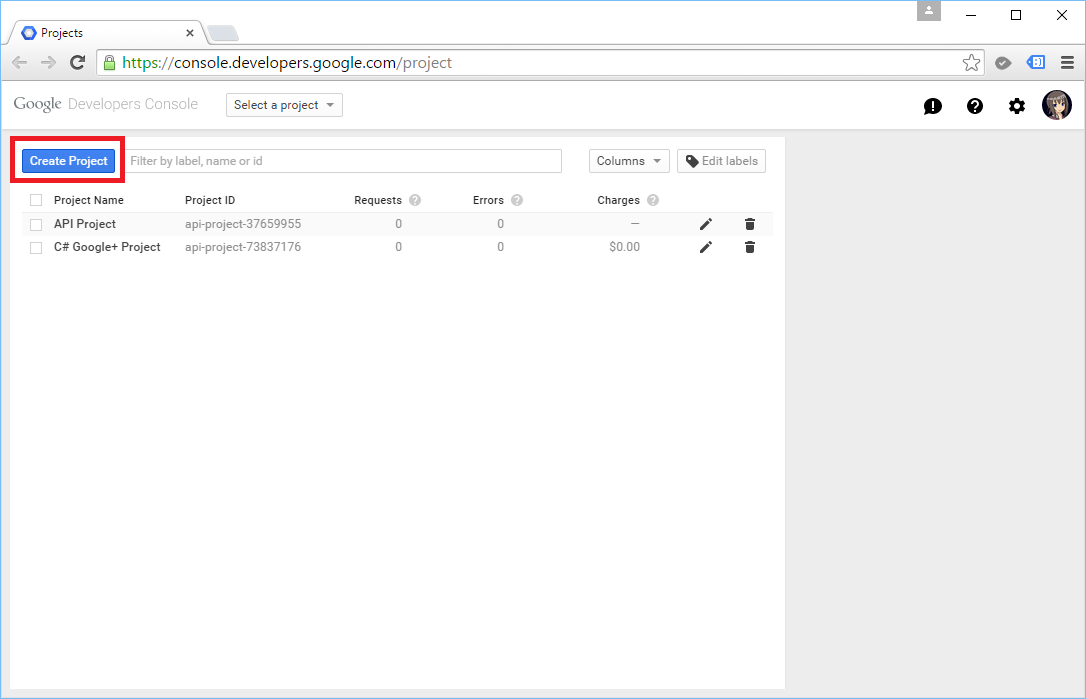
To enable user to log in to our ASP .NET website using Google account, we will head towards the Google Developers Console to configure.
In the first step, we need to give a name to our project. Next, we can just click on the “Create” button to add the project to the console.
After the project is created, we will proceed to the Credentials under the APIs & Auth section.
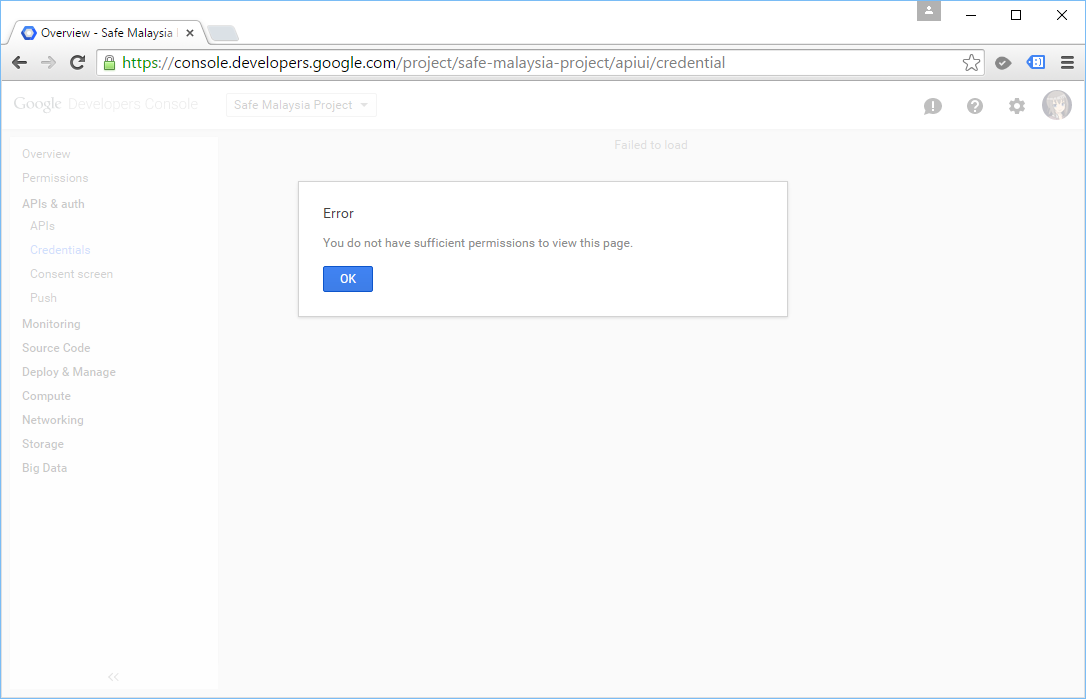
If you encounter issue on viewing the Credentials page because it kept complaining “You do not have sufficient permissions to view this page”, please switch to use another browser which has no Google account already signed in. For my case, I use the new browser from Microsoft, Edge.
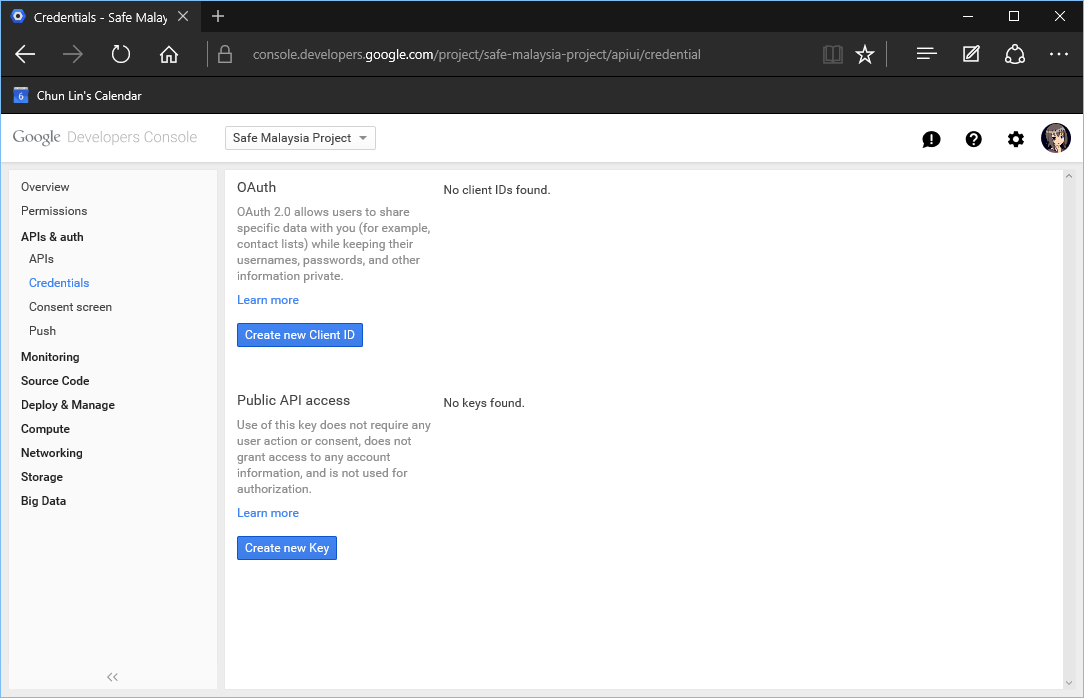
Click on the “Create New Client ID” button under OAuth. It will then ask for Application Type. For our case, it will be the default option, “Web application”.

Do you notice the little warning there saying we need to provide a Product Name? So after that, we will be brought to the Consent Screen page to fill in our Product Name. In the same page, we can also key in URL to our homepage, product logo, Google+ page, privacy policy, and ToS.
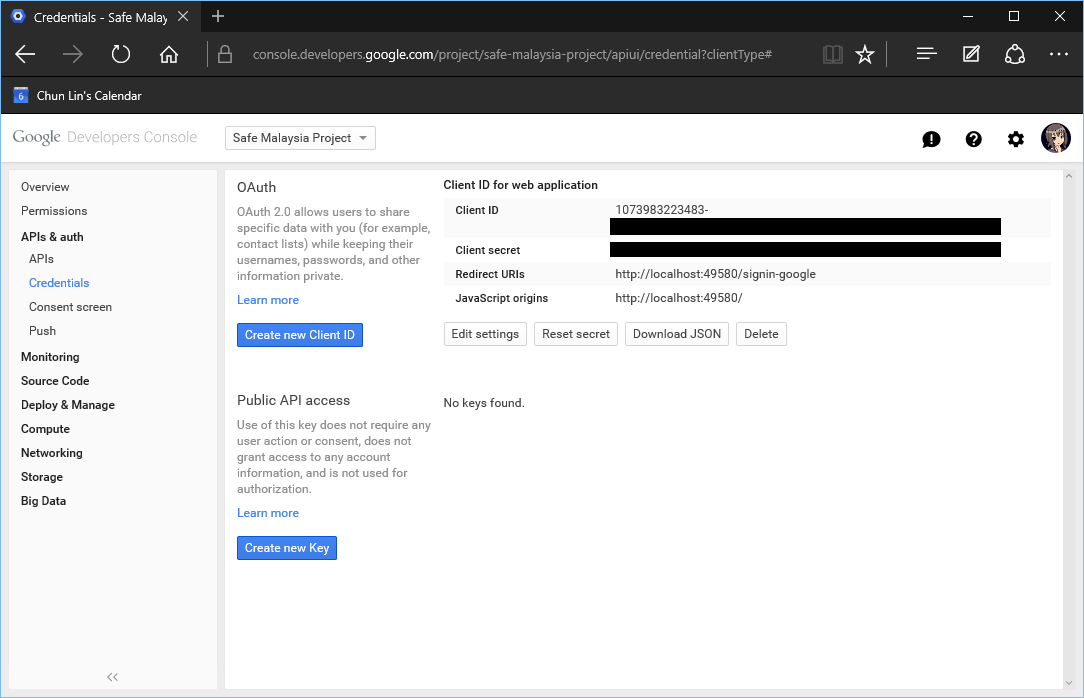
After saving the updates on Consent Screen page, we will be prompted to key in two important information: Authorized JS Origins and Authorized Redirect URIs. For local testing purpose, it accepts non-https localhost URL as well.
After that, we should receive a Client ID for our web application.
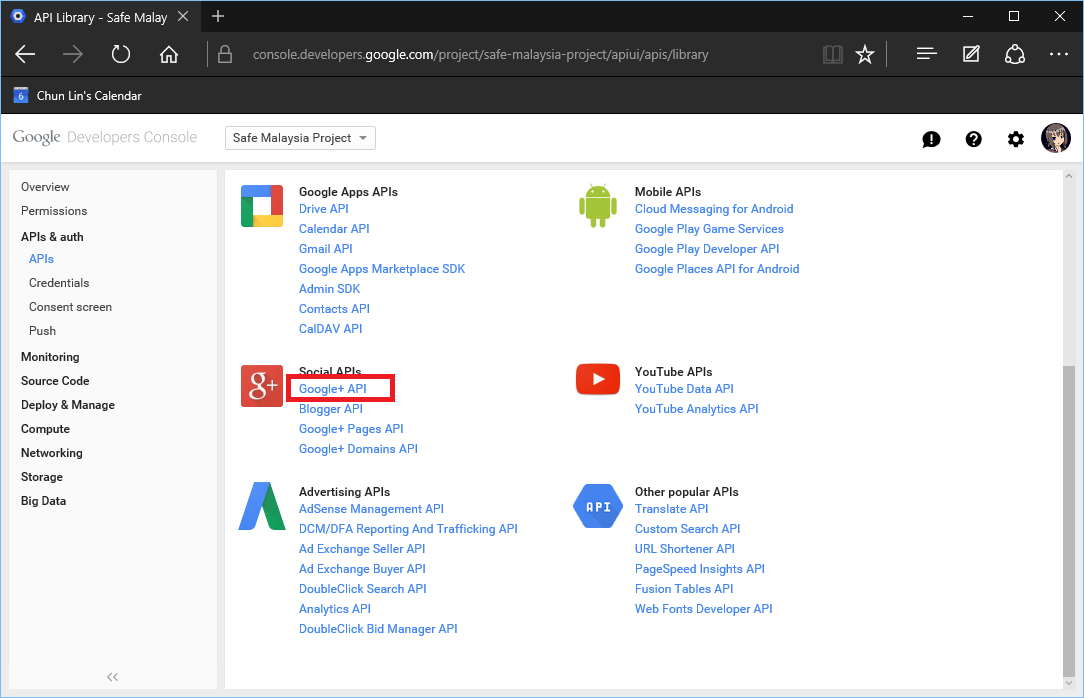
Before going back to Visual Studio, we will proceed to the APIs section under the APIs & Auth. There, we can enable the Google+ API.
Same as Facebook, with the Client ID and Client Secret, we can now put in these values to the sample codes in Startup.Auth.cs to activate Google login. Yup, now user can just log in to our web application with their Google account!
Interestingly, I am not able to access the Credentials page after this again. =P
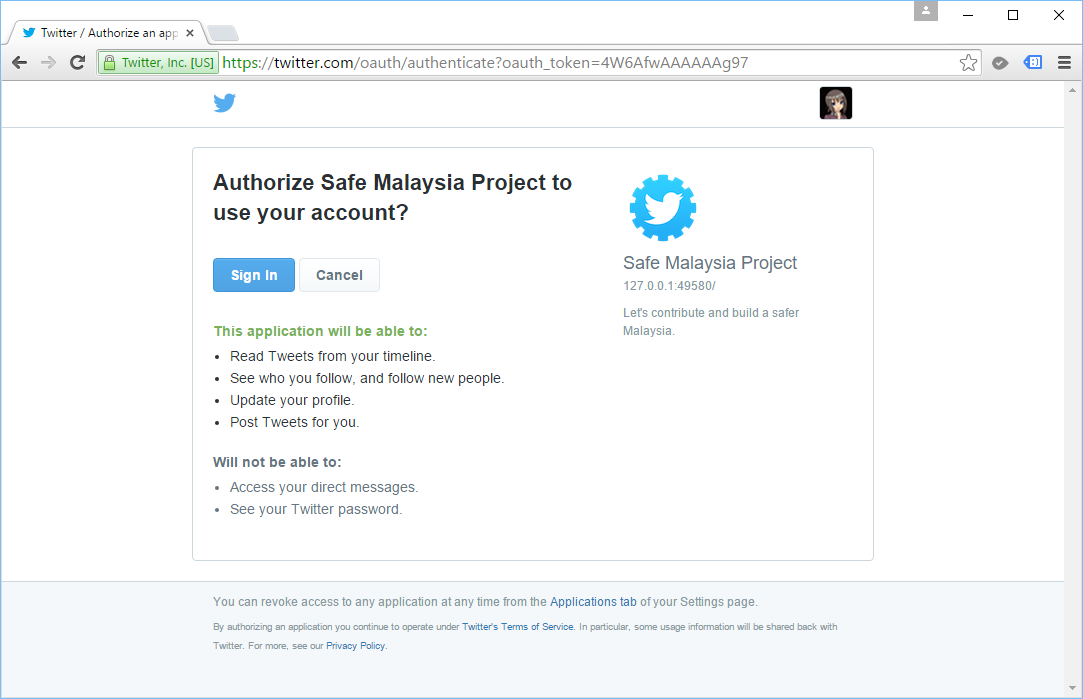
Logging In with Twitter
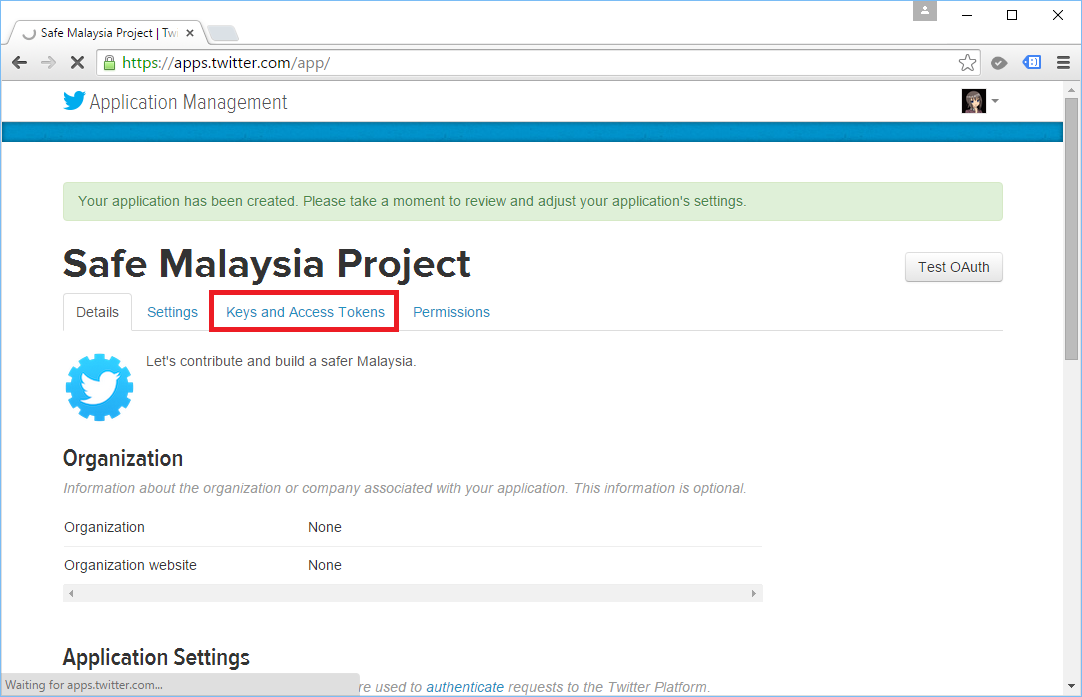
To get the Consumer Key and Consumer Secret from Twitter, we first need to login to the Twitter Apps.
According to Twitter, we must add mobile phone number to our Twitter profile before creating an application. For the Callback URL field, although it is optional, we have to put in our localhost URL (for testing environment) first. Otherwise, we will receive 401Unauthorized Error. Also, Twitter considers “localhost” as invalid in URL, so we have to use “127.0.0.1” instead.
After creating the new app, we will be given the Consumer Key and Consumer Secret that we can use to put in our Startup.Auth.cs.
More External Services Providing Login
If you would like to read more about allowing user to login to your ASP .NET website with 3rd party services, I would like to suggest a few articles to you.
- Login with Yahoo! and LinkedIn
- Enabling Microsoft Authentication
- External Authentication Services with ASP.NET Web API
- Disable Local Registration
Customizing Association Form
As mentioned earlier, we can modify the AspNetUsers table to store other profile information of a user by adding new fields in ApplicationUser class in IdentityModels.cs.
public class ApplicationUser : IdentityUser
{
    ...

    public string FirstName { get; set; }
    public string LastName { get; set; }
    public DateTime DateOfBirth { get; set; }
}
For external login, we need to update the fields to the Association Form as well so that no matter where the user comes from, we will always capture the same set of user info.
Firstly, in the AccountViewModels.cs, we need to add the three new fields to the ExternalLoginConfirmationViewModel.
public class ExternalLoginConfirmationViewModel
{
    [Required]
    [Display(Name = "Email")]
    public string Email { get; set; }

    [Required]
    [Display(Name = "First Name")]
    public string FirstName { get; set; }

    [Required]
    [Display(Name = "Last Name")]
    public string LastName { get; set; }

    [Required]
    [Display(Name = "Date of Birth")]
    public DateTime DateOfBirth { get; set; }
}
Then we will update the Views accordingly to enable user to key in those info.
In AccountController.cs, we will then add in logic to ExternalLoginConfirmation HttpPost method to store data of the three new fields into the AspNetUsers table.
var user = new ApplicationUser {
    ...
    FirstName = model.FirstName,
    LastName = model.LastName,
    DateOfBirth = model.DateOfBirth
};
If you are still not clear about what I am writing here, please read a more detailed tutorial written by Rick Anderson about adding new fields to the Association Form.
Summer 2015 Self-Learning Project
This article is part of my Self-Learning in this summer. To read the other topics in this project, please click here to visit the project overview page.


One thought on “Role Management and Social Network Login”